Most of the costumes I have been working on lately are for one of two events. We have monthly balls, which change theme every month, and vary in time period. The second event is Costume College, which takes place in August, and this year’s theme is 1919 and the Suffragist movement. So in between making or altering something almost every month for dancing, I am trying to put together outfits for the events of CoCo. There is a Thursday evening pool party, featuring “swimwear through the ages”, a Friday night showcase, themed on the Suffragist movement, a Saturday evening gala themed on the Titanic, and Sunday morning breakfast is “Gibson Girl” themed, while Sunday afternoon tea is “Downton Abbey” themed. So, you know, a normal amount of things to do. It’s not like I have spreadsheets and am project managing my own sewing. I mean, who would do that, right? Right….
Making of….
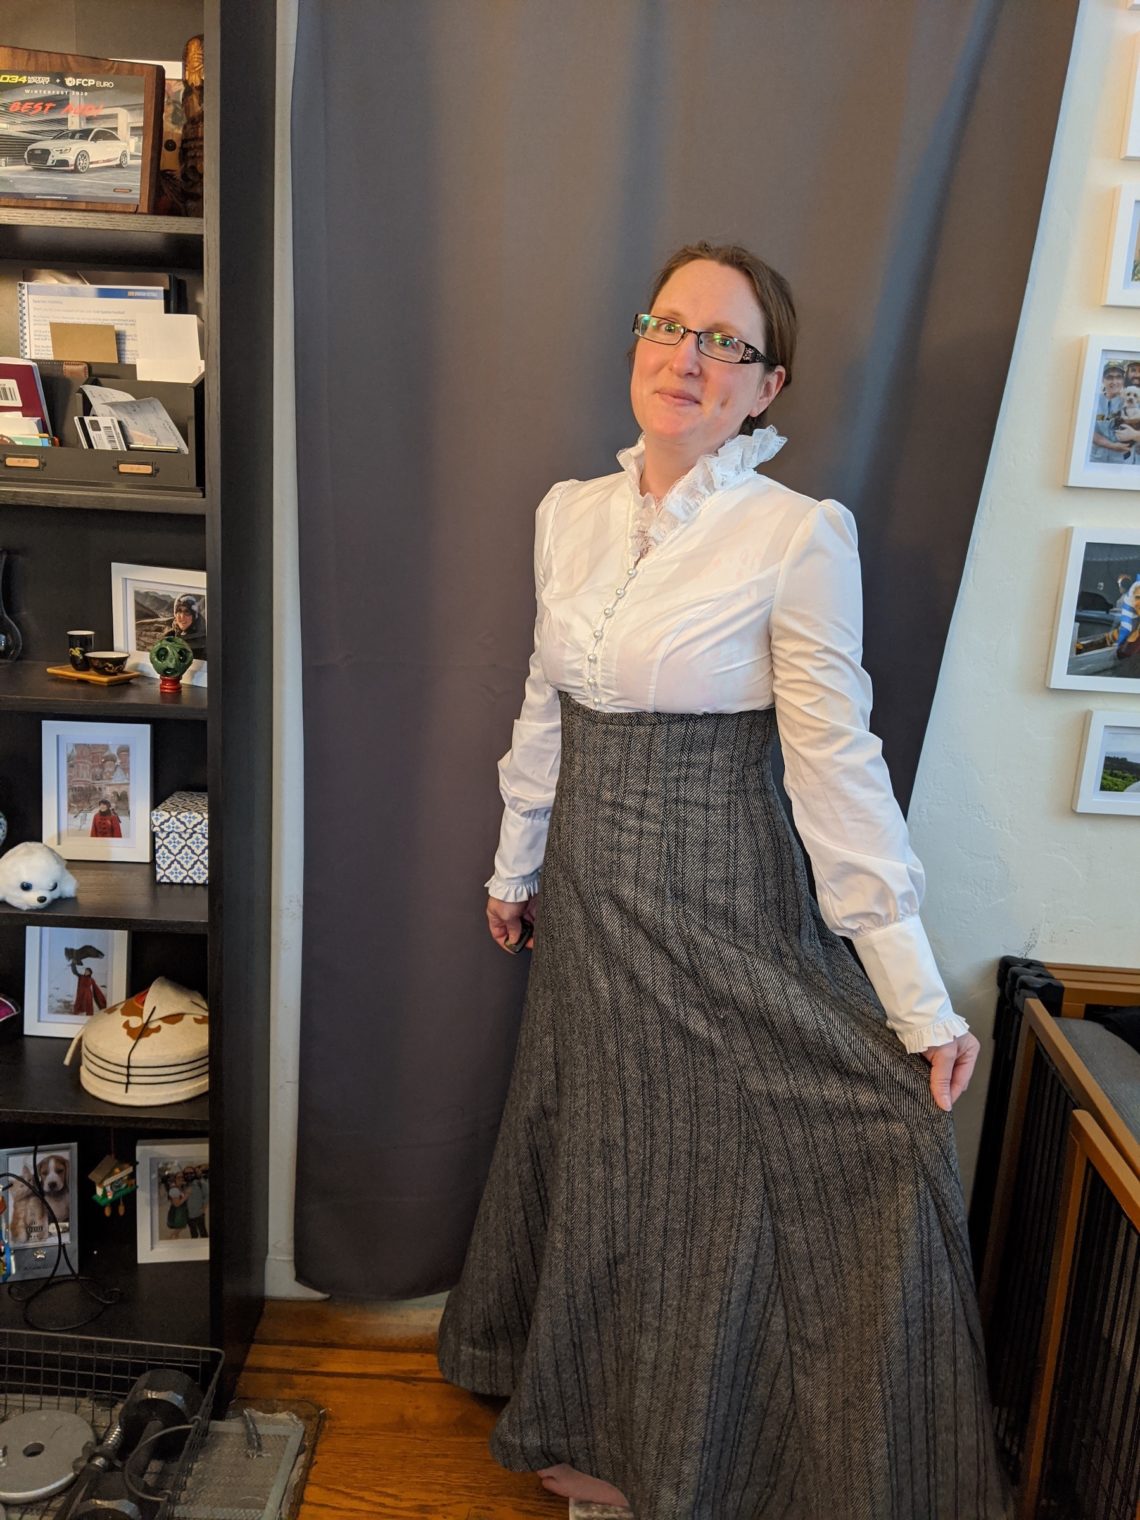
So today’s project completion is the skirt for my suffragist outfit. I am making a black/gray skirt to be worn with a white shirt and a “Votes for Women” sash, similar to the central woman here. Eventually, the suffragists would wear all white, both shirts and skirts. But early in the movement, they wore the more traditional dark skirt and white shirt. And women of modest means would wear the darker colored skirts the entire time.
So, I found this fabric that I totally love. It is a charcoal gray wool fabric with a combination of white herringbone and irregular black vertical stripes patterned throughout. It’s a lovely, heavy wool, which is perfect for skirts of the era, but will likely not be terribly awesome for August in L.A., when I will be actually wearing it.
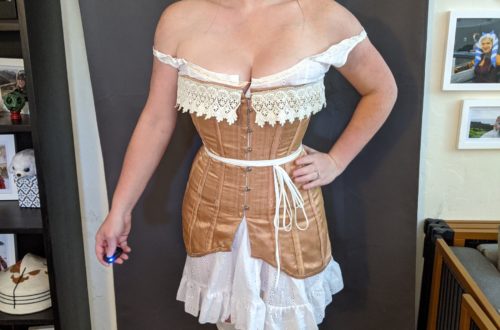
The pattern I selected is another Truly Vintage pattern, for a 10-gore princess skirt. This pattern says it is a reproduction from a garment dated to 1906, but similar styles are still visible in most images of the marching suffragists. Most ladies didn’t throw out their clothing every few years as fashions changed, so there’s always some overlap. So the pattern fits into the right era and as soon as I saw it, I knew that I *loved* this pattern. It’s like a corset at the top, with the top of the skirt sitting just under the bust line, but from the hips down, it magically flows out into this lovely gored skirt. The geometry of the patten is just fascinating. And I love how tall and slender the princess seams and built-in corset make it look.
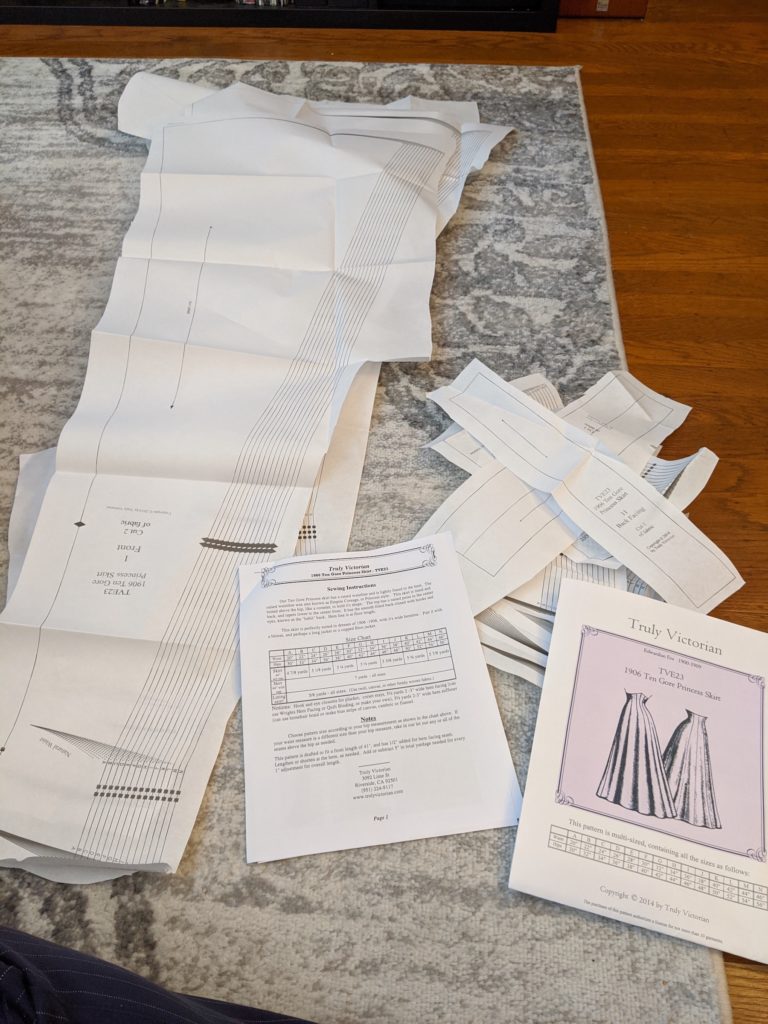
Getting all of the pattern pieces ready and ironed 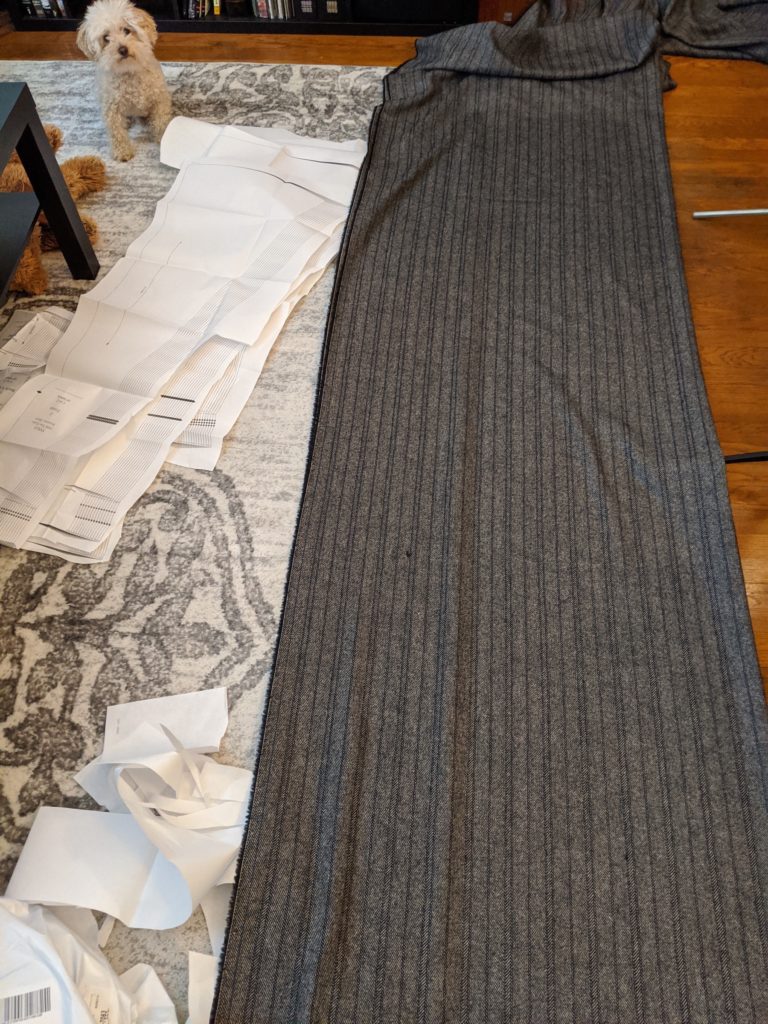
Getting the fabric laid out smooth for cutting…. this skirt is like 4 yards of fabric
Once I had the pattern and the fabric, I could begin cutting out all of the pieces. This is a 10-gore princess skirt, so there are 5 pieces to the skirt itself, which are cut in duplicate to generate 10 total pieces. Then there are 5 coordinating pieces of lining that have to be cut out in duplicate to match the top portion of the skirt that forms the corset. For this lining, the pattern suggests canvas or another heavy non-stretchy fabric, so I used some of the corset coutil that I had left over from the Edwardian corset I finished a few weeks ago.
This project began as many projects do, with me not exactly following directions. Sometimes this is good and intentional. Other times, not so much. One of the first instructions is to flat-line the skirt pieces and lining pieces together around the outside edges. Now, because there are technically 5 pieces, in duplicates, it would be incredibly easy to accidentally make two pieces that are exactly the same, instead of mirror images of each other, by flat-lining the lining to the same side of both pieces. Neither my fashion fabric nor my lining fabric has a ‘front’ side and ‘back’ side, which makes it even easier to confuse them. For this reason, I was very careful in pinning the lining fabric and making sure I had 2 mirror image pieces each time I pinned. Yay me. But then, because I am a *very experienced* sewist, I was like “hellz yeah, time to flat-line these babies”. Fortunately, after flat-lining only 1 piece, I was like, wait…. this doesn’t look quite right. Generally, for flat-lining, you stitch the lining and fashion fabric together all the way around and then they’re just one piece. However, for this skirt, the bottom edge of the lining fabric, if I stitched it down, the stitching would show on the outside of the skirt, which ruins the illusion that this is just a corset that just happens to also be a skirt. So I picked out the bottom line of stitching and only stitched around 3 sides on the other pieces, the “outside edges”, as it says in the instructions. Aha, now I see what she means.
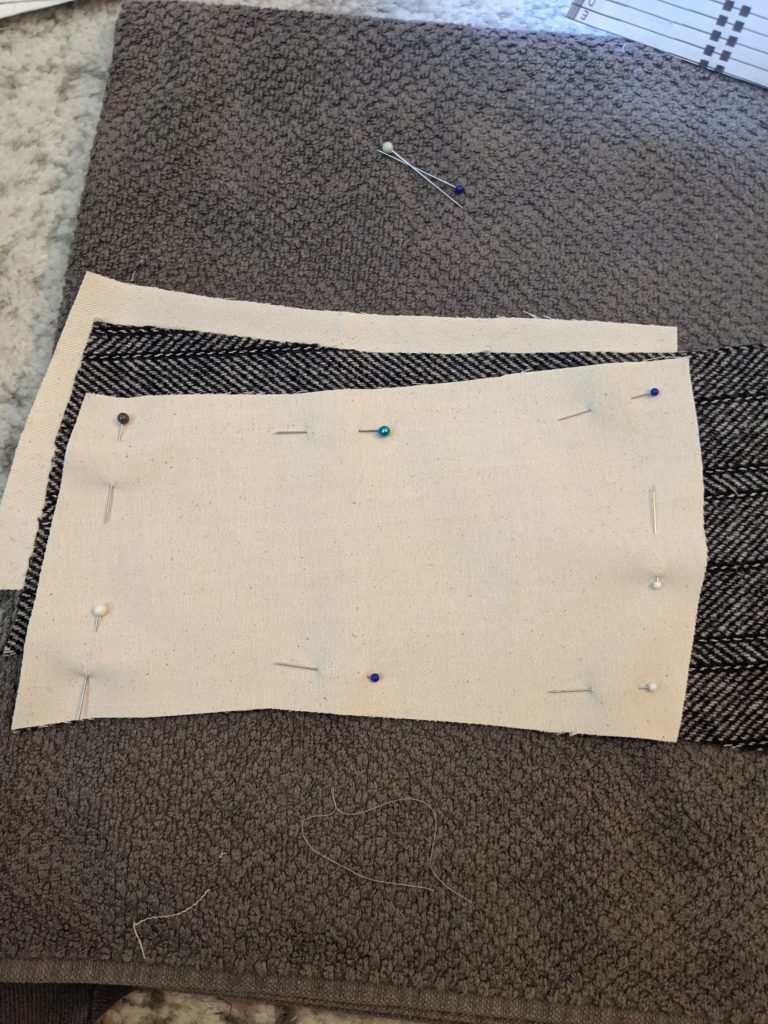
Carefully pinning all the pieces together. 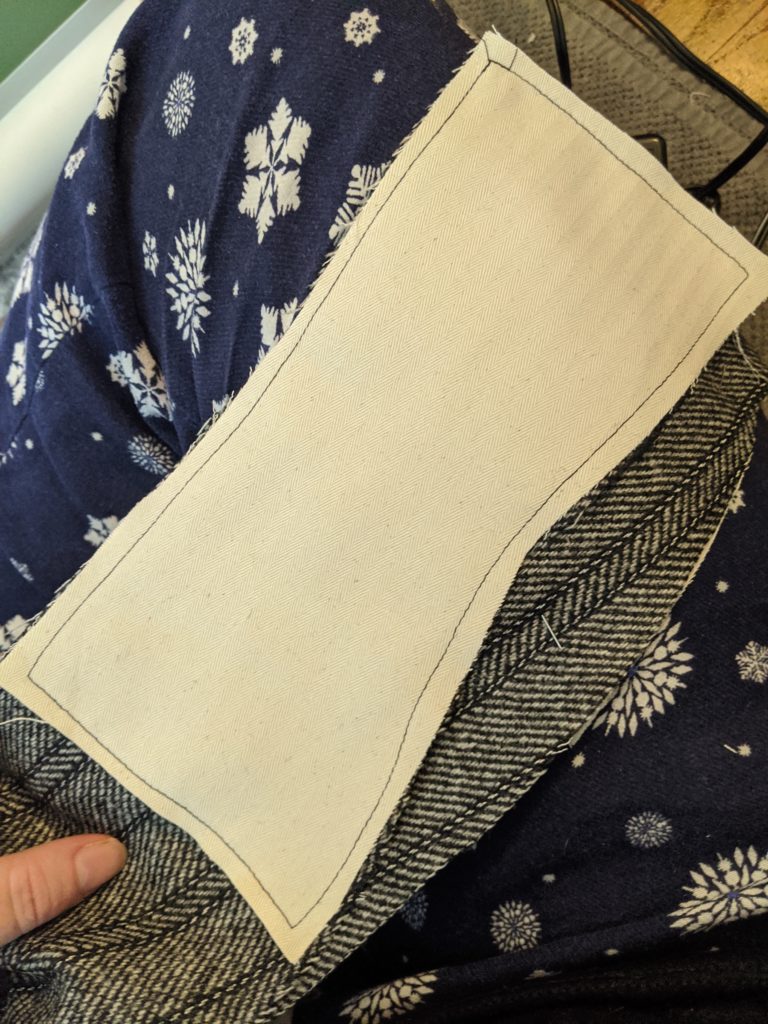
D’oh, how not to flat-line these pieces
From there, I had a fairly easy time of assembling the skirt in general. Match piece 4 to piece 5. Match piece 3 to piece 4, etc. It came together in only an hour or so. Because the skirt is entirely gores, which are cut on the bias of the fabric, I tried to be careful not to stretch any of the fabric while sewing. The wool did turn out to have considerably more stretch to it than I had anticipated, so this was a slow and careful task.
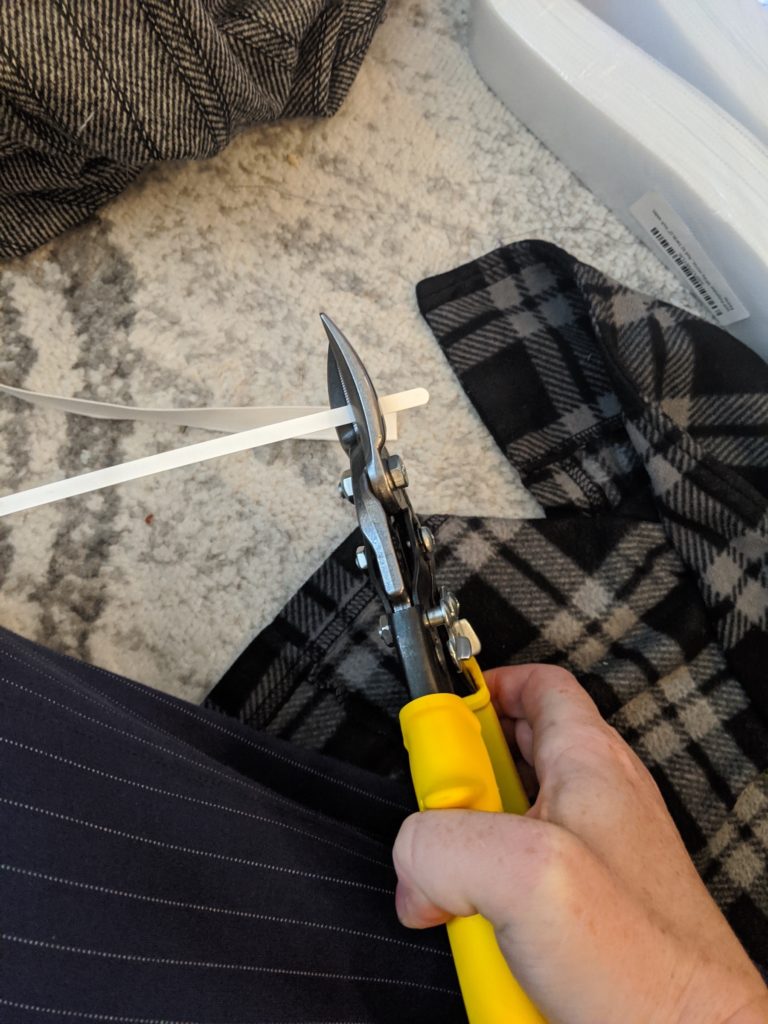
Cutting the bones 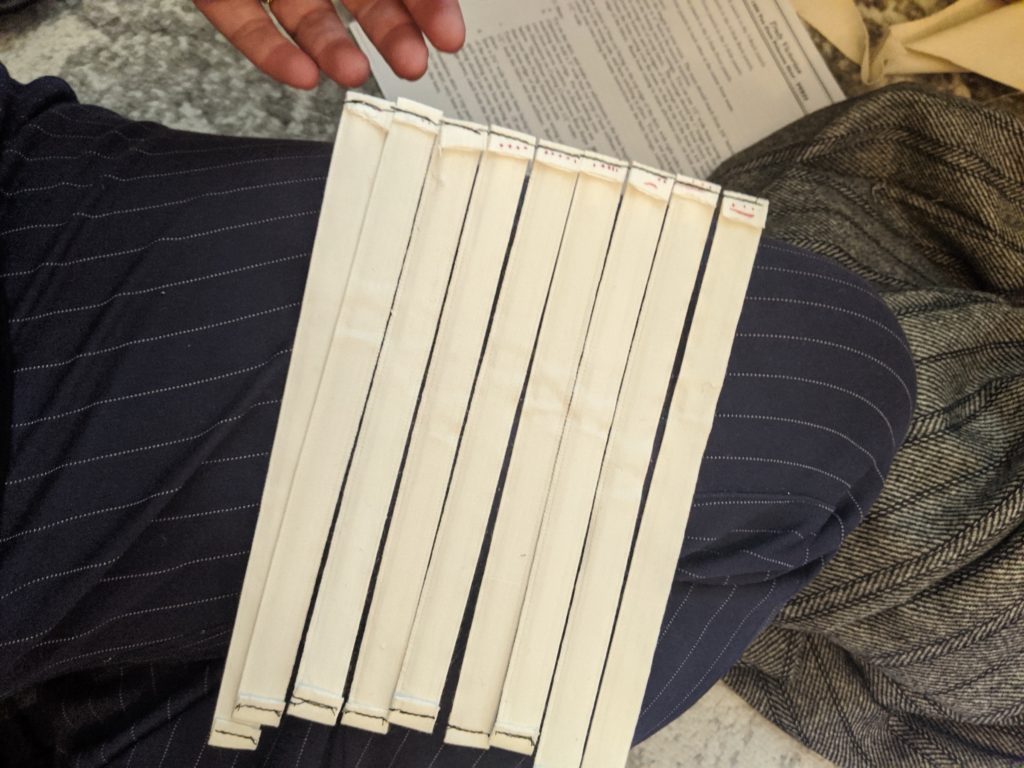
Bones in bone casing
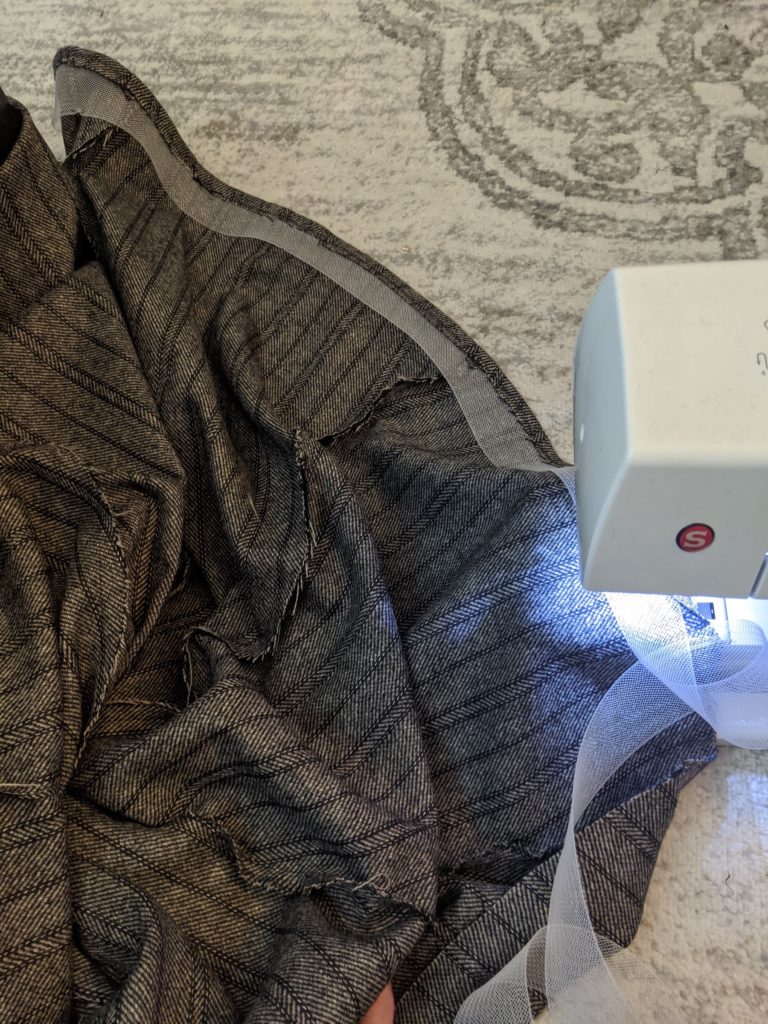
And here, I could pick up the skirt, hold it up to my waist, and feel like it is a skirt. And yet, I’ve done less than 25% of the actual work to make this a wearable garment. It’s so easy to get excited. But from here, the next step was to add boning. I used boning tape and spring steel bones that I had on hand. I cut the bones to the appropriate lengths, stitched them securely into the boning tape, and marked the tape so I knew which bone went into which seam. I machine stitched one side of the bone tape into the seam allowance. Then I hand stitched the other side just through the lining layer. So neither side of the boning tape seams shows on the outside of the skirt. I should have learned my lesson after doing the Edwardian corset, but alas, I had forgotten just how difficult it is to hand-stitch through the coutil. The weave of this fabric is made to be super strong, and it ends up being very difficult to sew through, particularly hand sewing.
Stitching the boning to the seam allowances 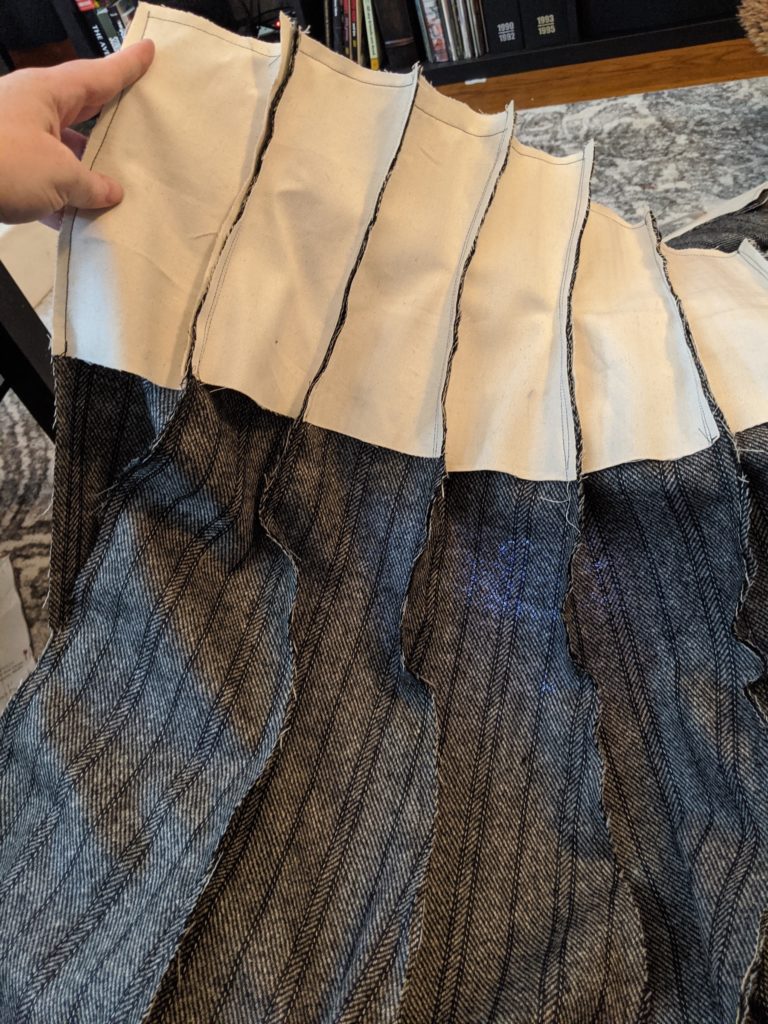
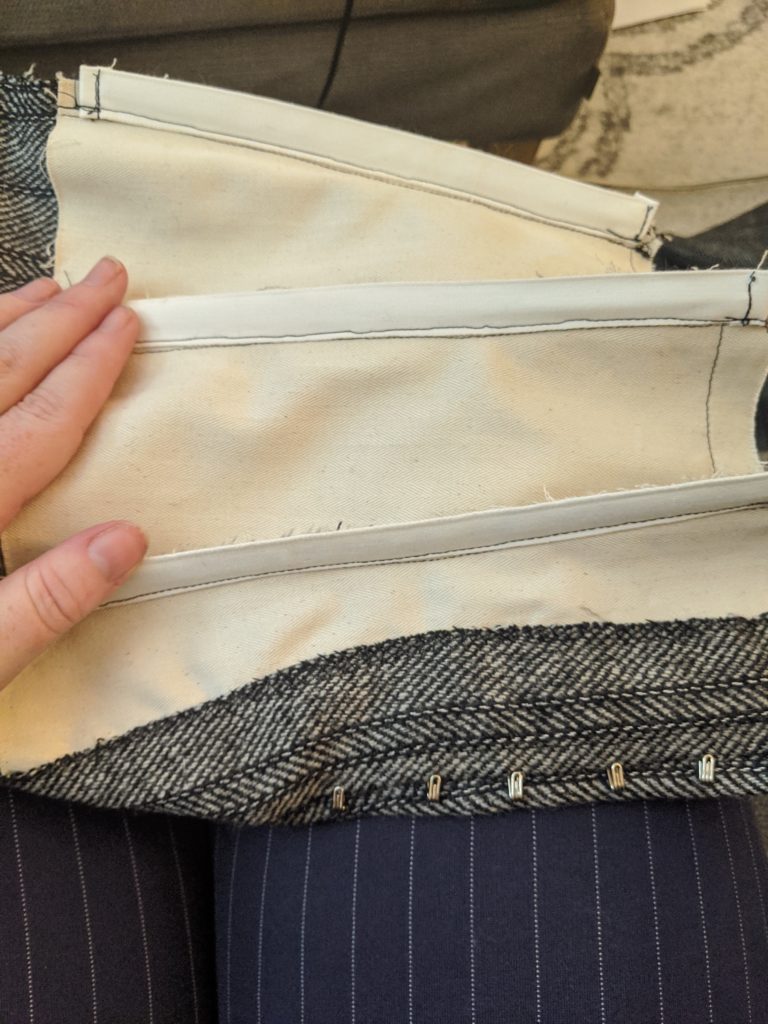
You can also see the bottoms of the lining pieces are not stitched down.
Once that was complete, and it did take days, it was time to add the back closure. I had pondered adding lace-up closer to make it look more like a corset, but the pattern calls for hooks and eyes. Now, because I realized I didn’t have any hooks and eyes, or at least, I couldn’t find them, I did this part last, after a trip to Joann, even though this was like the second step in the instructions. (See, sometimes I break the rules on purpose.) The instructions and diagrams were quite confusing for this part, so I had to sit down with it and really try to envision how these 2-dimensional pieces were going to come together to make a 3-dimensional object and not show the hooks and eyes from the outside. I pinned it and basted it how I thought it should work, but realized I had one piece on backwards. Once I corrected that, it was smooth sailing. Just hand-stitching on all of the hooks and all of the eyes…. then going back to Joann because half of the eyes in the package are ‘straight’ instead of ‘loops’. But it was finally done, and amazingly the skirt closer is almost imperceptible when the skirt is worn.
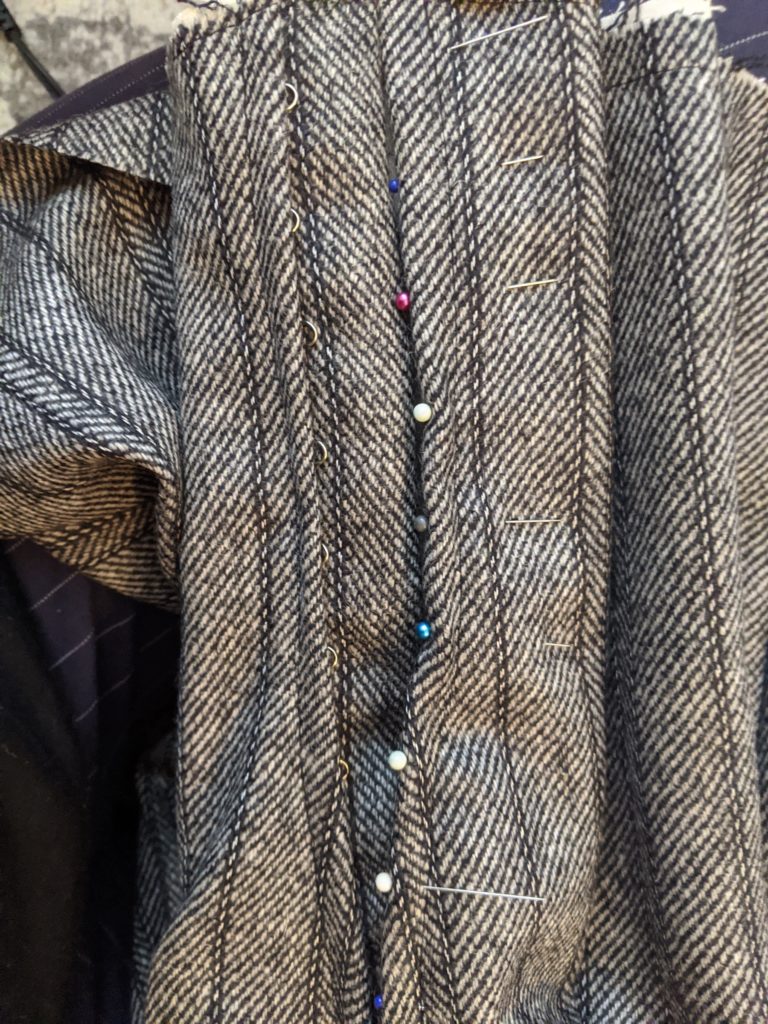
Putting pins in to evenly space the hook and eye placement 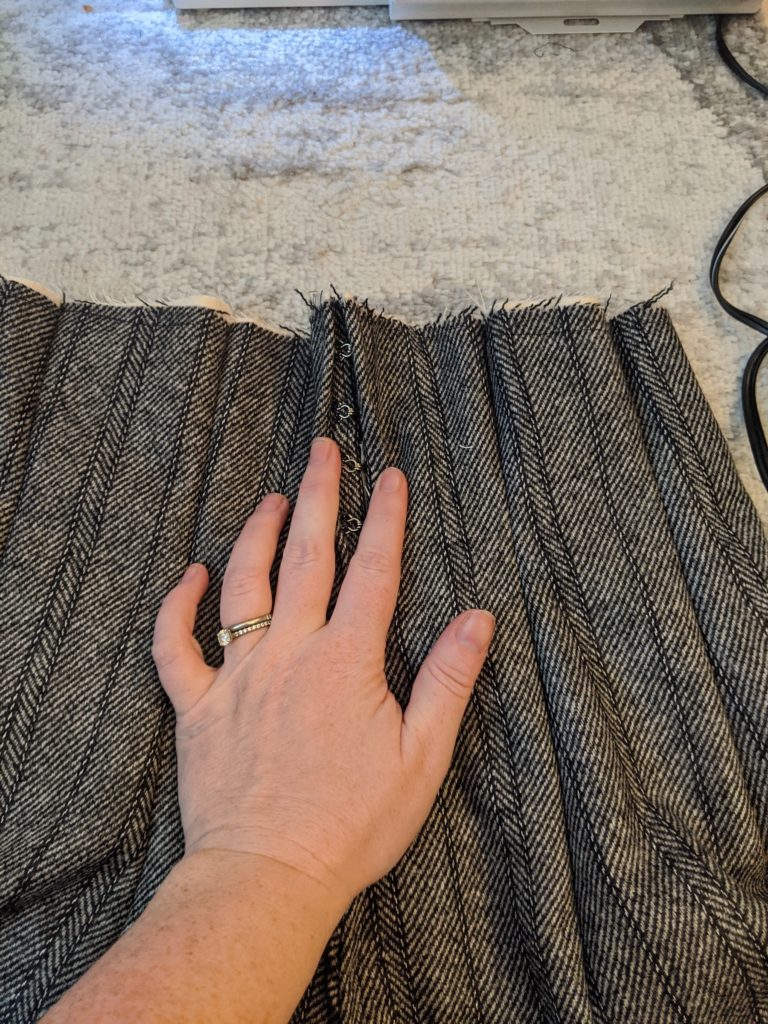
Hidden eyes 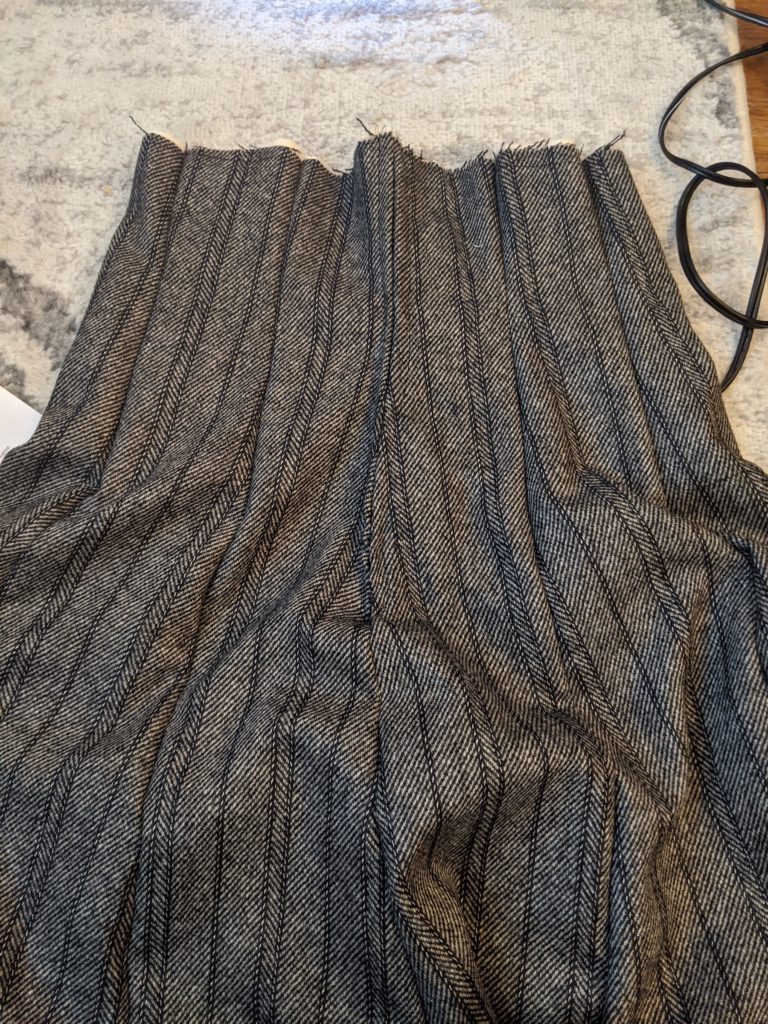
the back of the skirt, closed. The stripes of the fabric also help with the illusion that the closure is hidden.
I was finally on the home stretch, ready to finish the edges. I took some of the wool fabric and made 2.5 inch wide strips. I did not make bias tape because the top of the skirt is not overly curvy and the fabric is striped. I didn’t want to have like a candy-cane diagonal stripe effect around the top. So I made the strips go across the grain, and across the stripes so that the stripes would match direction with the ones on the skirt. Then I folded the strips in half and then into quarters to make double-fold tape. I machine stitched them around the top and then hand-stitched them around the inside to the lining.
The final final step was to hem the skirt. The pattern calls for horeshair braid or tarlatan around the hem of the skirt to give it more body. So I trimmed the bottom of the skirt so the edges hung evenly. Then I turned it over 1/2 an inch and stitched it over the 2-inch wide horeshair braid I have. Then I flipped that up and used a herringbone stitch to stitch the hem by hand all the way around. This was fairly challenging, as the skirt is narrower the higher up the skirt you go, so flipping it up 2 inches and trying to ease in a not-overly-flexible piece of plastic required some muscle.
Putting in the squirrely horsehair
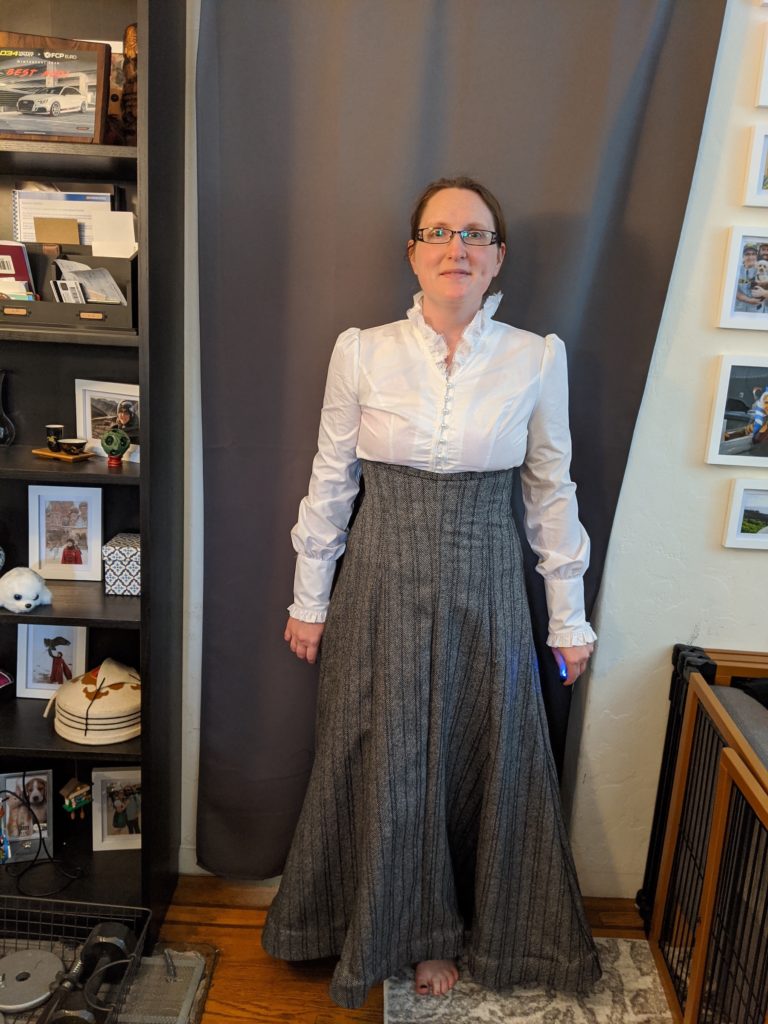
Finished Project!
Once the hem was finished, so was the skirt. I tried it on with a shirt that I bought on Amazon a while ago, but I am planning to make an Edwardian shirtwaist to go with it. But this shirt gives a good idea of the general style I’m going for. Though I think the outfit definitely reads as ‘Victorian schoolmarm’, I am still in love with this skirt. I think I will definitely wear it between now and the event just as everyday ‘history bounding’ wear. Once I complete the shirtwaist (which consists of approximatively 200 pieces to cut out), I will use the leftover white fabric to make a petticoat to go under this skirt. It stands up well enough on its own, but the wool is pretty darn itchy and I think a cotton layer will help with that.
I will hit your knuckles with a ruler. 
Wheeee, skirts are fun 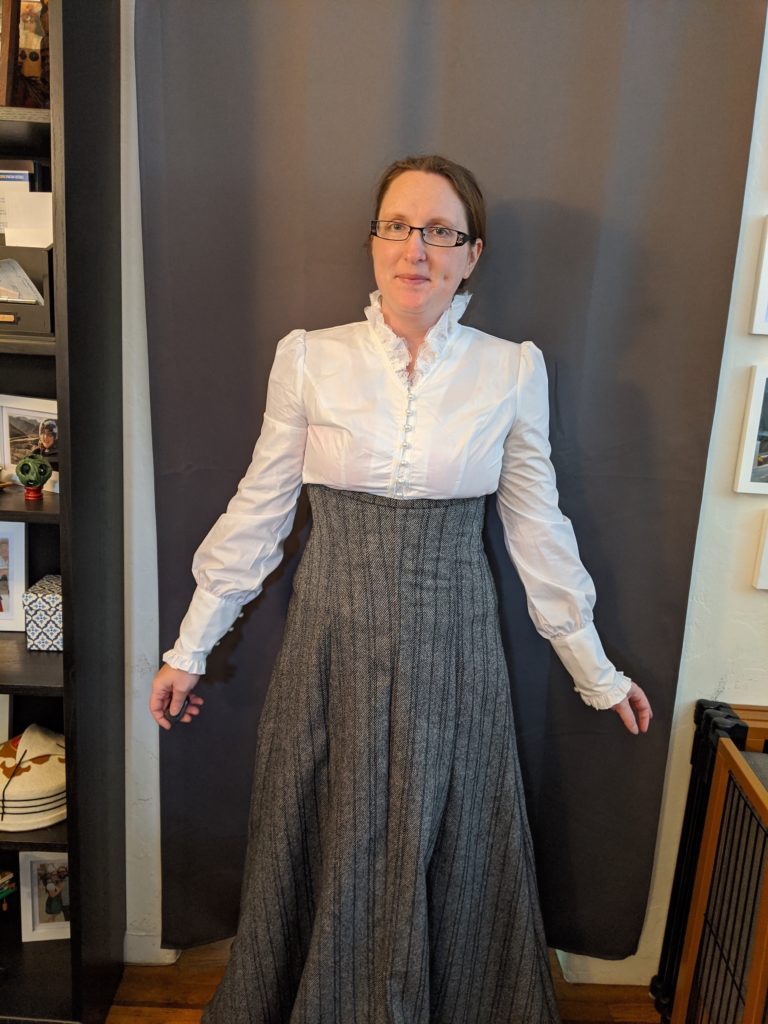
Yes, I will definitely wear this to like, work or the grocery store. Need appropriate shoes…. 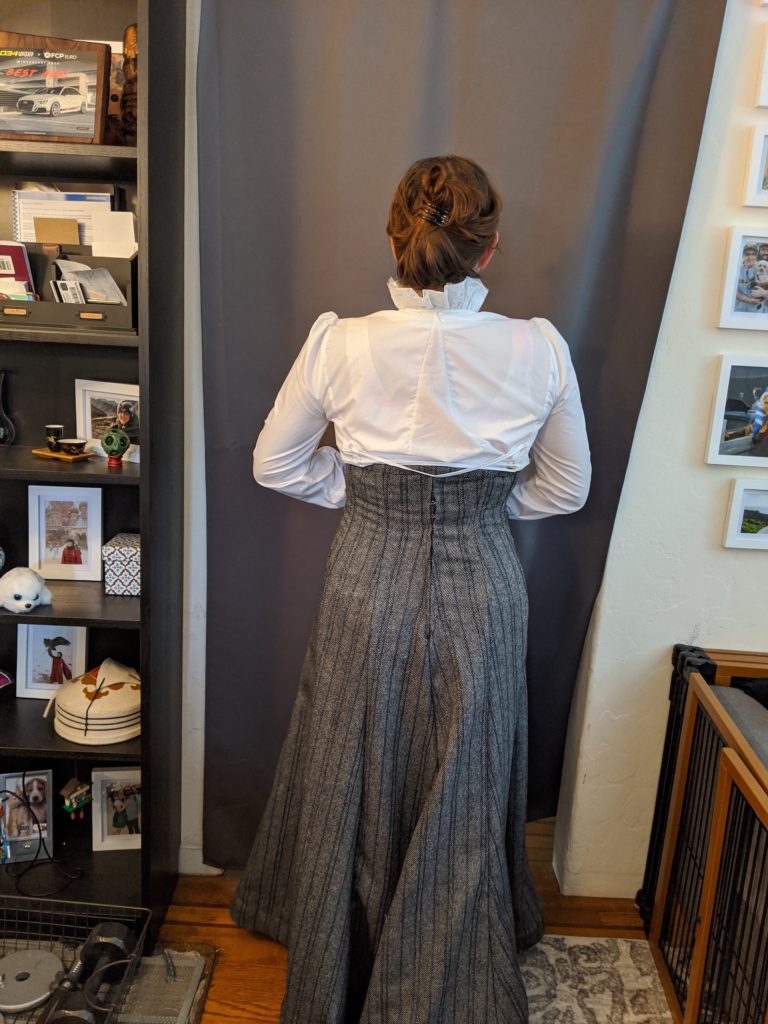
Back of the skirt and closure 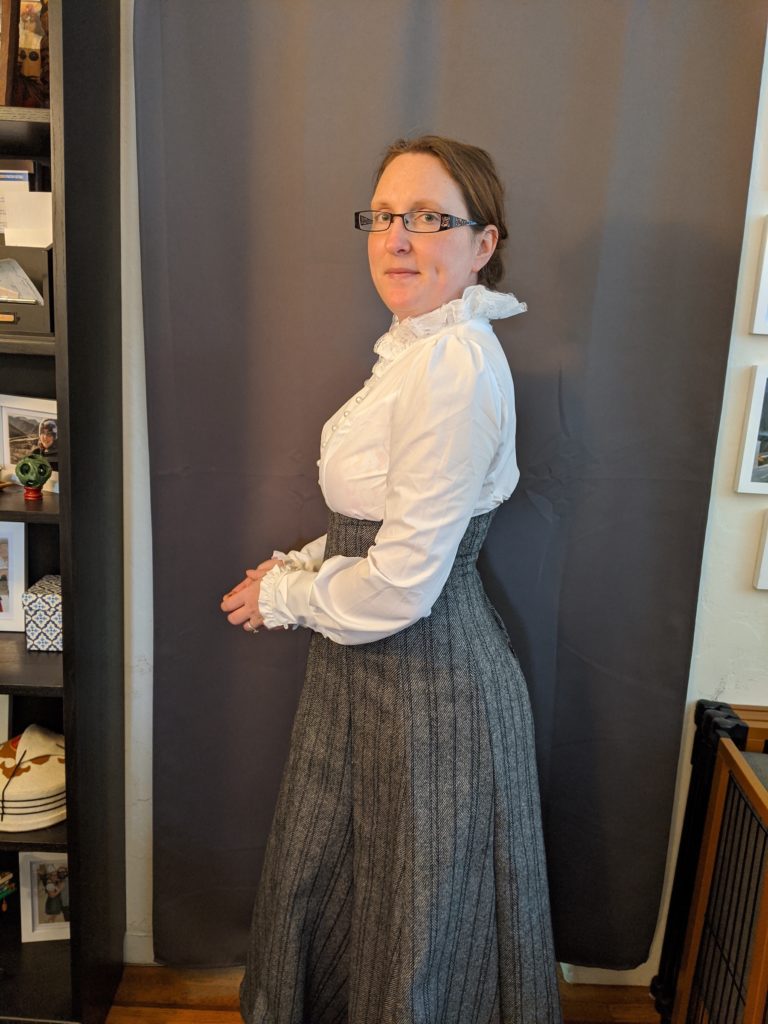
It will definitely need a little bum pad under the petticoat


