What is it?
Today I present my attempt at creating an Edwardian era (early 1900s) corset. I haven’t made a corset in many years, but I was determined to give this one a go. Most modern corsets are of the hourglass variety, most closely resembling the Victorian corsets of the 1800s. However, there was a blip of time in the early 1900s where someone (definitely a man) decided that corsets should be shaped entirely differently and that this would be “healthier” for the corset wearer. Riiiiight. (Due to the increased lumbar pressure caused by the entire weight of the torso being supported by a single point in the spine, rather than the spine stacking naturally, this was actually later determined to be far, far worse for the wearer. But that was never really the point.) So into fashion came the Edwardian silhouette: hips tilted forward, s-curve to the spine, and the chest “proudly protruding”. This is often called the pigeon silhouette, for hopefully obvious reasons. Once the corset caught on, the silhouette was ever-exaggerated by more and more padding, with bum pads and ‘bust improvers’ being required for the full effect. I’ll probably be making those items latter.

Post-bustle era: Some junk in the trunk, but ‘keep it natural’
Mock-up
I was very excited to get the corset pattern in, so I rushed in to make a mock-up as soon as it arrived, since my silk fabric that I wanted to use for the real thing had not yet arrived. I purchased the Truly Victorian TVE13 pattern and this is what I worked from. I cut the pattern for the ‘overbust’ version of the corset. My measurements fit within a single size of the pattern, so there were no adjustments before the mock-up. I used some leftover yellow and white plaid quilting cotton from a previous skirt project. I didn’t line the corset and I only put bones in a few places, putting the bones in the seam allowance channels, not bothering to use actual twill boning tape. It fit perfectly, and I was very excited by this early success.
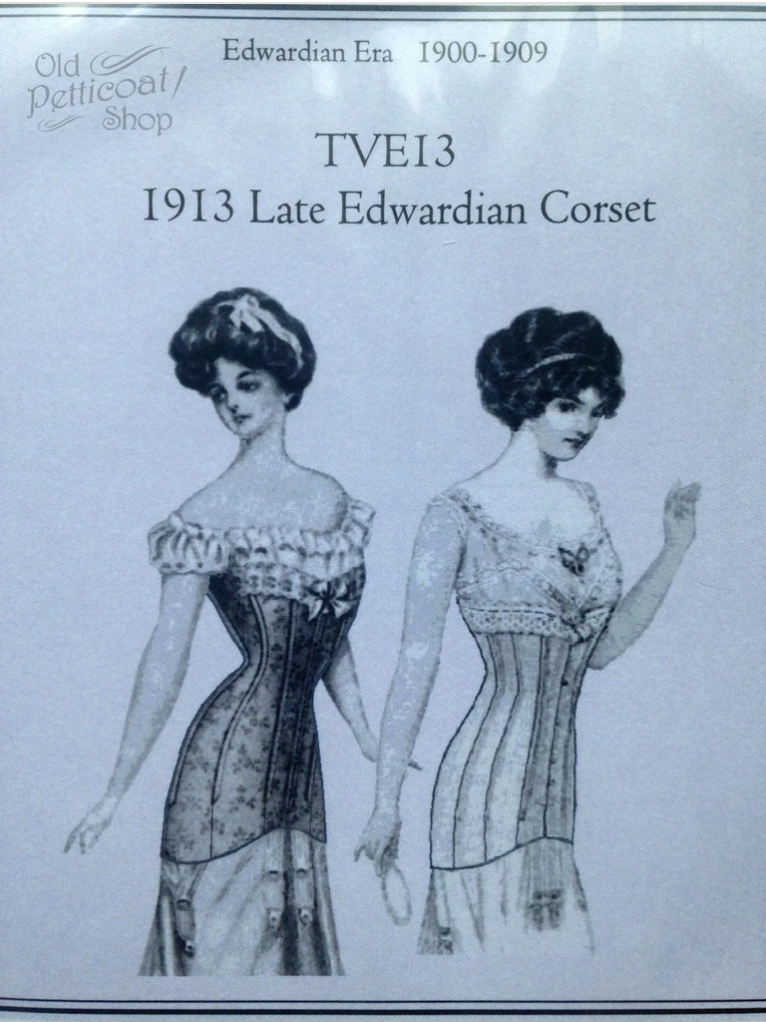
The pattern – I made the over-bust pattern (left) 
A quick mock-up with the waist line marked in pen 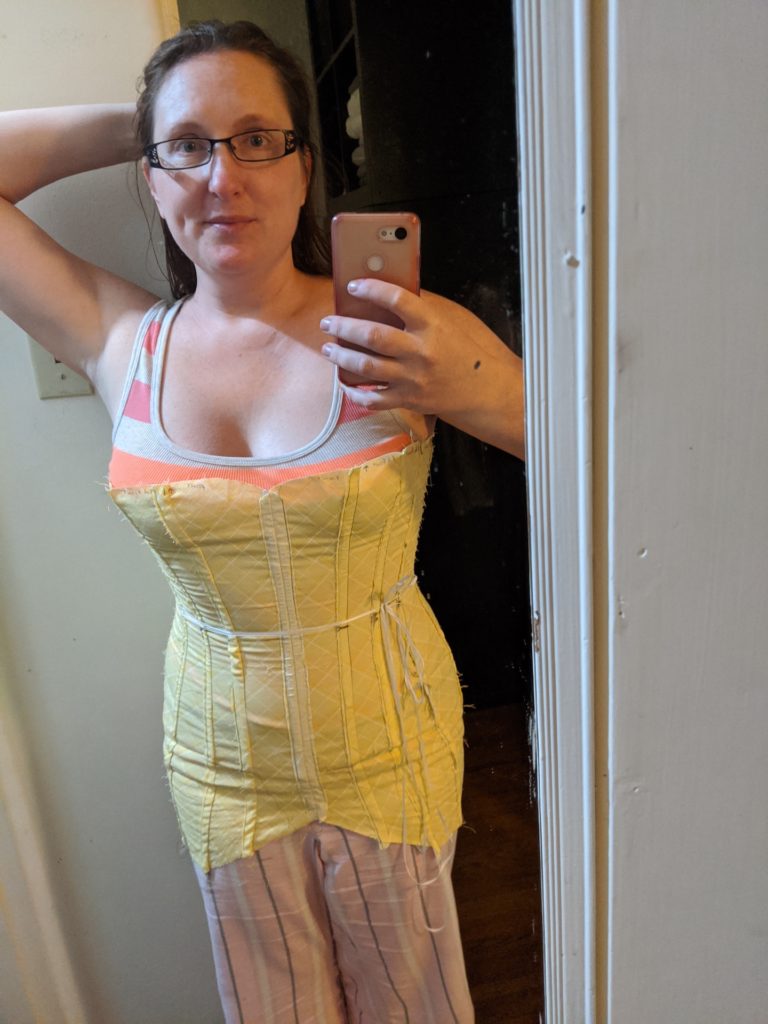
Trying it on for fit. Fits great!
Construction
I would like to say that this project went together easily and there were no problems, but man, I feel like every time I started working on this, is was maybe hour 7 of a 12-hour day and I ended up spending a lot of mornings pulling out stitches that I had erroneously done the night before. It became a rather tedious endeavor, even though it’s not super complicated to make. I think I could honestly produce one of these in a 2-day weekend if I were well-rested and didn’t do anything too dumb.
The corset pattern that I chose is a standard 6-piece corset pattern with a front busk and back lacing. The crux of succeeding at this project is being organized and labeling everything. There are 2 each of 6 pieces, and if you mix up the left and right sides or (since they are mirror images) make 2 right sides or 2 left sides, the corset will not work in the end.

The first step was to cut out all of the pieces. I began by roughly cutting out all of the paper pattern pieces. Then, I pinned those to a single layer of cotton coutil and cut out 2 of each piece. Coutil technically has a front side and a back side, so I cut the pieces out with the paper face up for one copy and face down for the other. The coutil will be inside the corset, so I don’t think it really matters, but I did it the ‘proper’ way. Next I cut out the fashion fabric. I purchased an antique pink and gold sari from an etsy seller which I used as the “fashion” fabric, or the outside of the corset. I wanted something kind of patterned and fancy, but close enough to my skin tone that it wouldn’t show excessively if I wore a light blouse or dress over it.

Ironing the layers together 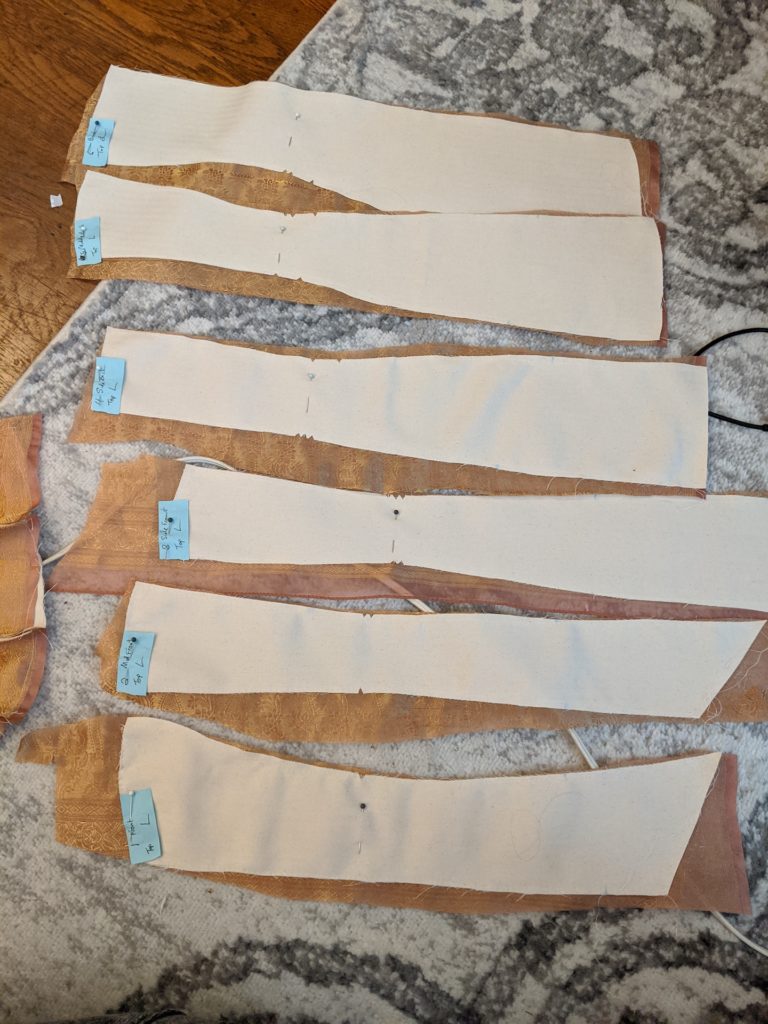
My very sophisticated pinning and labeling system 
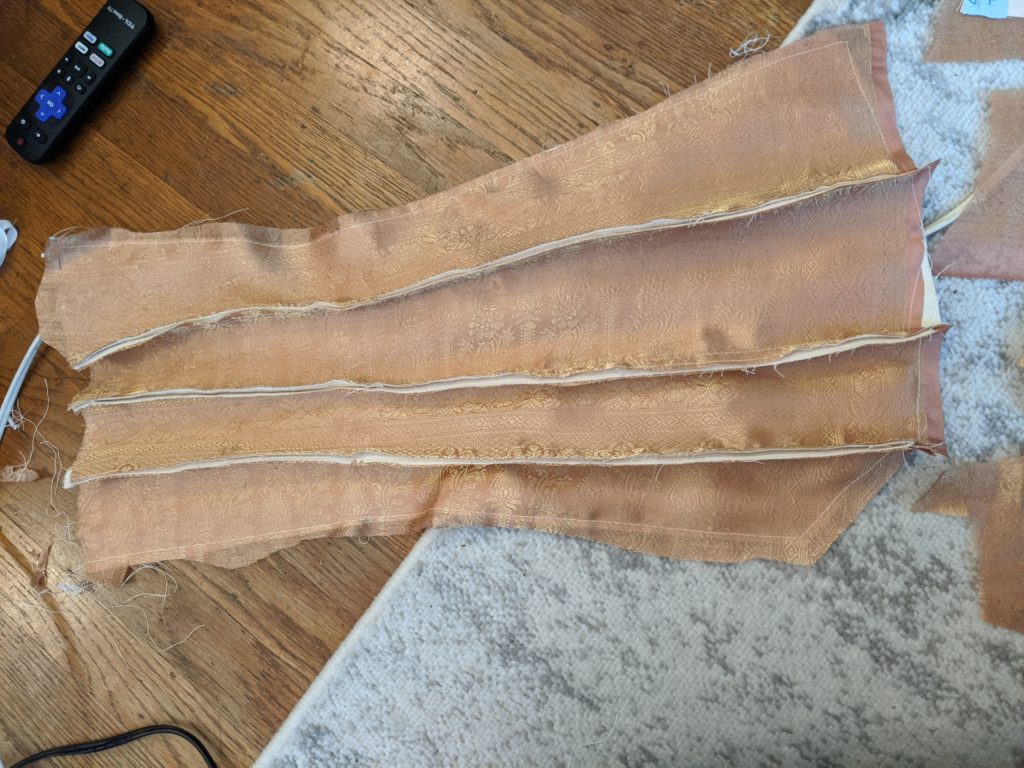
Flat lining the 2 layers together
The sari fabric is pure silk with gold metal filament threads weaving the design through it. This made the fabric quite prone to fraying and left tiny shards of metal wire threads all over the floor as I was cutting. It was marked as 100% silk, so the metal threads were a bit… unexpected. But I decided to just roll with it. Because of the fraying, I pinned the coutil pieces to the silk, and cut roughly around the silk, leaving the pieces larger than the coutil, which had been cut precisely to size.
The next step is to flat-line the pieces. I have a small post-it note with the side (R or L), the piece number (1-6), and the orientation of the pieces (I pinned them all to the top), pinned to each piece to keep them organized. So for every single step of this process, I am removing the pinned on label, stitching the piece, and then re-pinning the label. I took each of the pieces and used an iron to press them together, being sure they were perfectly smooth and wrinkle-free. Then I flat-lined the pieces by stitching around the edges within the seam allowance. This will keep the silk from fraying as much and will keep the silk and coutil from sliding around against each other while I continue the construction process.
The next step was to assemble the corset. Because of the itchiness of the fraying metal threads, I decided to make the boning channels external to the corset rather than internal. The pattern indicated they should be internal, but this doesn’t effect the silhouette. It’s just a design choice. It might make this particular corset a bit less historically accurate, but not being jabbed by itchy threads is totally worth it. So I began assembling pieces 2-5 together for the right and left sides. I pinned the coutil-side to the coutil-side, matching notches and the marked waistline. Then I stitched them together along the seam allowance, using a small stitch and pink silk thread that matches the fashion fabric.
Assemble!
From there, I needed to add the busk to the front pieces. The busk is a metal hoops-and-knobs type thing that has to be very precisely sewn into the front of the corset. This is where I took piece 1, and the facing for piece 1, and began working on the busk placement. And this is where I made my first mistake. To add the busk, I started by marking where the hoops should come through the front of the corset. Then I stitched the facing and piece 1 together along those markings, only this time, it’s silk-side to silk-side. Then I folded it around and slipped the hoops through the openings I had left in the stitching. Finally, using a zipper foot, I stitched as closely as possible to the edge of the busk all the way around it to secure it in place. Yay, one side finished. The other side is the ‘knob’ side, and has knobs that protrude out through the fabric. I used an awl to make small holes in the fabric, and slipped in the busk, being sure to match the busk hoops on the other side and keep it pressed firmly against the seam. Then using the same technique, I went around it with my zipper foot.
Hoop side 
Knob side – the zig-zags in the middle are just temporary to hold the seams flat
Now it’s time to attach piece 1 to the corset. And this is where I realize my mistake. I start to line up the waistline and the notches and realize…. I’ve put the busk aligned with the bottom hem, not the top. This is a terrifying moment, since pulling out all of those stitches will take a lot of time and effort, but also…. I’ve poked holes in the fabric where the knobs go. So I spend the next morning very carefully pulling out all of that stitching. And I carefully slide the busk pieces out of the fabric. And now I have to re-insert them, but they are now on opposite sides. Fortunately, I had used an awl and not a hole punch, so the idea is that you push the threads of the fabric apart without breaking them, when you make a hole, rather than cutting out a hole. This was very fortunate and the fabric mostly recovered. I can definitely see it, but I don’t think it’s obvious. And now I’m kind of undecided on whether I’m going to add a bit of lace or some sort of embellishment on that front closer seam.
So now, with the busk reinserted and re-stitched, I attached piece 1 to pieces 2-5. The next step is to add piece 6, the center back piece that holds all of the eyelets for lacing. Piece 6 also has a facing, so I stitched piece 6 to its facing and folded the facing to the inside and pressed the seam flat. The center back has 1 bone, then the row of eyelets, then a second bone. These bones keep the eyelets from bunching up together when the corset is laced, so they need to be strong. But because the back is supposed to be an S-curve, they also need to be flexible. Victorian corsets usually use 1 wider, stronger bone next to the eyelets. This corset uses the same bones from the rest of the corset, but there are 2 instead of 1, to keep the area flexible. So I Stitched at the appropriate marks to make 2 boning channels and a channel for inserting the eyelets.
Here, everything is finished except for adding the bones. But the overall shape and size of the corset is complete. So I did a fitting and realized…. the added thickness of the coutil, as well as probably following the seam allowances much more closely compared to my mock-up, had left my corset a couple of inches smaller around than I had wanted. Sighhhhh. So I went through and pulled out all of the seams 2-5, one at a time. Then re-stitched them back in place closer to the edge of the fabric, leaving a smaller seam allowance. This is, technically, one of the intended goals of the seam allowance: to allow for adjusting the fit at certain spots. But it is not the goal to do that for every single seam. Once I finished this, it was a much more suitable size and it was ready for the next step.
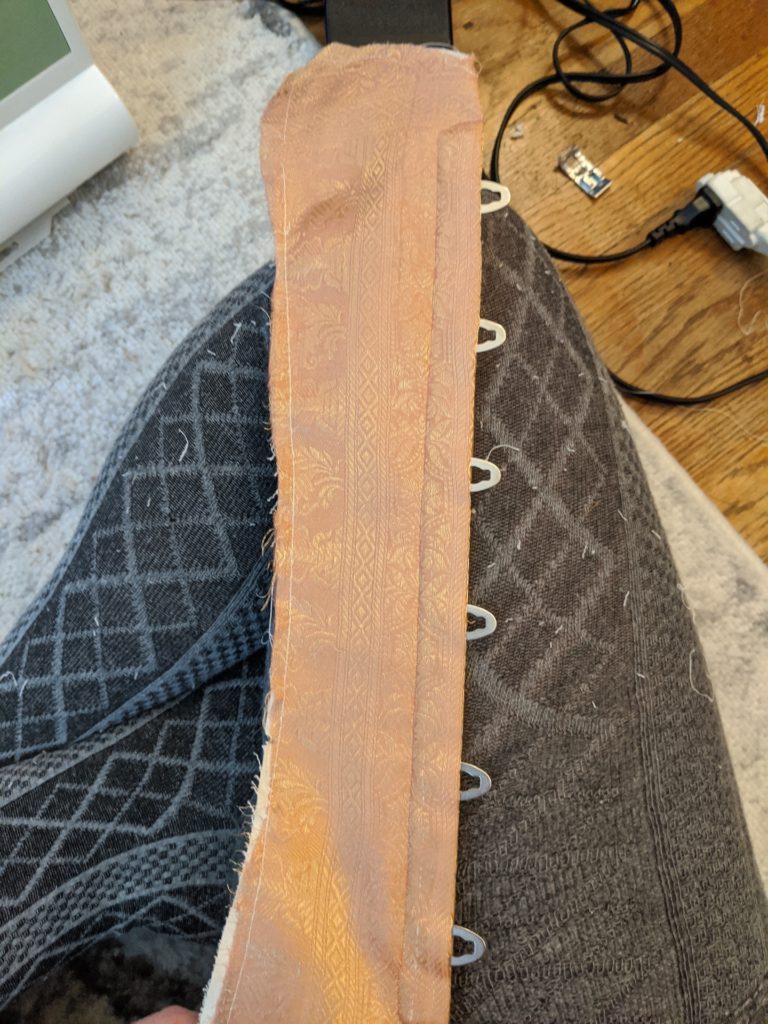
The next step is to attach the boning channels. Since I decided to make the bones external, I had to cover the channels in fashion fabric. I used white boning tape, and cut a length of boning tape for each seam, leaving an inch or so past each end. Then I cut a piece of fashion fabric the same length and wide enough to wrap around the boning tape. I used an iron to shape the fashion fabric around the boning tape, and then I stitched this covered boning tape over every seam.

Ironing the silk around the white twill boning tape 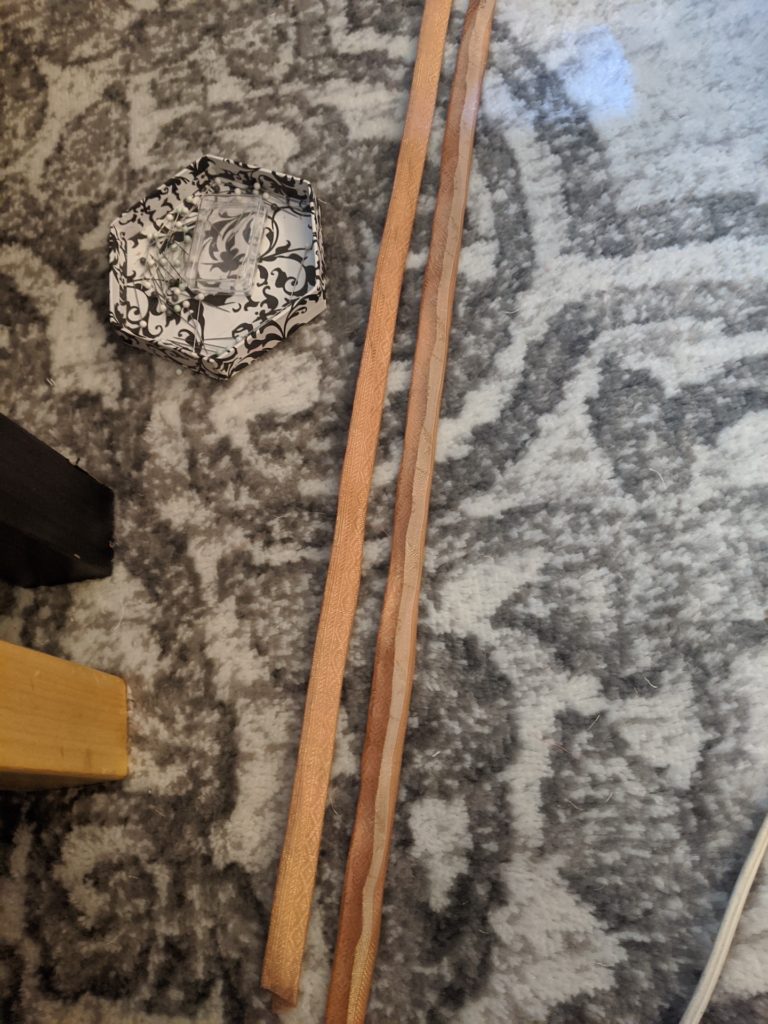
long strips of covered boning tape
Now it’s time for the hardware. The Edwardian corset is way longer than Victorian corsets, keeping a smooth corseted line, well below the hips. This means that the bones are also longer, though the bones do stop just short of where your hips bend so it’s possible to sit down. For this reason, I ventured into cutting my own bones, since my bones in my stash were all far too short. I ordered a length of ~4 yards of white spring-steel 1/4 inch wide boning, and a pair of bone cutters. Using the bone cutters, I measured each bone from the top of the corset to the marked end-point of the bone, labeled the bone with a sharpie, and then cut the bone. The cutters don’t make curved cuts, so I made 3 cuts for the end of each bone. Then, using my dremel and a stone grinding tip, I ground/polished the ends of each bone into a smooth, rounded end. This will keep the sharp bones from poking through the fabric as you wear the corset. Each end of each bone was then dipped in plastidip and allowed to dry for the prescribed 4 hours.

Cut the bones to the appropriate length 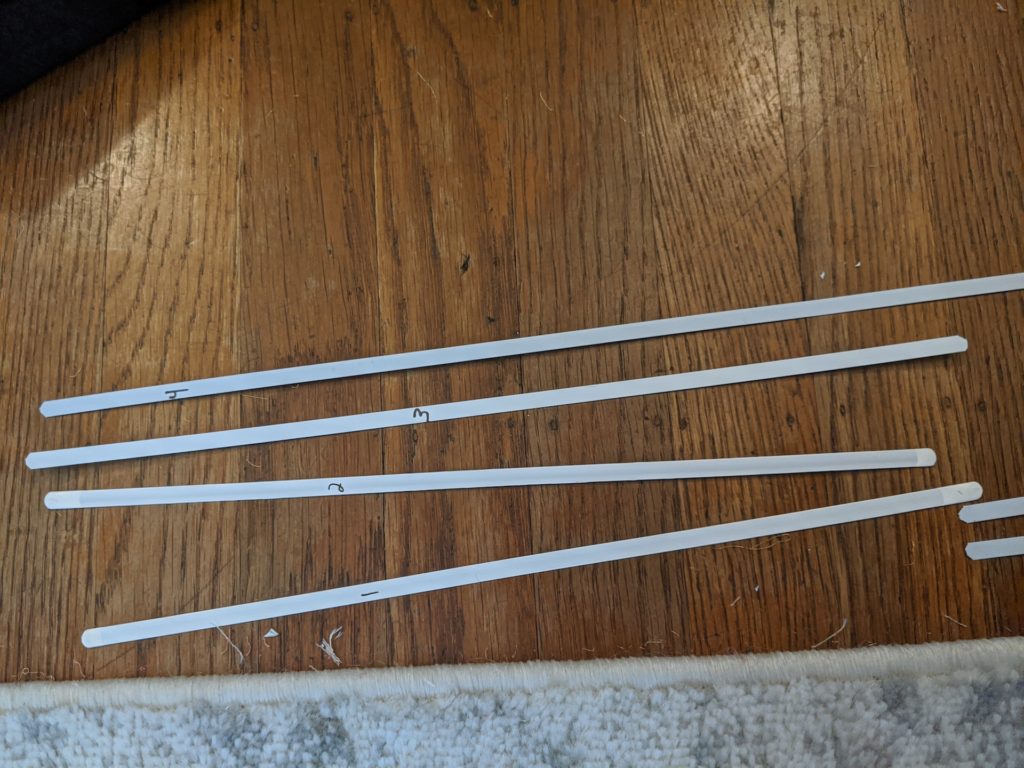
Label the bones so they don’t get mixed up 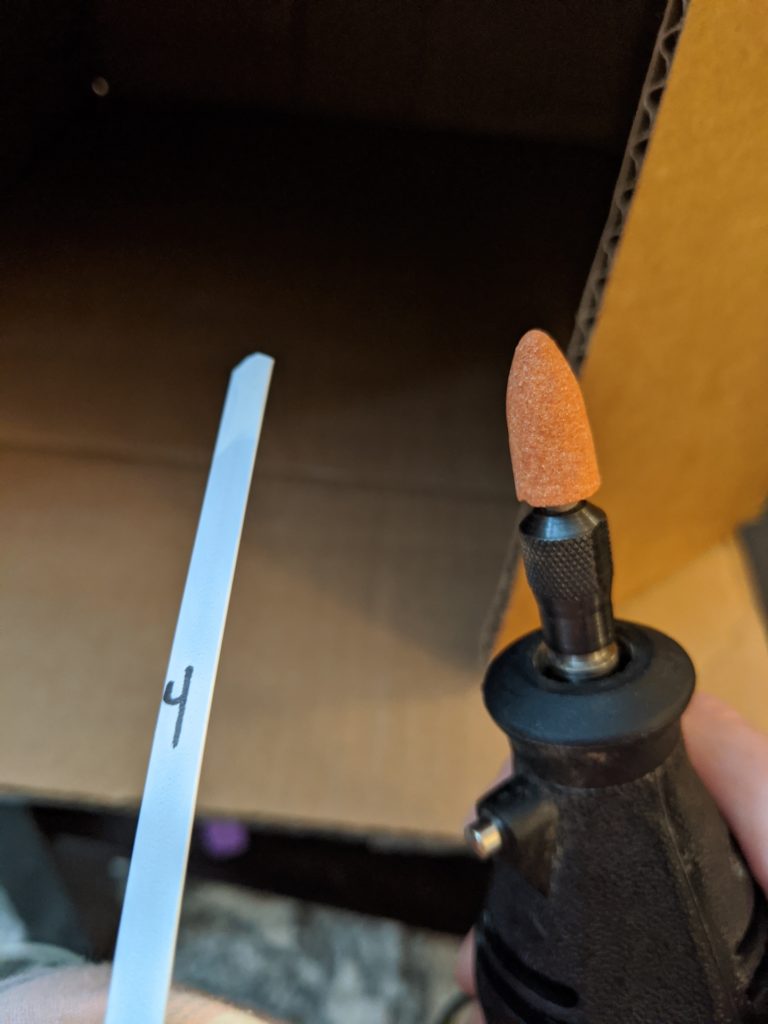
Grinding the tips from a pointy end to a round end 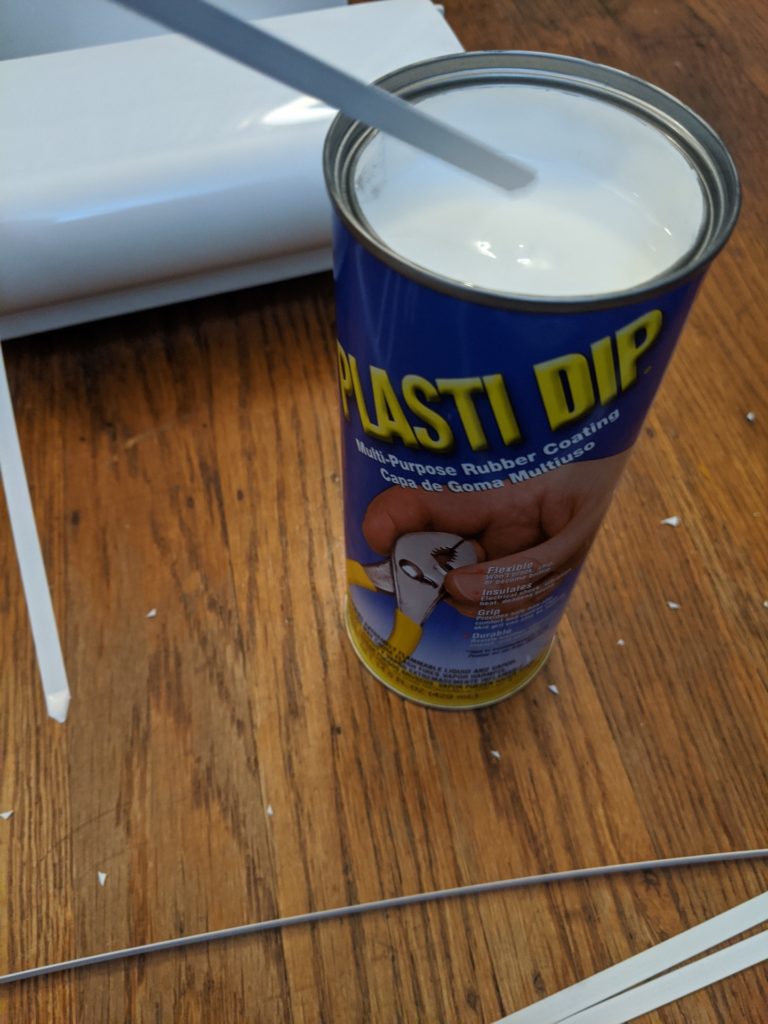
Dipping the tips in plasti-dip to keep the sharp metal ends from cutting through the fabric 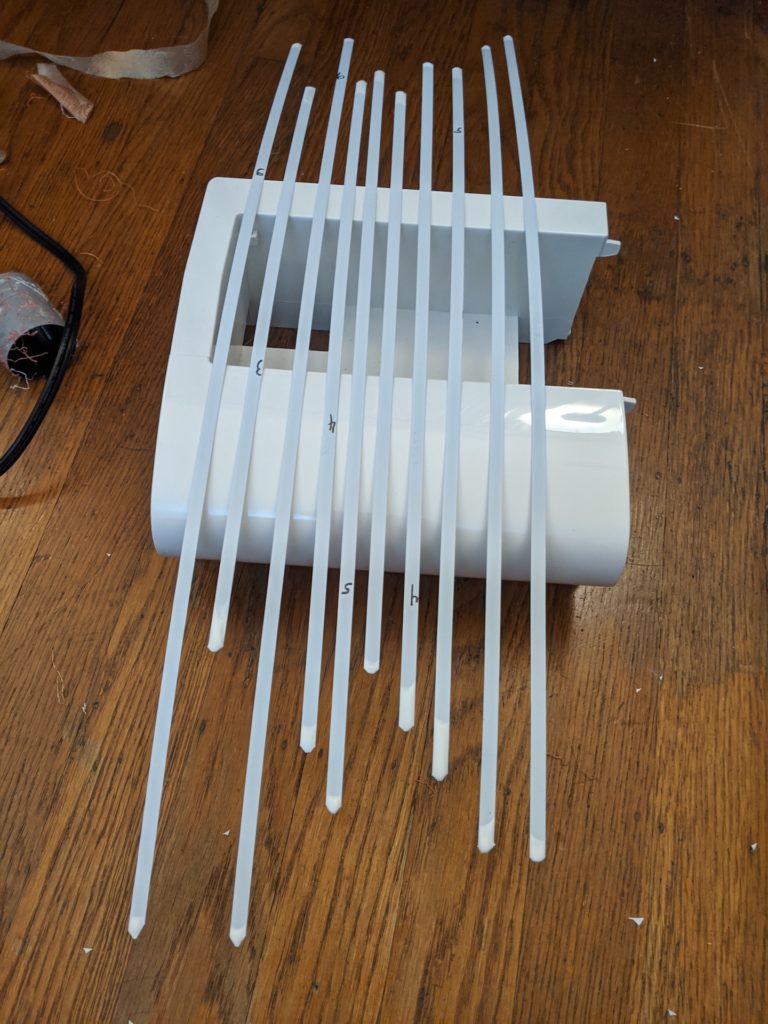
Letting the plasti-dip dry
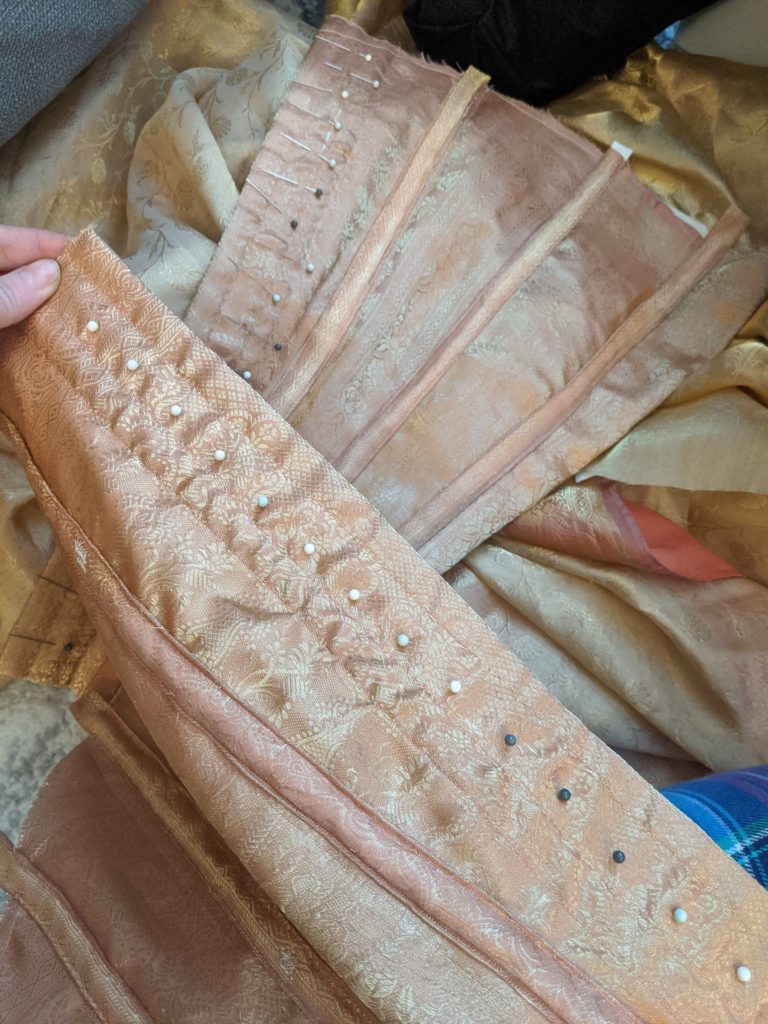
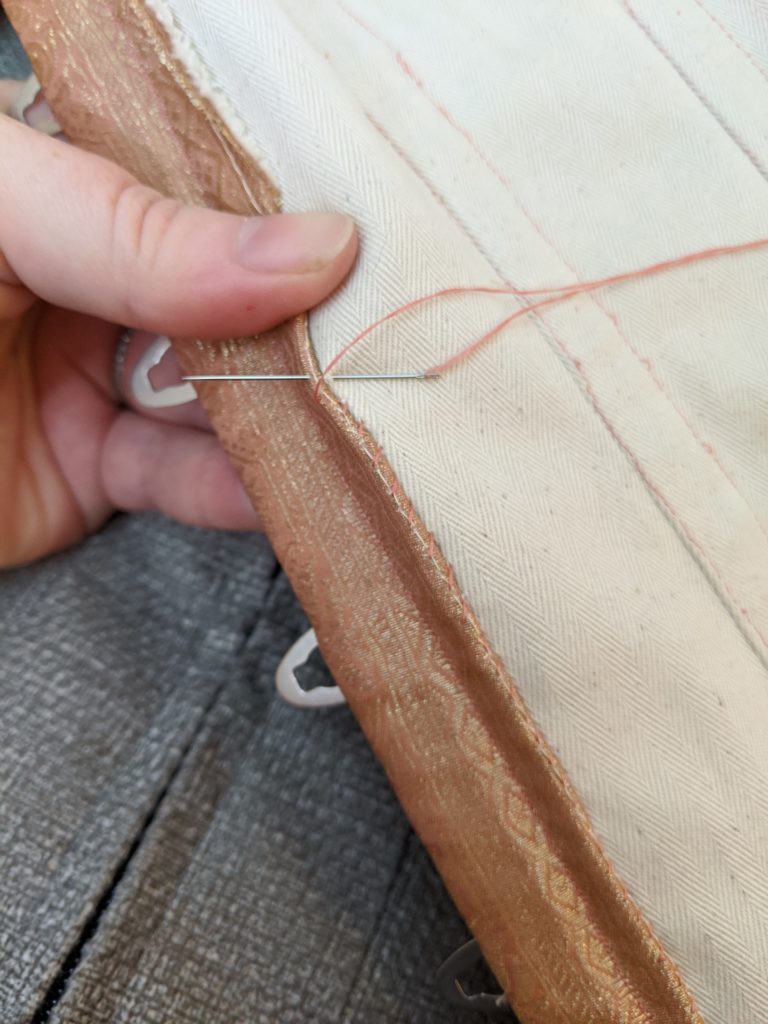
Next, I made some double folded seam binding tape using what remained of my fashion fabric. I cut strips the length of the top and bottom edges of the corset, that were about 1.5-2 inches wide. Then, using the edge of the fabric pattern as a guide, I folded over one side and ironed it in by about 1/4 inch. Then, using that edge as a guide, I folded the other side in and ironed it down, leaving a strip, approximately 1 inch wide with the 2 edges folded in. I used this tape to bind the bottom edge of the corset by hand, stitching the outside/visible edge first, and then whipstitching down the inside edge to the coutil, but not through the outer silk.

hand-stitching the bottom edge with binding 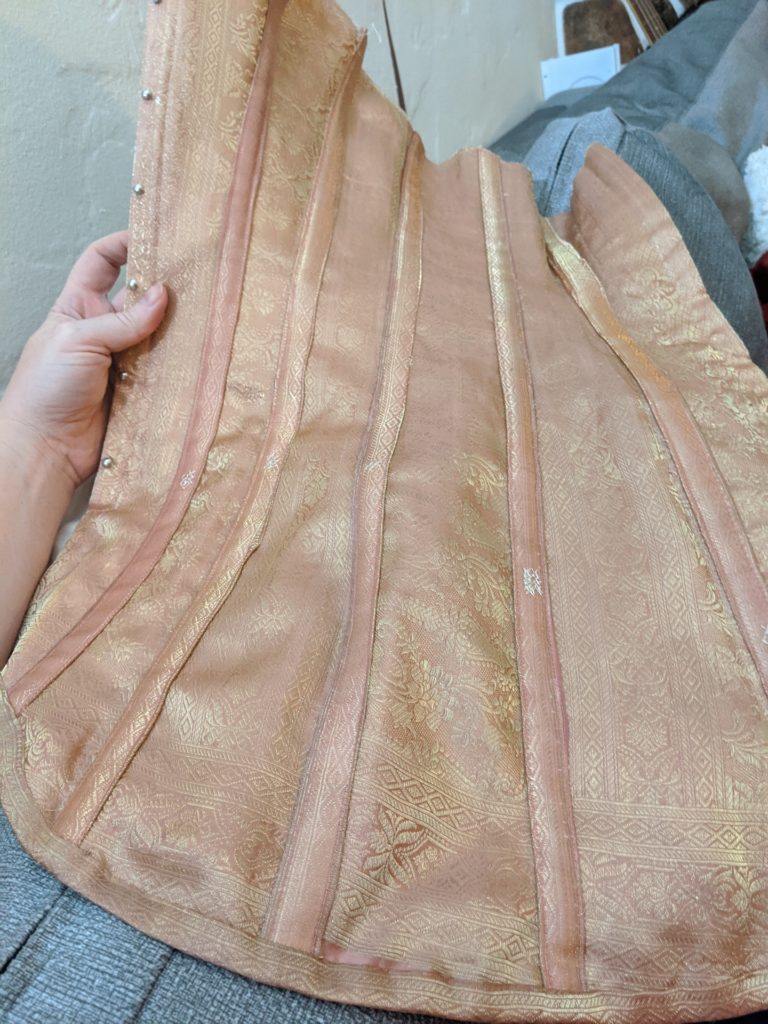
Boning tape attached to the corset and bottom edge bound
How many steps are there, you must be thinking. Infinity. So many more…. I went ahead at this point and trimmed down the back side of the corset so it would be less visible if I wore a dress with a low back. So the next step was to add the eyelets to the center back pieces. I turned on the Taylor Swift documentary and had those eyelets applied before it was over. I measured the distance between the eyelets using the marked pattern piece. Then, I made a little piece of cardboard to make sure that the center of each eyelet was aligned properly with the edge of the corset back. This step probably shouldn’t be necessary, but I am very imperfect and wanted to try for some semblance of uniformity here. I went through the process of adding the eyelets: 19 on each side. Using the awl, I poked a hole through the marked spot, through 2 layers of coutil and 2 layers of silk. The coutil is a special fabric specifically for corsets that is designed not to stretch and to endure the pressure of tight lacing. So ramming an awl through 2 layers of it was quite a workout. This is not a smooth process. Once a hole is large enough to put the eyelet through, I insert an eyelet on the outside and a washer over the eyelet on the inside and use my eyelet press to seal the 2 together. 38 eyelets, complete!
Putting pins in to mark the spacing of the eyelets (from the pattern) 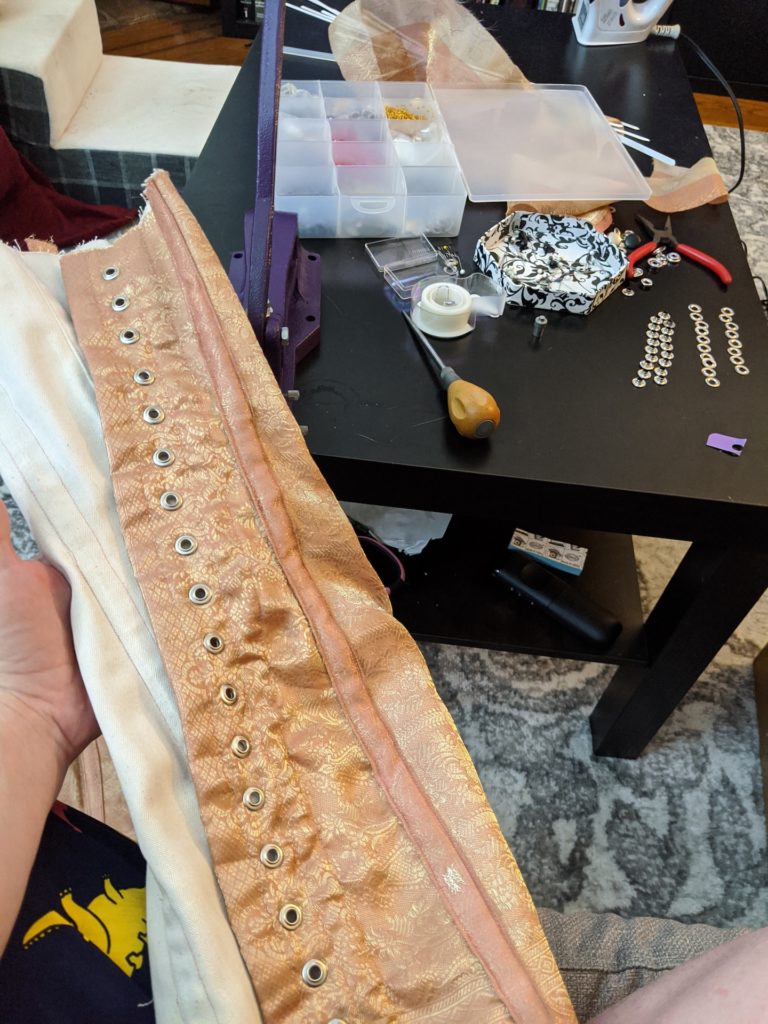
Awl (center) and purple grommet press (top left) that were used to seal in all those grommets.
Finally it is time to add the bones. Since the bones do not extend from the top of the corset all the way to the bottom of the corset edge, I added some temporary machine stitching in the middle of each boning tape to mark the end of the bone and hold it in place. I slipped each bone into its channel, as marked. Then I used the remaining 2 pieces of edge binding to bind the top edges of the 2 corset pieces.

Sliding the bones into the channels 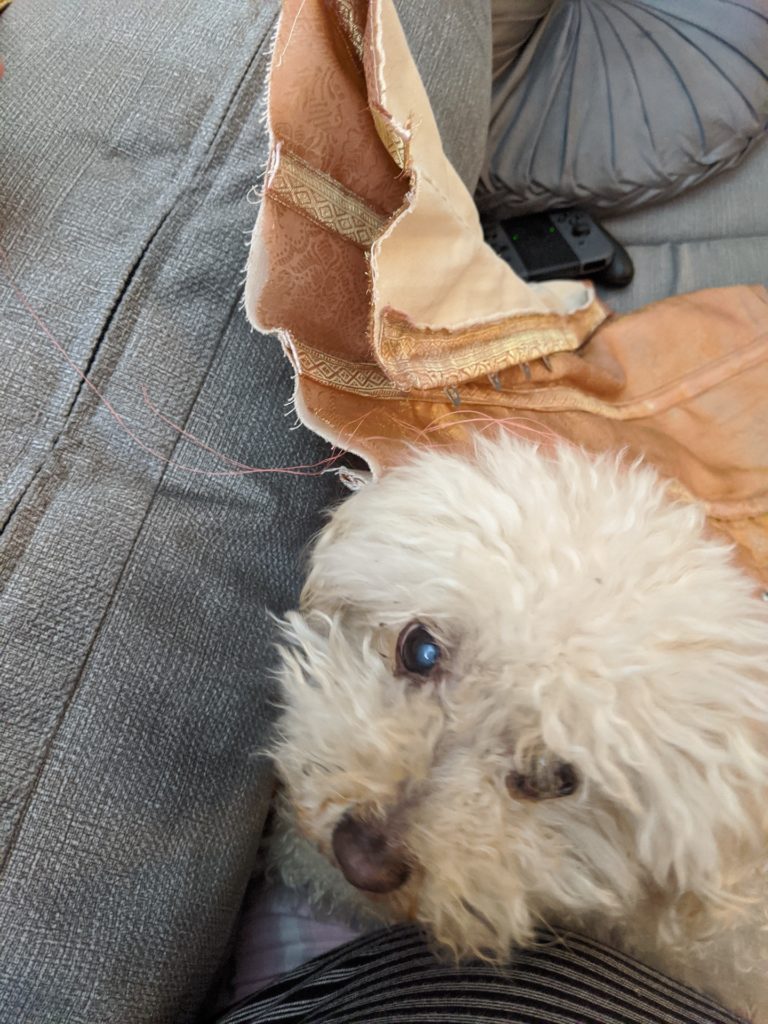
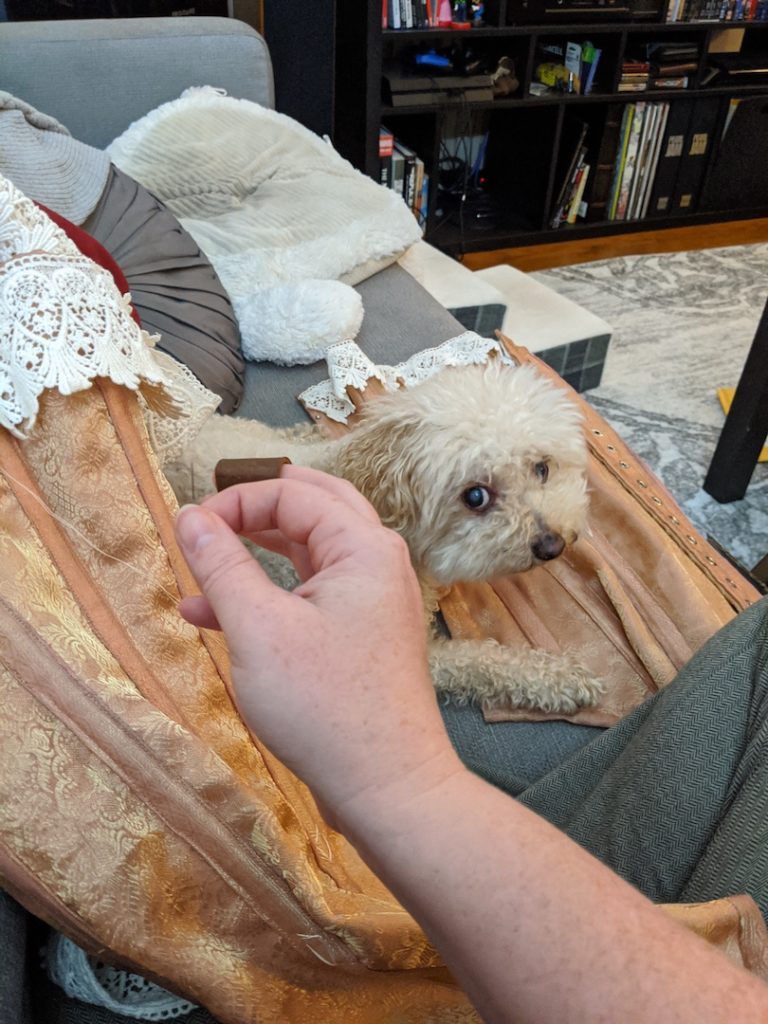
My faithful companion
All that’s left to do now is the finishing! This is an exciting and exhausting stage of any project, and I kind of just want to call it done here, but that’s not what happened. I went back over all of the bones and hand-flossed the top and bottom ends with a slightly contrasting ‘linen’ colored silk thread. This will hold the bones in place and add some beautiful embroidery decoration. After that, I stitched a border along the top edge of 3-inch wide antique cotton lace, which was also historical common practice. Decorating the top edge with lace was common. They probably used new lace at the time.
Finishing the inside of every edge of each piece 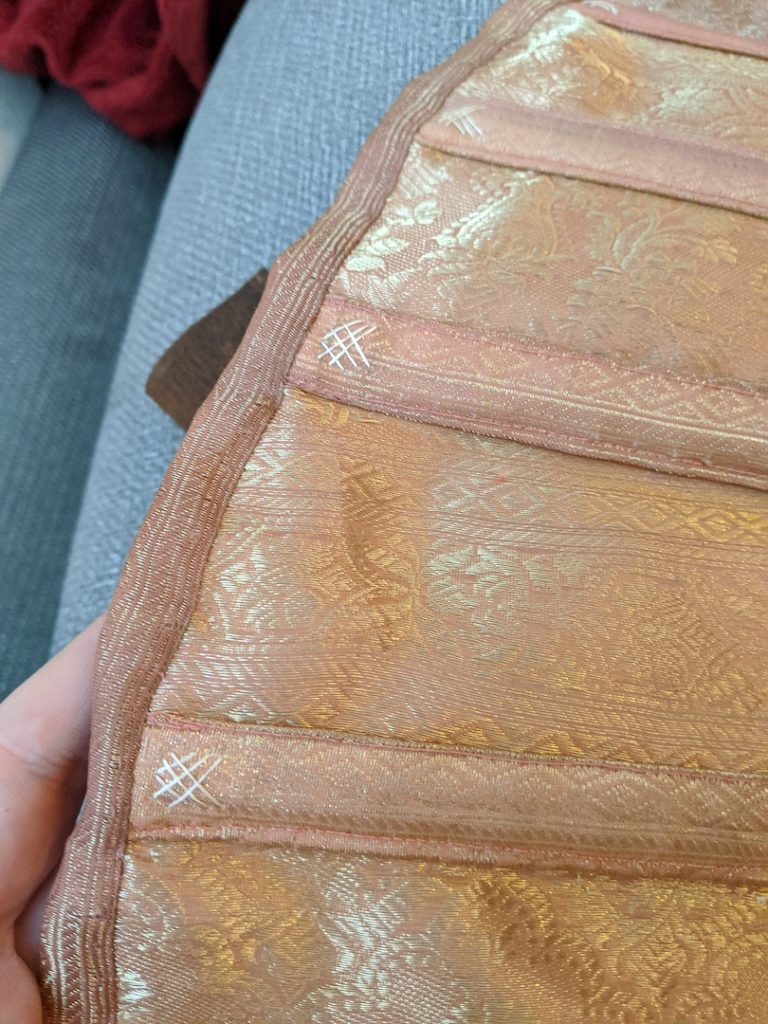
Flossing at the top edge 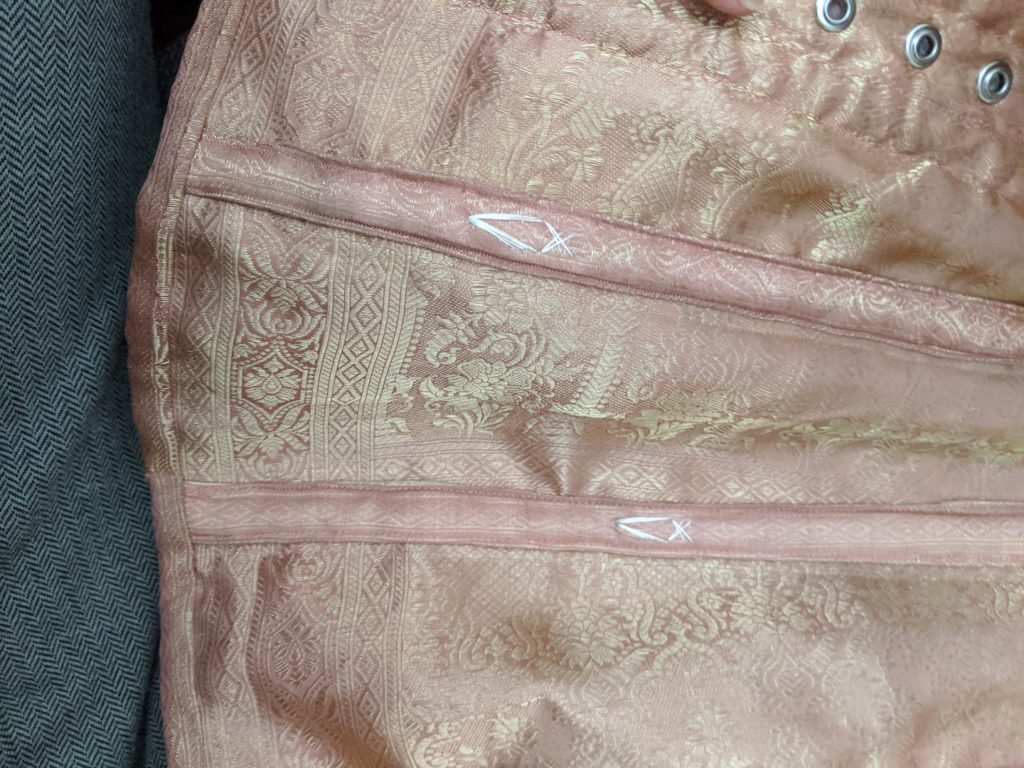
Flossing the bottom of the bones. The bones don’t go all the way to the bottom of the corset, to allow the hips to bend.
The final.final step from here was to add the lacing. I used round white cotton lacing cord, tied at the bottom. I laced it in a criss-cross pattern, leaving “bunny ears” in the center for ease of adjustment. And with that, it is finished. I am still considering whether I should add something to cover the spots on the front busk closure. Thoughts?
Ever feel like you’re being watched? 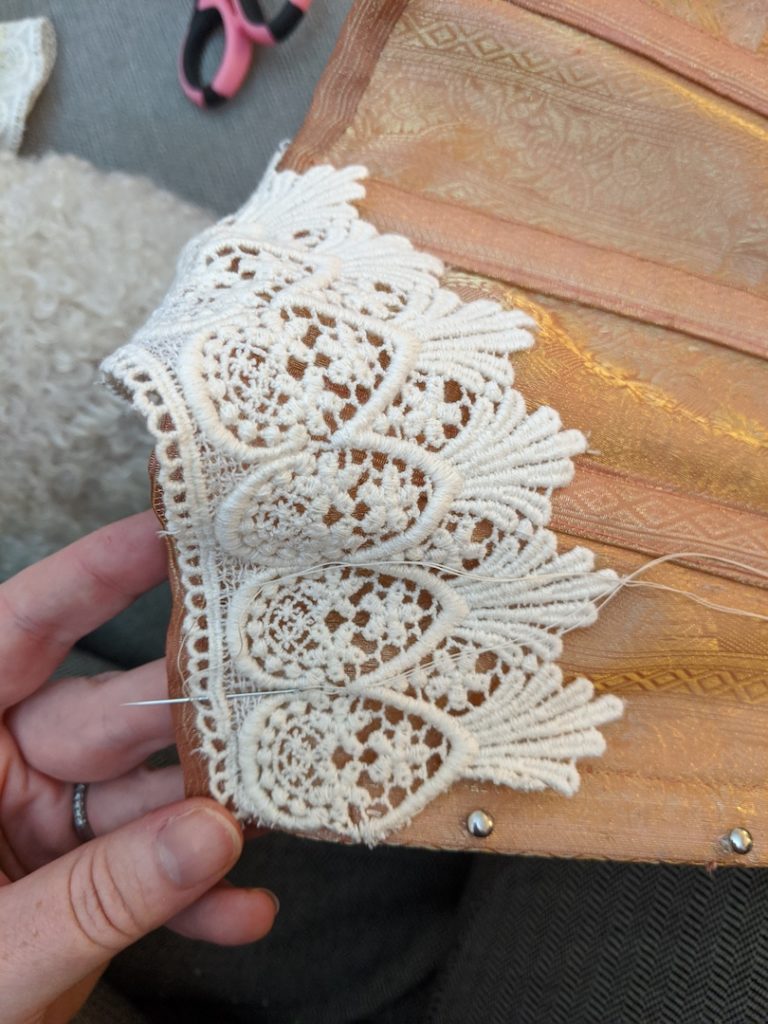
Lace: The final frontier 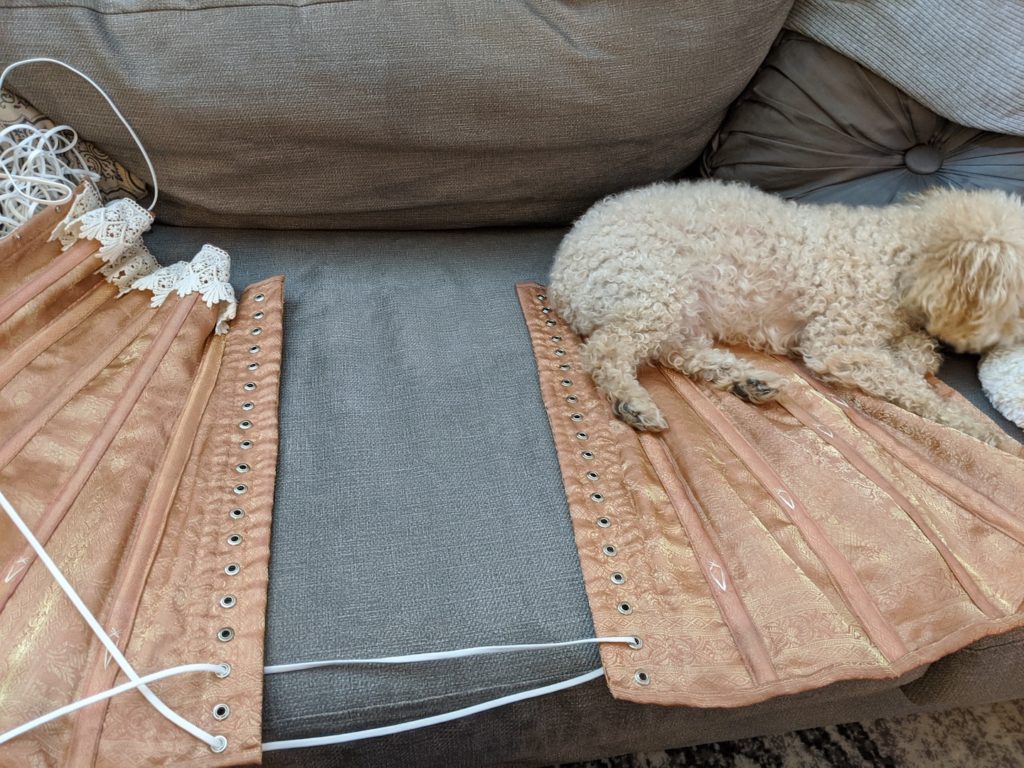
Beginning the process of lacing the back. 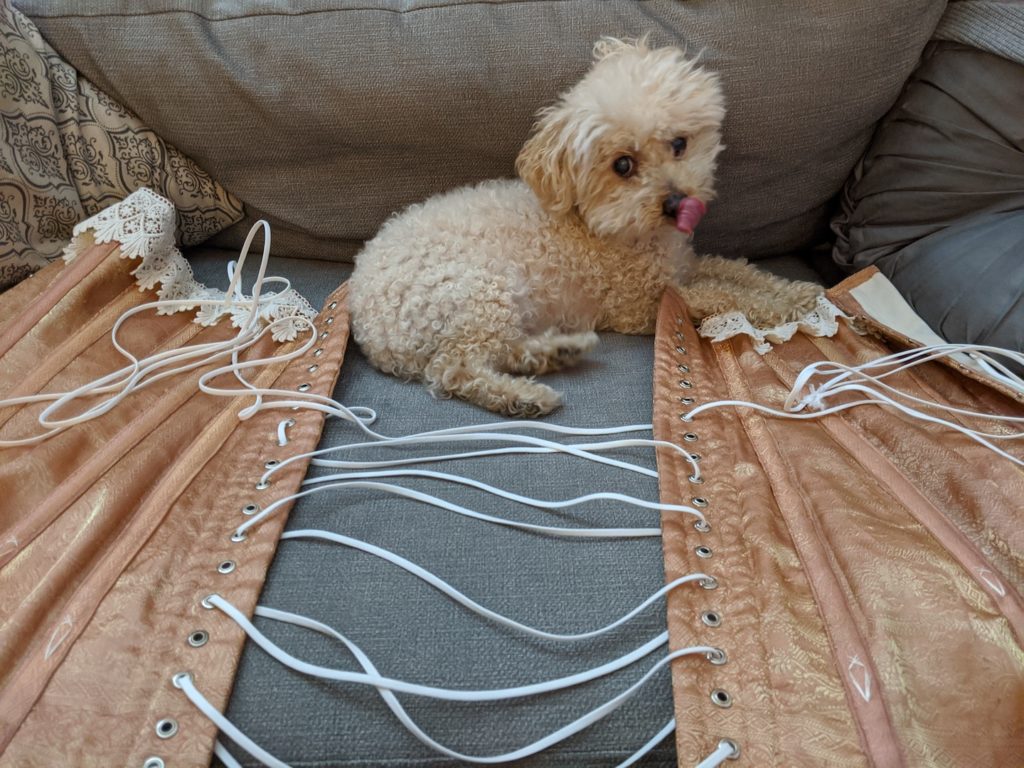
I’ll just work around him
Results
So… did I just write a scientific paper with hypothesis, methods, and results? Maybe. Maybe I can’t not do that. This is who I am now. Or perhaps it is who I have always been.
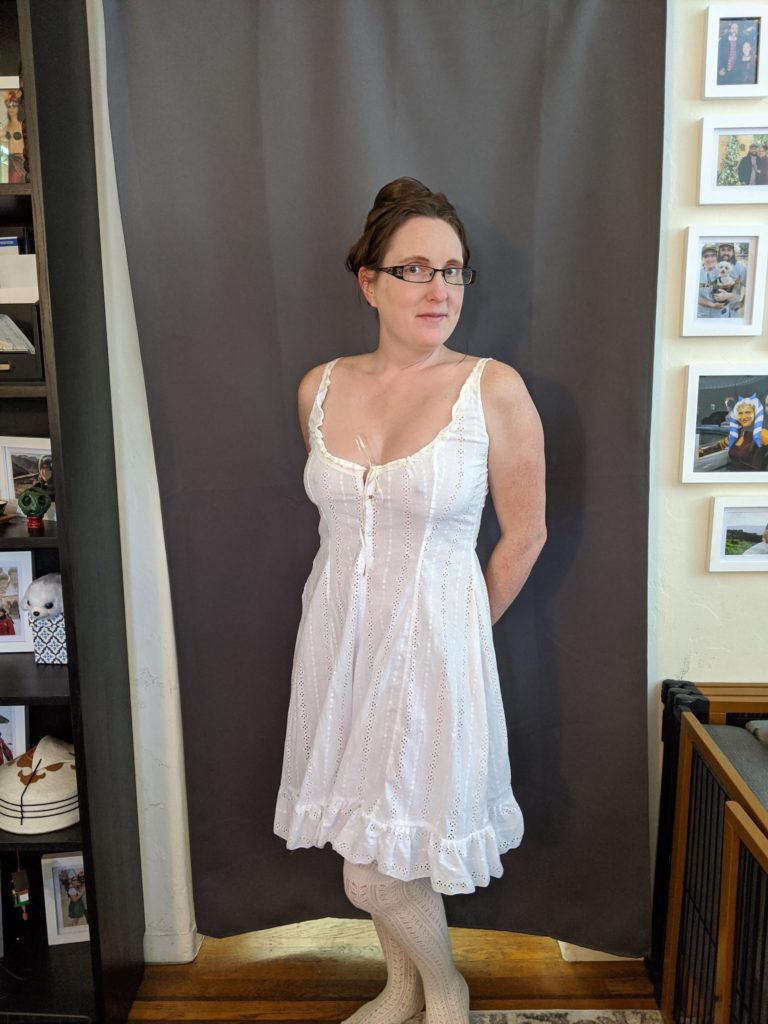
The first layer: combinations 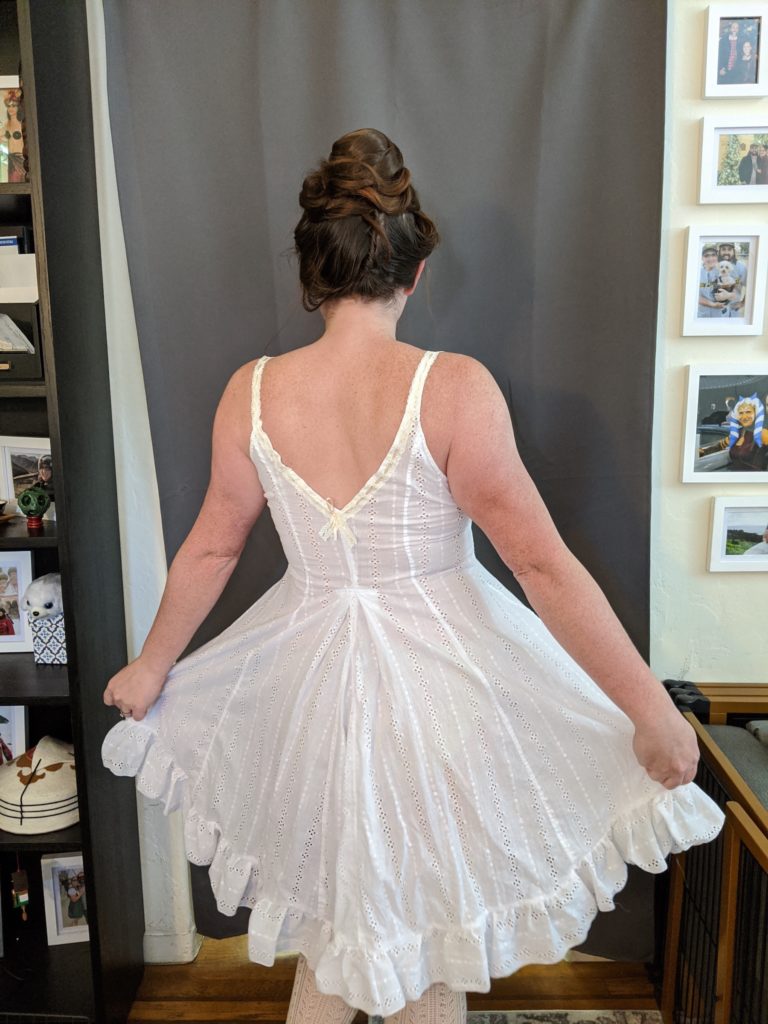
So floofy 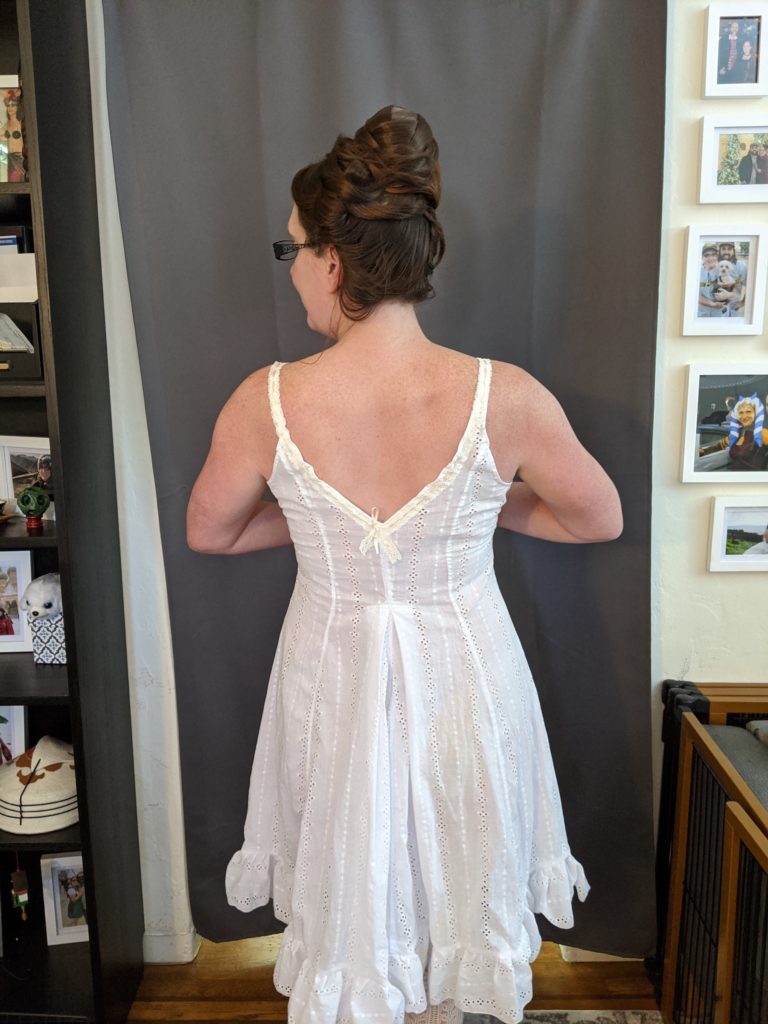
View of the back pleat 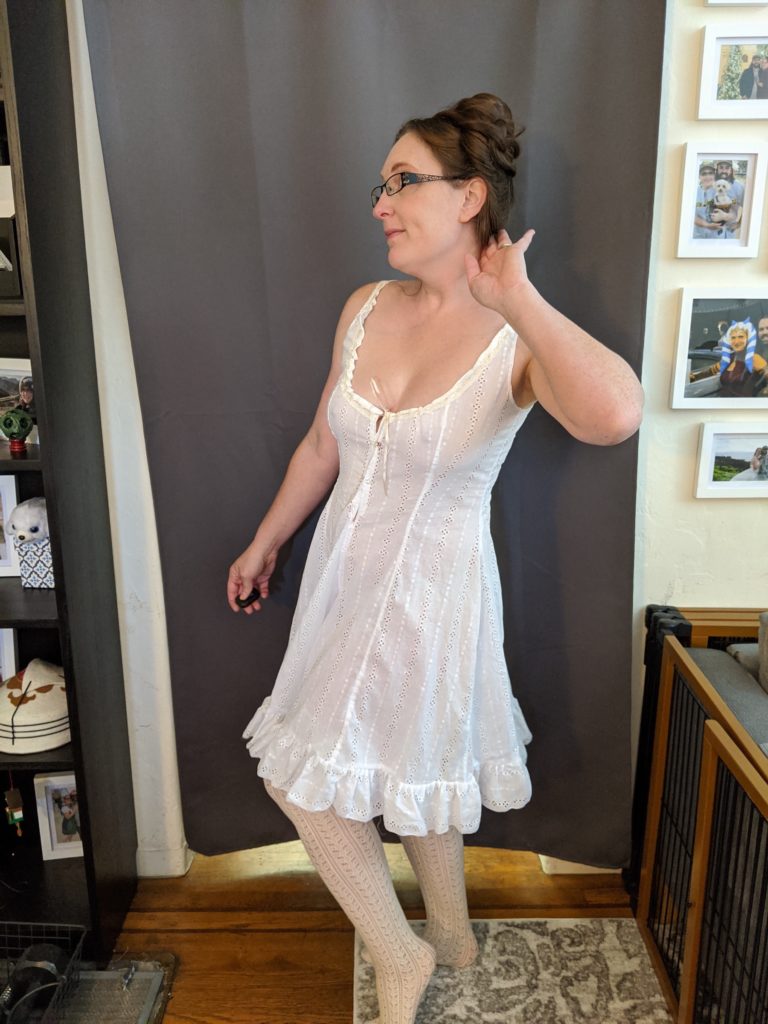
With some knit cotton stockings 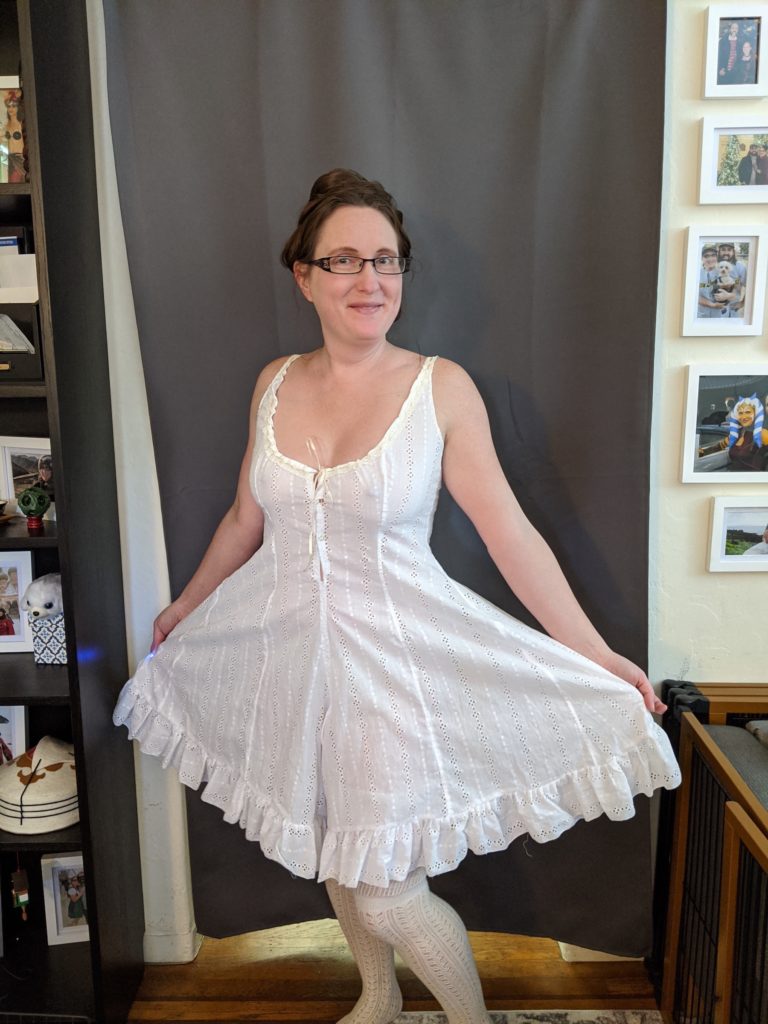
These are sooo comfy
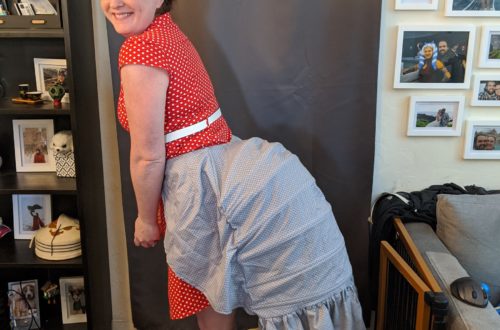
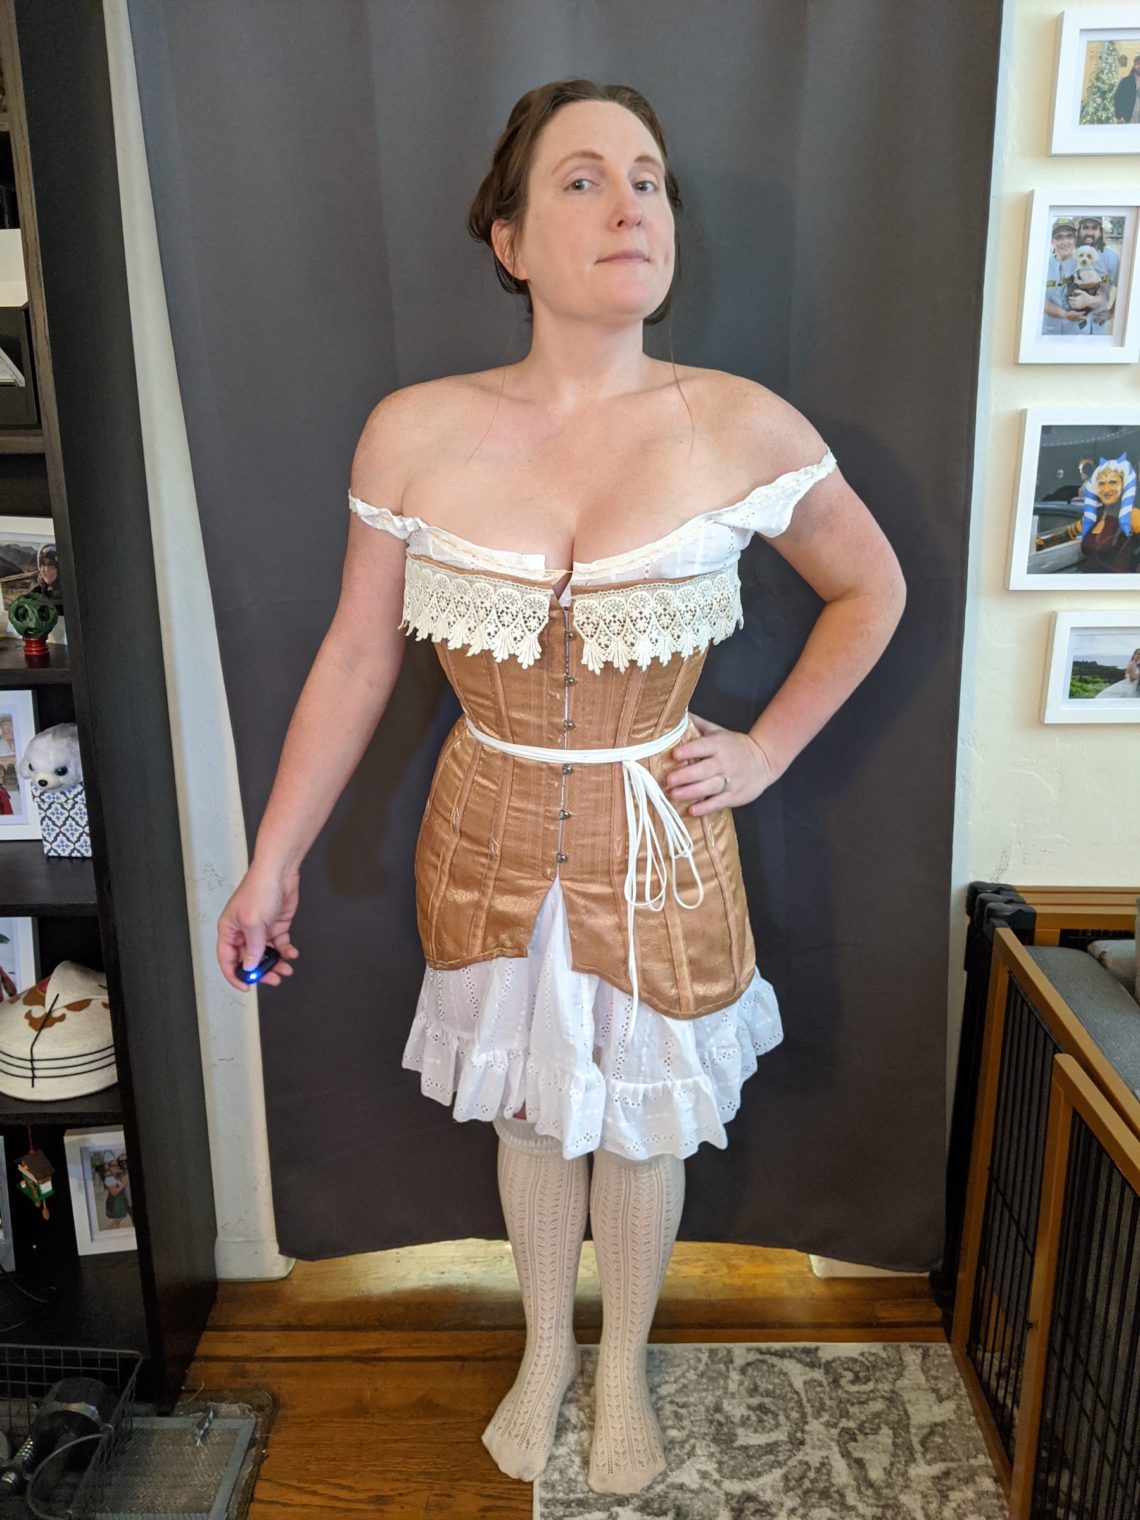
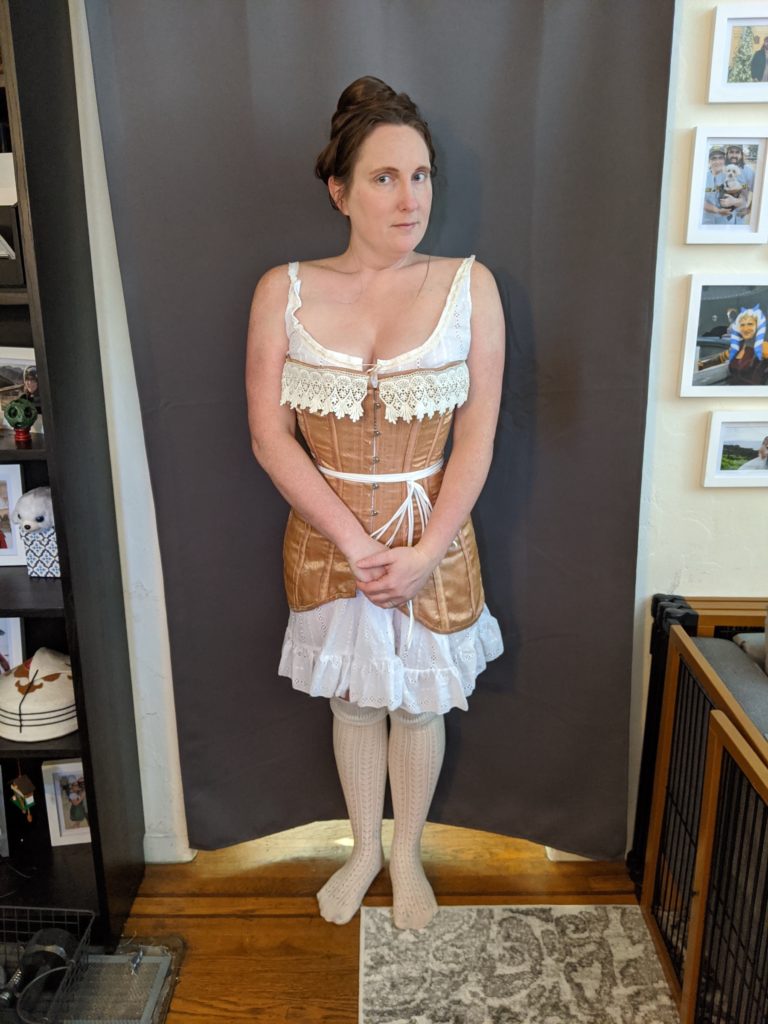
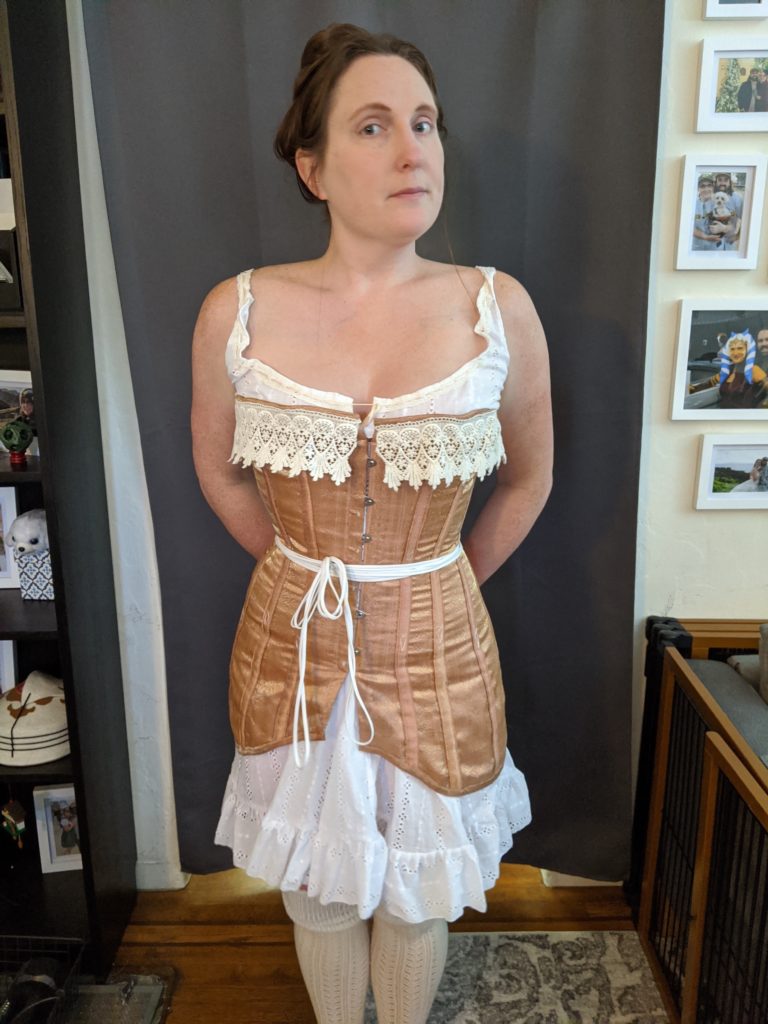
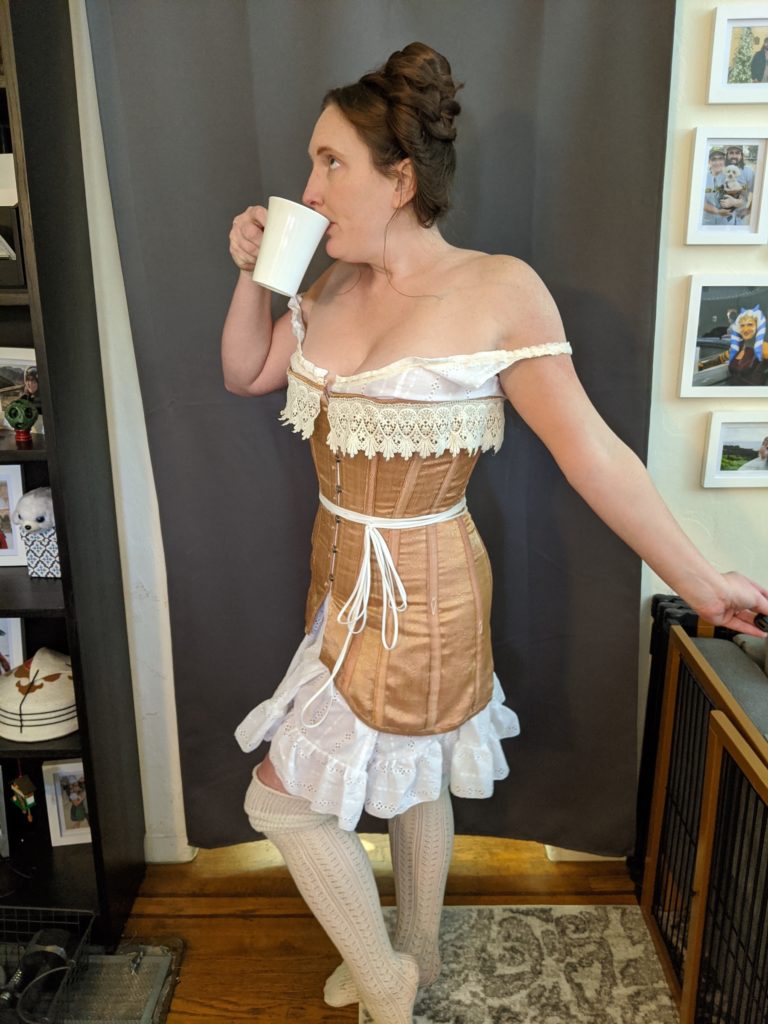
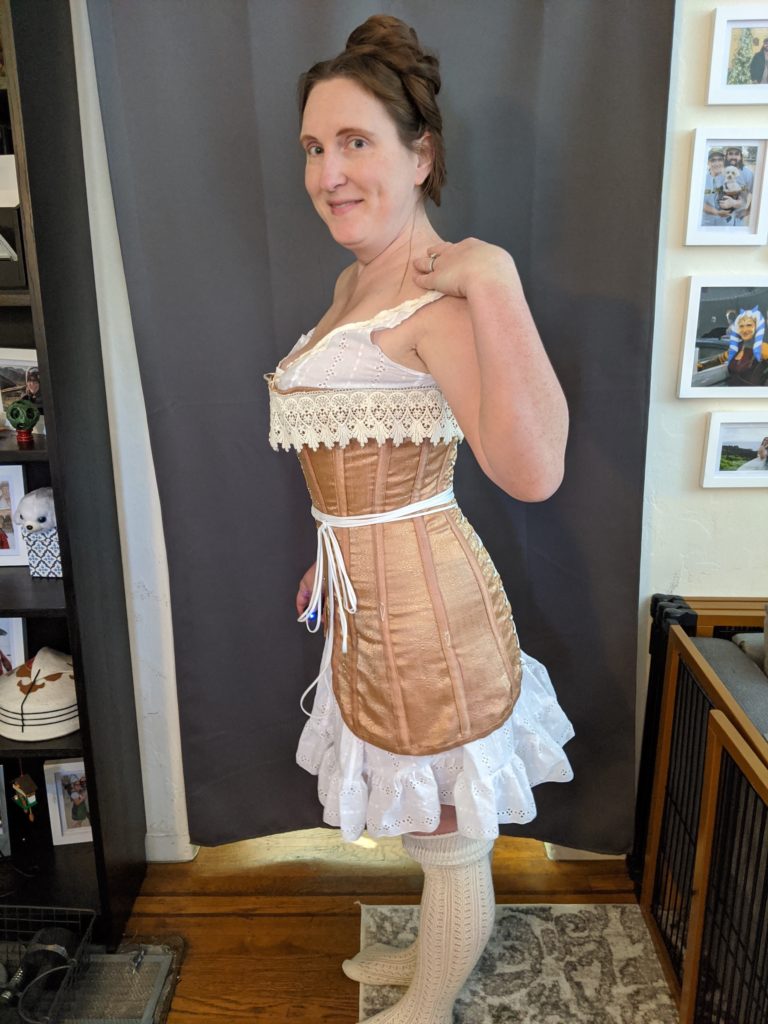
So without further ado, here are some photos of me wearing this new corset, along with my combinations, to be sure they fit together. While I don’t particularly love the overall style of the Edwardian silhouette, I personally have a pretty large amount of pelvic tilt, so this stance is kind of naturally how I stand. I love how subtle the gold shimmery thread is in the pattern, though I would never choose to work with metal threaded fabric again. I love the soft, feminine pinks of this whole look. And I am always entertained at how this feels like actual clothing that I could wear out and about, but it would have been scandalous since it’s just underwear. I mean, there’s a lot of coverage here.
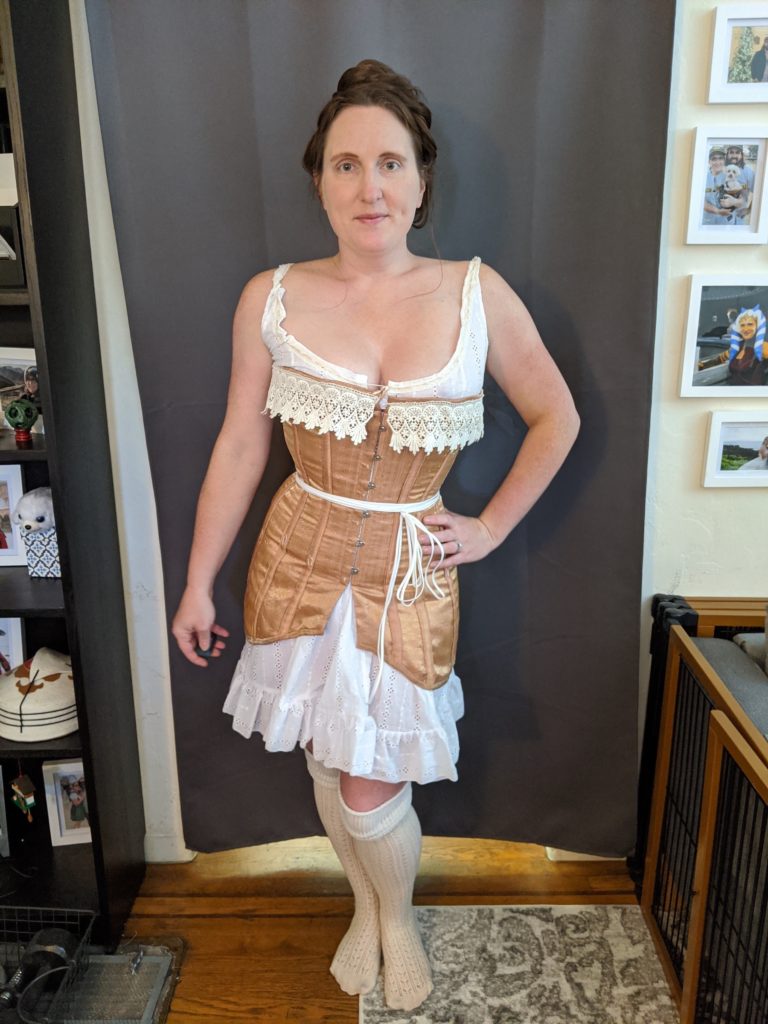
Front view 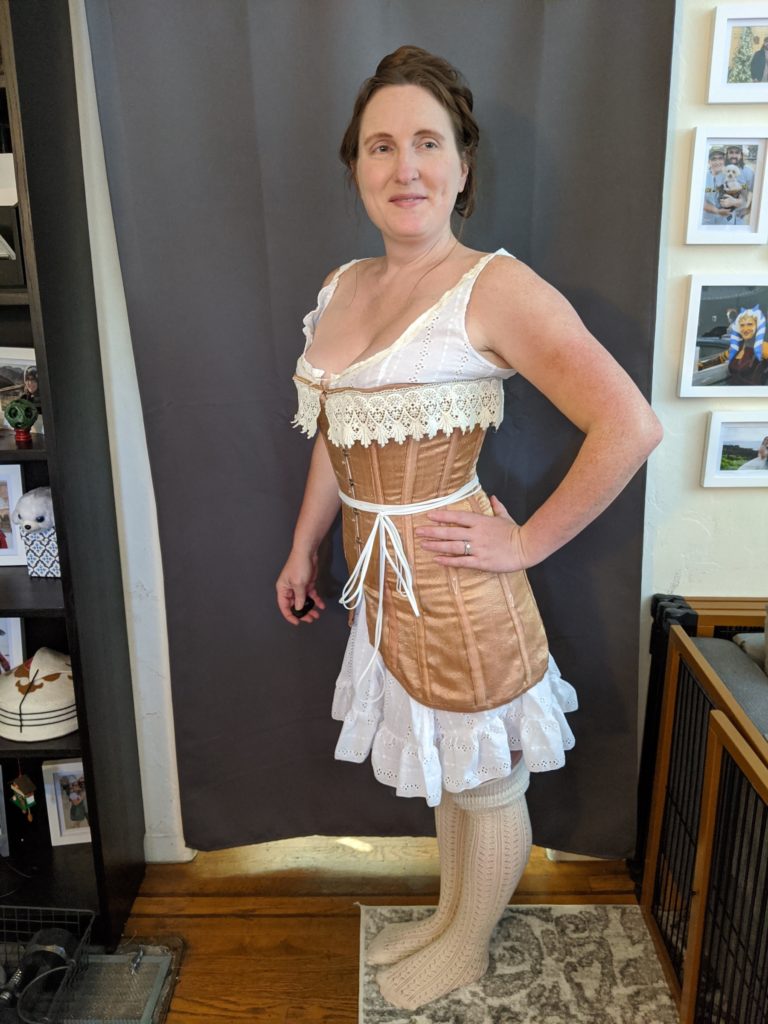
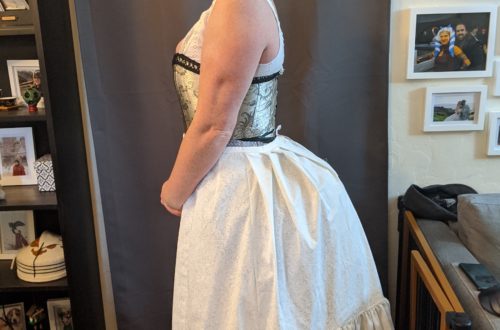
Side – Not as S-curved as early Edwardian styles, but a bum pad will help with that 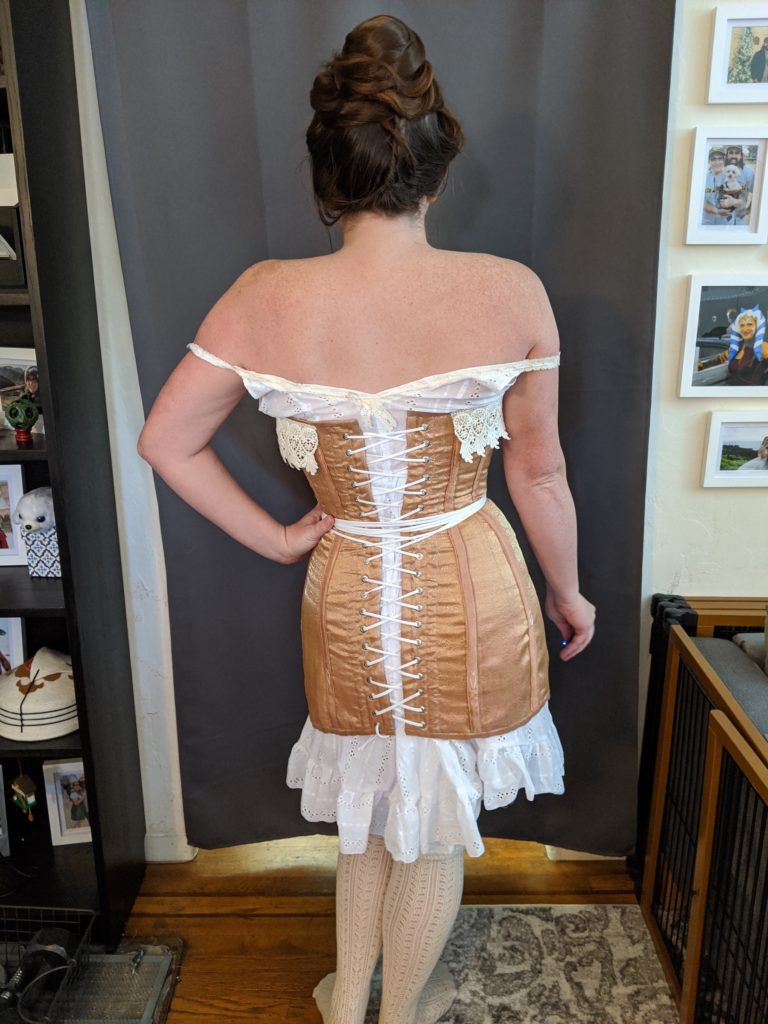
Back view
So with that, I am on to my next project. I have about 10 things kicking around up in my head, so I’m not sure which one I’ll tackle next.
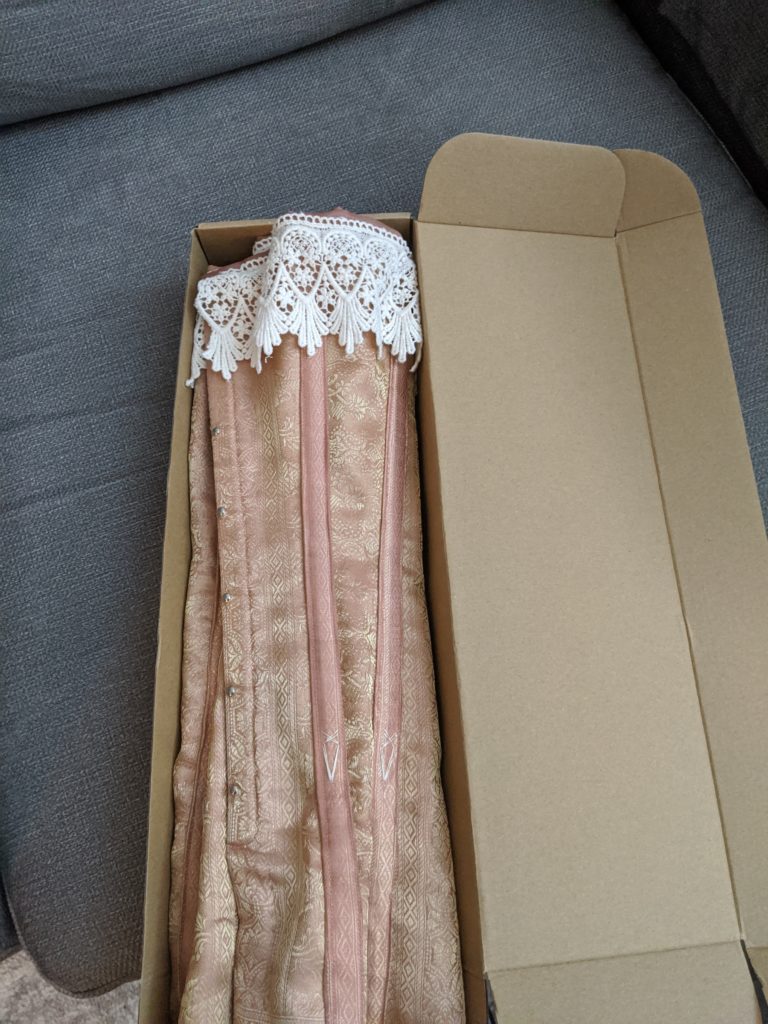
Storage: I have this lovely corset-specific box I scored from the Liecester city museum.