I somehow still need more historical underwear, lol. This time, I have selected a skirt support that was in fashion during the late Victorian era, known as the ‘Second Bustle Era’. There was a Bustle era, in the mid-1800s. Then the ‘natural form’ era, where they still liked the big bustled look, but wore bum pads instead of cage crinolines. And then, finally, the Second Bustle Era. This was 1880’s ish, and someone decided to bring back those big cage bustles, only make it bigger. And now here we are.
I have had such fantastic luck with the Truly Victorian patterns that I picked their Imperial tournure pattern for my big bustle. Apparently bustle patterns are like IPAs and “Imperial” means “way more hoops/hops”. The Imperial version is the largest one they sell. This style of bustle is often called the ‘Lobster Tail’, for reasons which should soon become apparent.
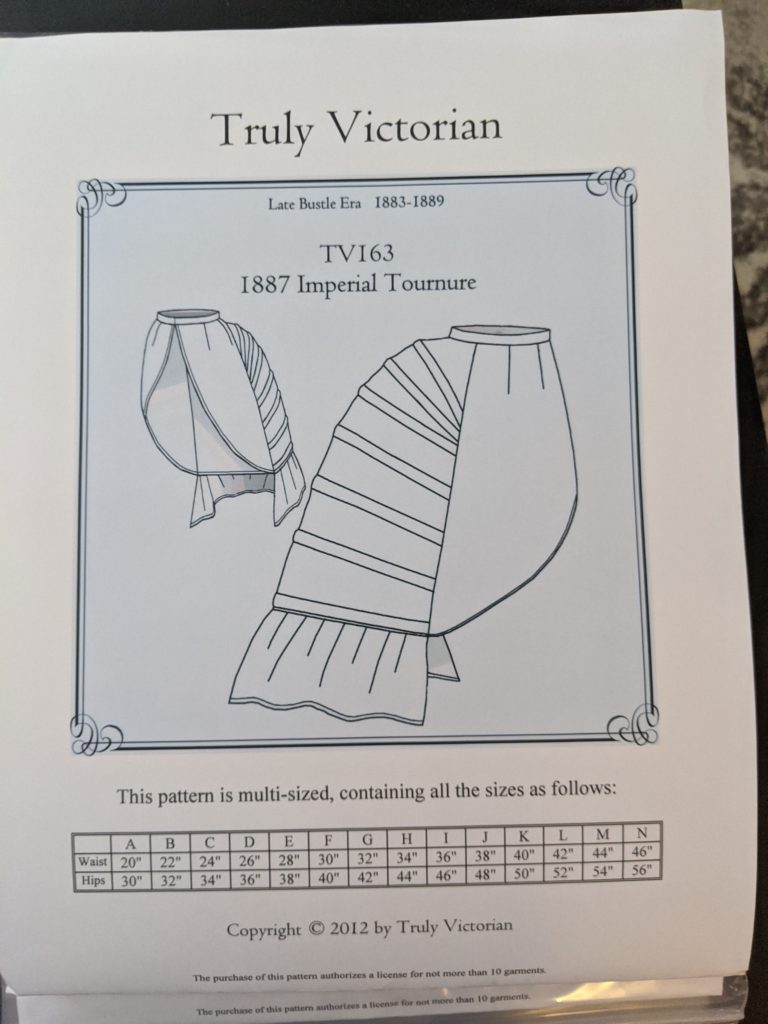
The pattern. Anyone in the mood for lobster?
I used some cotton quilting fabric from my stash, since it doesn’t matter really what the fabric pattern is. What I had lying around was a gray fabric with a white grid and coral-colored dots. It will at least lend some interest to this very basic bit of underpinnings.
The construction was simple, and the instructions included with the pattern were very clear and useful. This is definitely a great easy-level pattern to give my brain a break after that whole corset thing.
I cut out the paper pattern pieces in my size. Then I ironed the pattern pieces, ironed the fabric, and cut the pattern pieces out of the fabric. The first step is to take the front 2 flaps and add the darts to those and hem the edges. This was quick and easy. Next, the inside back piece, the one that keeps the whole thing sitting against the back of your legs, needed to be hemmed.
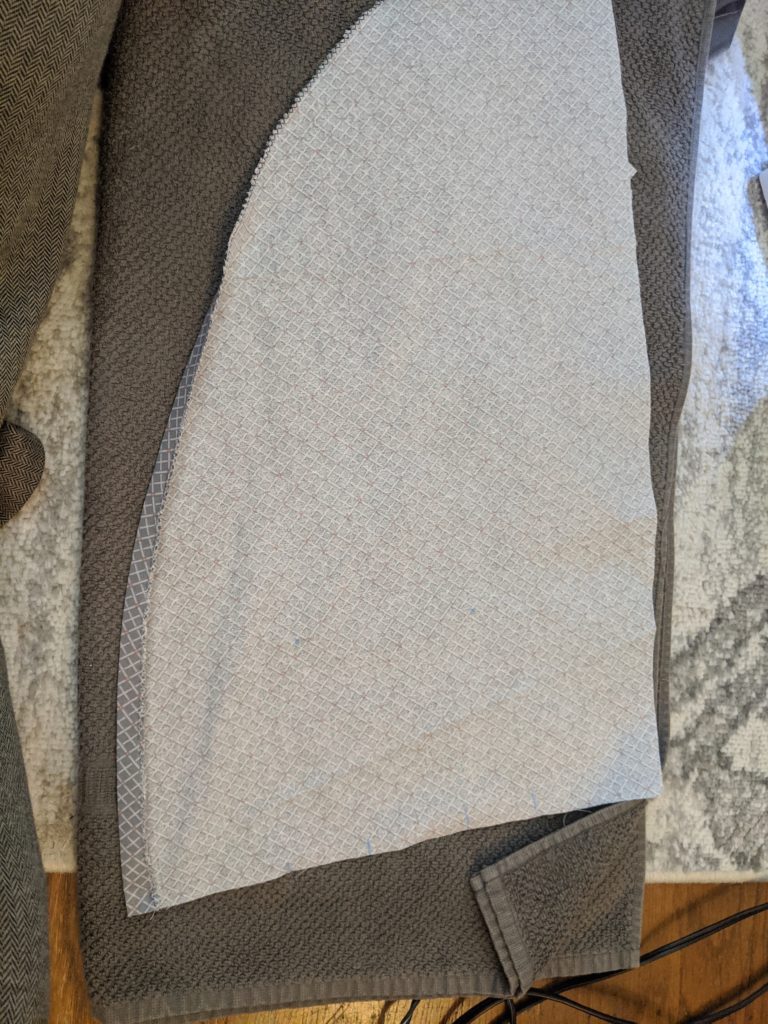
Cutting out the pieces 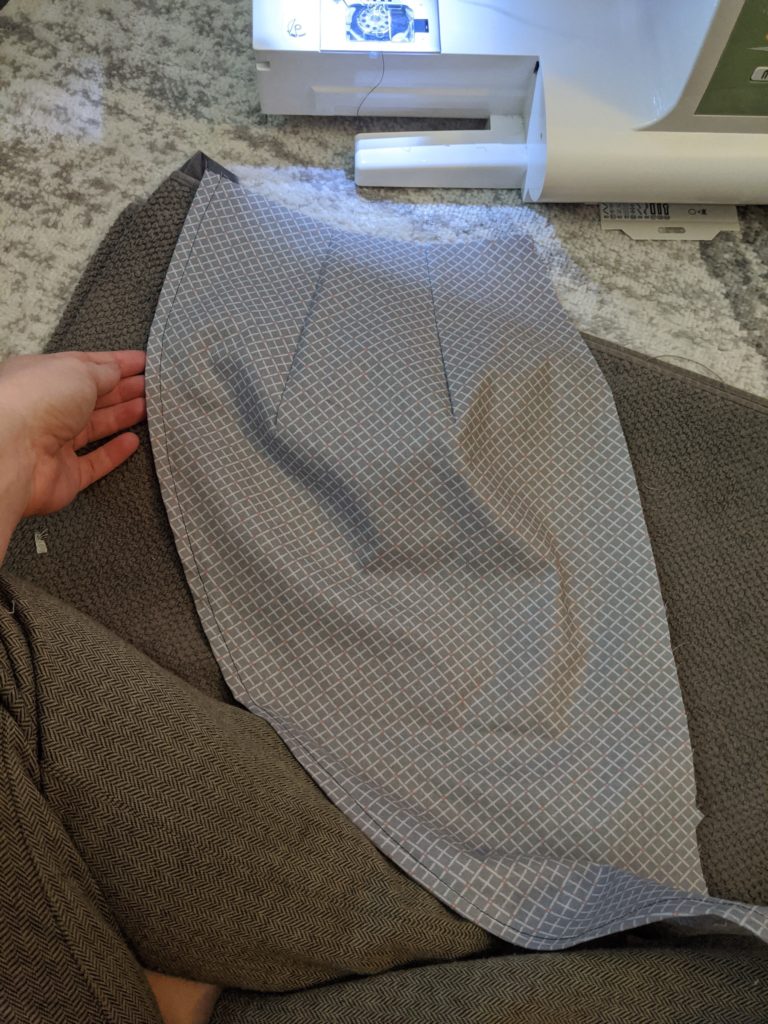
Adding darts to the top of the waist
From here, the real work starts. The back 2 pieces that will hold all of the boning are stitched together on the center back seam. The pattern instructions say to construct a boning channel from the fabric you’re using, but since I have a whole spool of twill boning tape, I just used that. Once the 2 back pieces are together, I carefully marked the placement of all of the boning channels with tailor’s chalk. Then, one by one, I stitched down both sides of the boning channels all of the way across the back of the bustle, leaving both ends open.
Pinning the boning tape in place 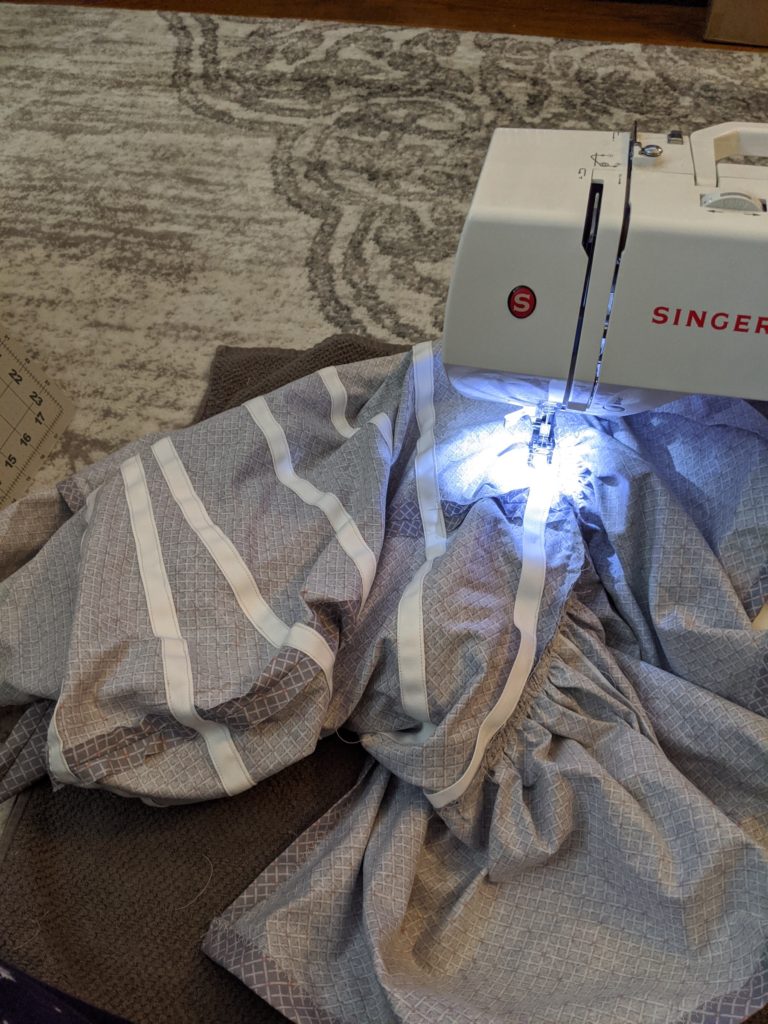
Stitching the boning tape down 
Adding a little ruffle at the bottom
Hardware time! The pattern has suggested measurements for the bones, but since I have already made the bustle, I decided to slide the bones in and cut to fit. I purchased a 4.5-yard long remnant of actual hoop bones for this project. Hoop boning is similar to the spring steel bones used for corset making, but the metal is considerably thicker, for making big, sturdy petticoats. The boning had a rather ominous note taped to it about unrolling it slowly and wow, they were not kidding. This stuff, when spooled up in a small loop, is storing an immense amount of potential energy. If I just released it all at once, I might have lost an eye! So I slowly unrolled it until the entire 4-yard piece was laying flat and began the process of inserting it into my lobster tail bustle until it reached all the way across, then cutting it to that length. I wasn’t able to cut through it with just my hand strength, and had to put the cutters on the floor and lean onto them to cut through the bones. The corset bones, it cut like butter. For these hoop bones, it got the job done, but it wasn’t easy. I then took out each piece and labeled them from top to bottom with the cone number. There are 7 bones in total. I then took my handy dremel, equipped with a stone grinding attachment, and ground off the paint on each side of the tip, then rounded all of the corners. Finally, I dipped those rounded corners in plastidip and laid them all flat to dry.

Serious business 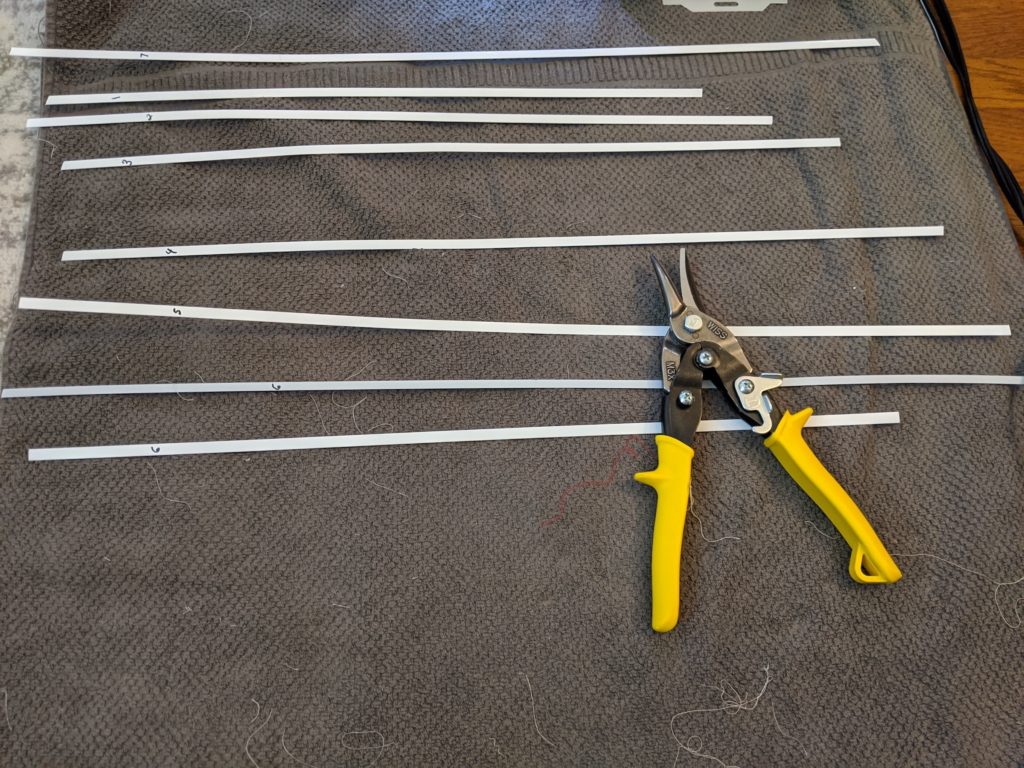
Dem bones, dem bones 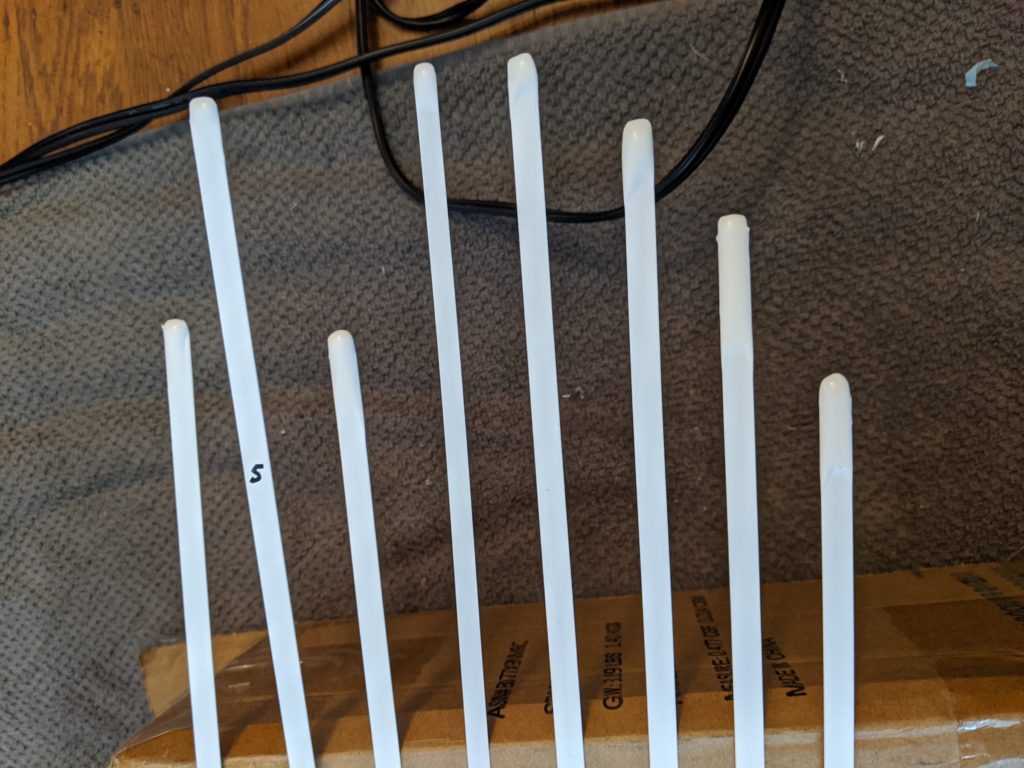
Smooth, round, labeled bones
Now, the instructions have you put the bones in before continuing construction, but since the plastidip needs to dry, I’m going to ignore that and continue with the soft goods until the bones are ready. So I attach the center back piece and the front side pieces to the bustle, being careful to close and double-stitch over the bone casing only on one side.
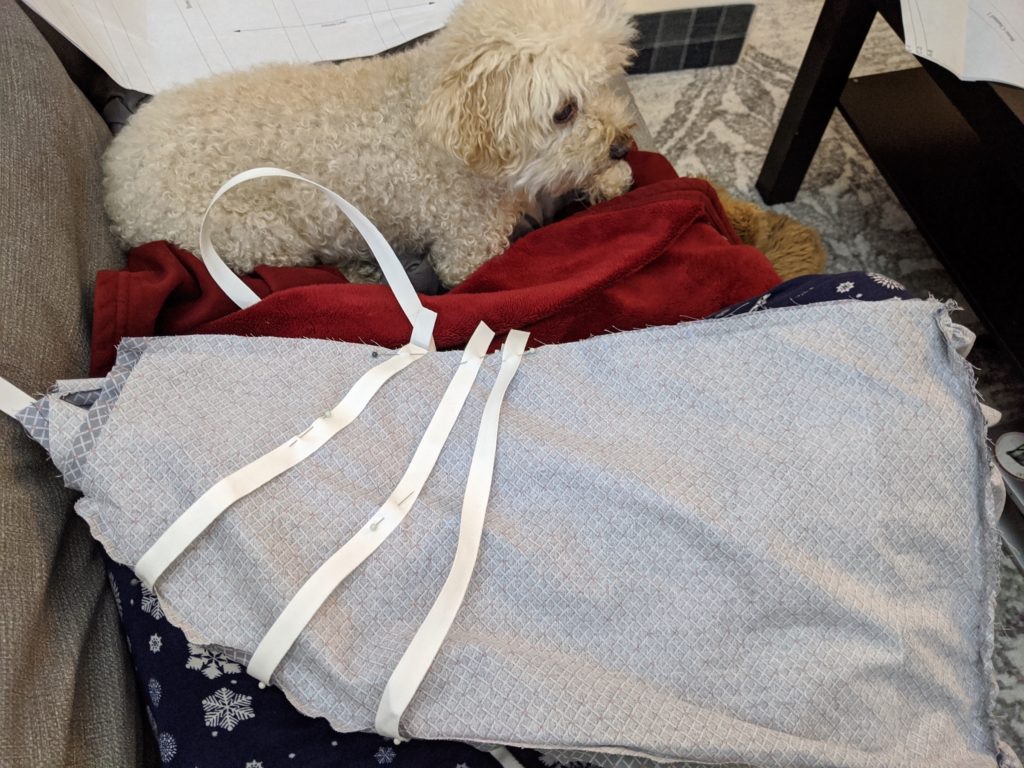
Then I added the waist band. Here, the pattern says to add the waistband and some hooks and eyes. But, because my natural form and my corseted measurements vary greatly, I opted to put in a drawstring closure instead. For this, I used the same waist band from the pattern, but instead of stitching the 2 ends together, I left them open, and put a piece of ribbon in the middle.

Pinning the waistband 
The inside 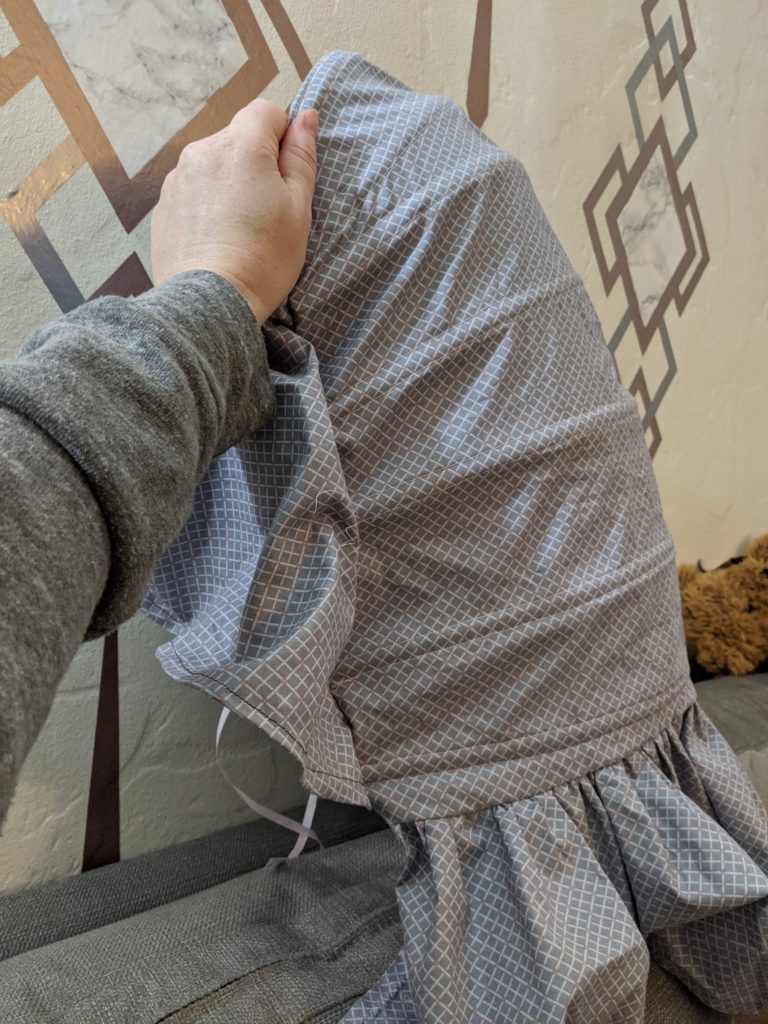
The mostly finished product 
It collapses down for storage. Nice.
Finally, the plastidip is dry and I can insert the bones. This is a bit challenging because the plastidip has a lot of friction against the fabric, but I manage to work them in. As the final step, I went back and hand-stitched the end of the boning tape closed so the bones can’t escape. And now, with that, I can begin work on a late bustle era dress to wear over it.
The finished product
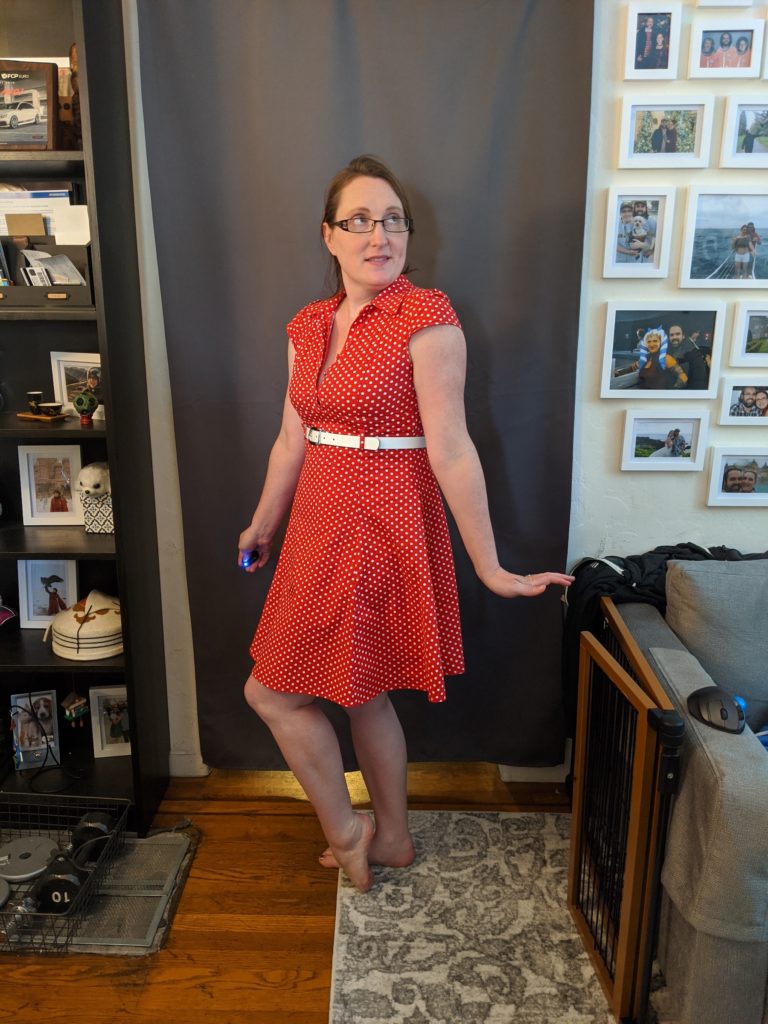
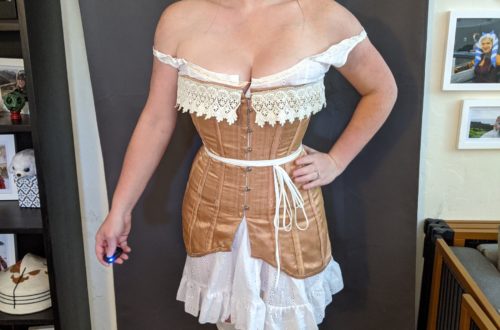
Me, a reasonably human shaped creature 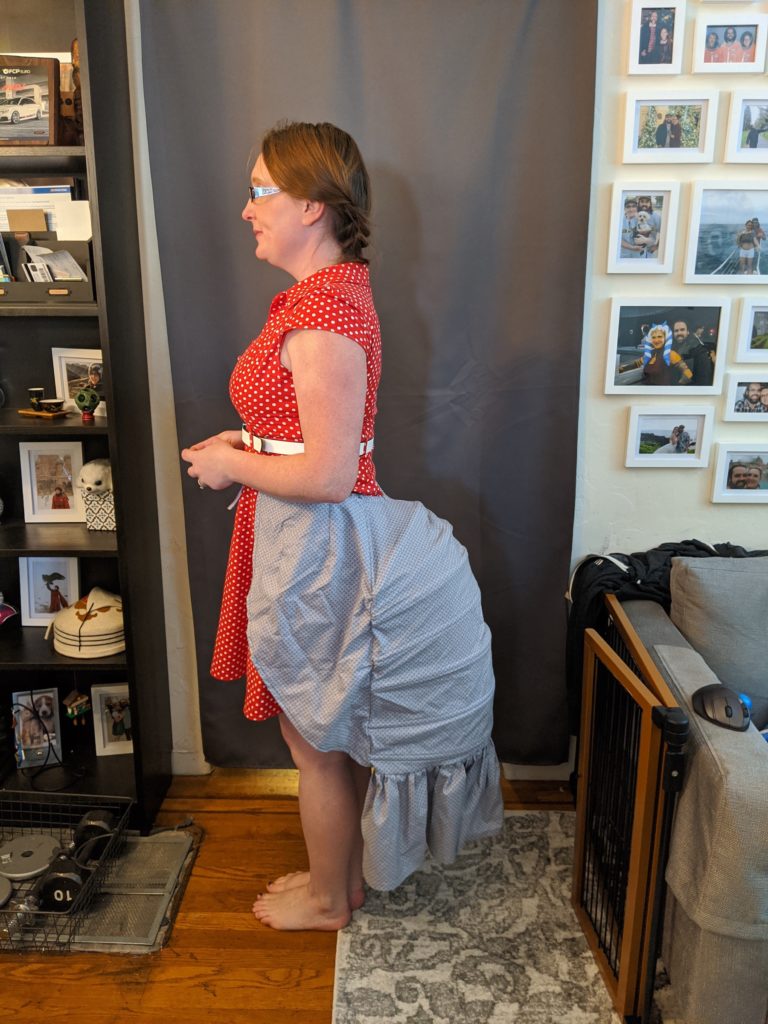
Me, a lobstah 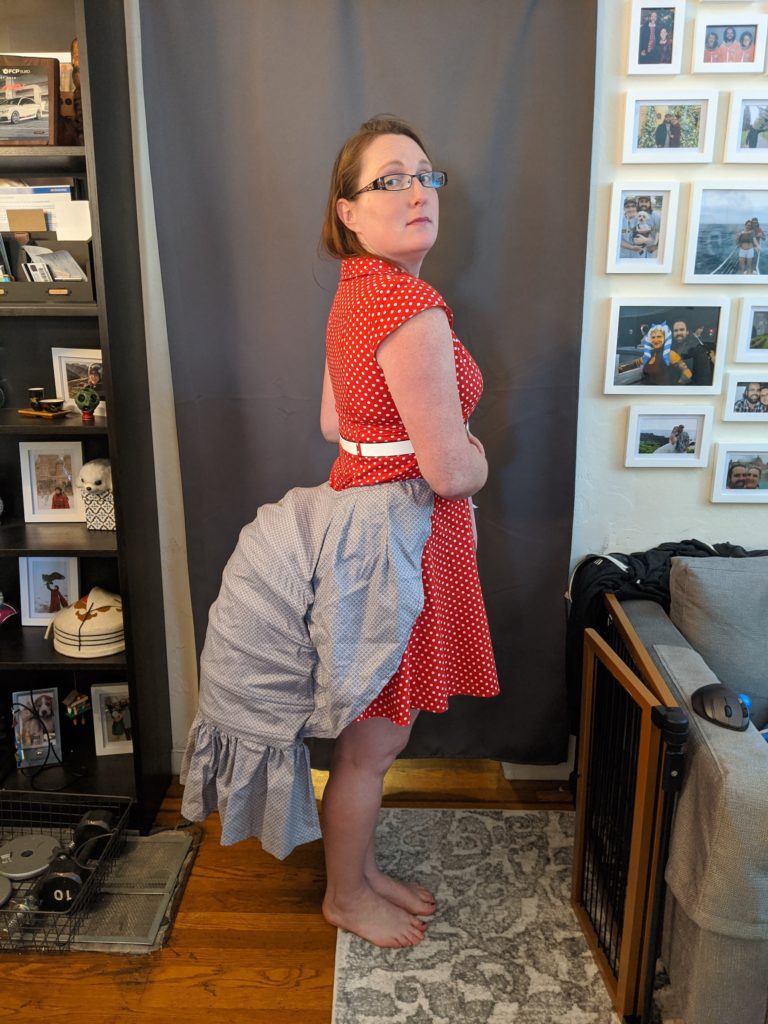
A symmetrical lobstah 
Shake it! Gotta test its dancing qualities 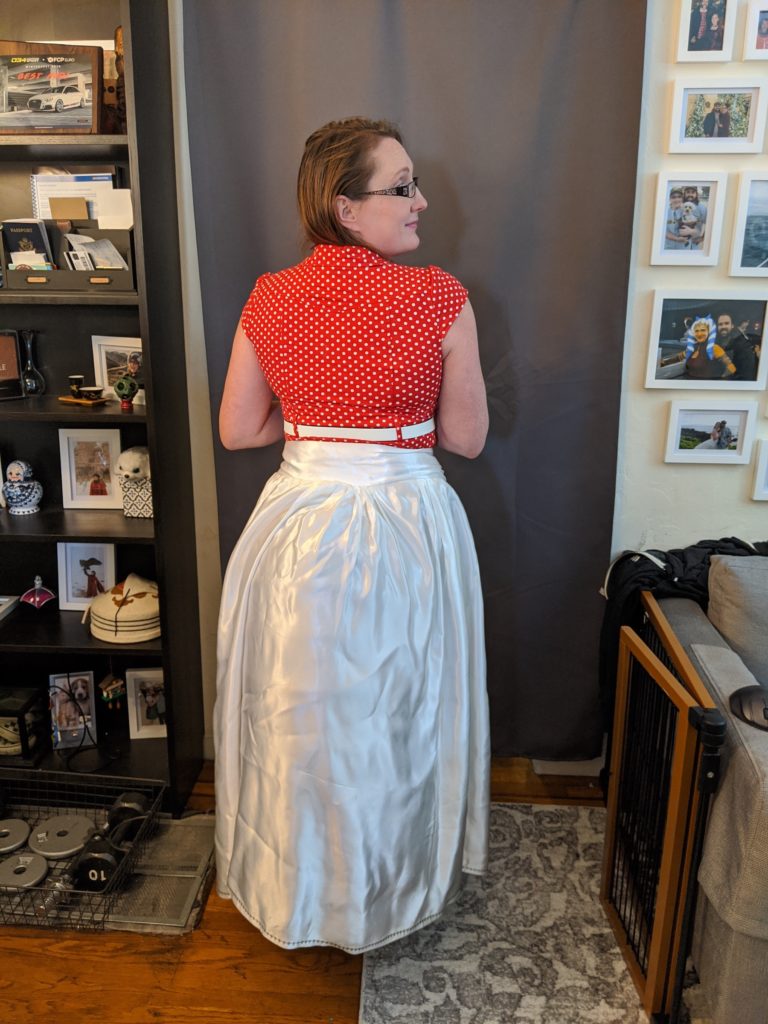
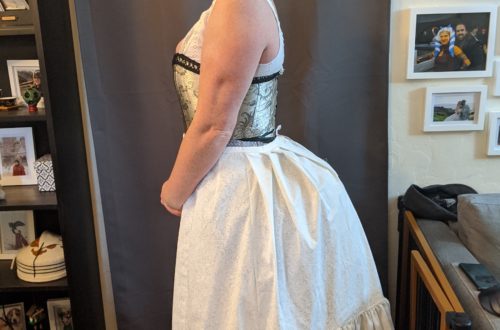
I put my underskirt from the black/white dress over it, rotated 90 degrees. Putting the bustle where the pocket hoops/pleats usually are. 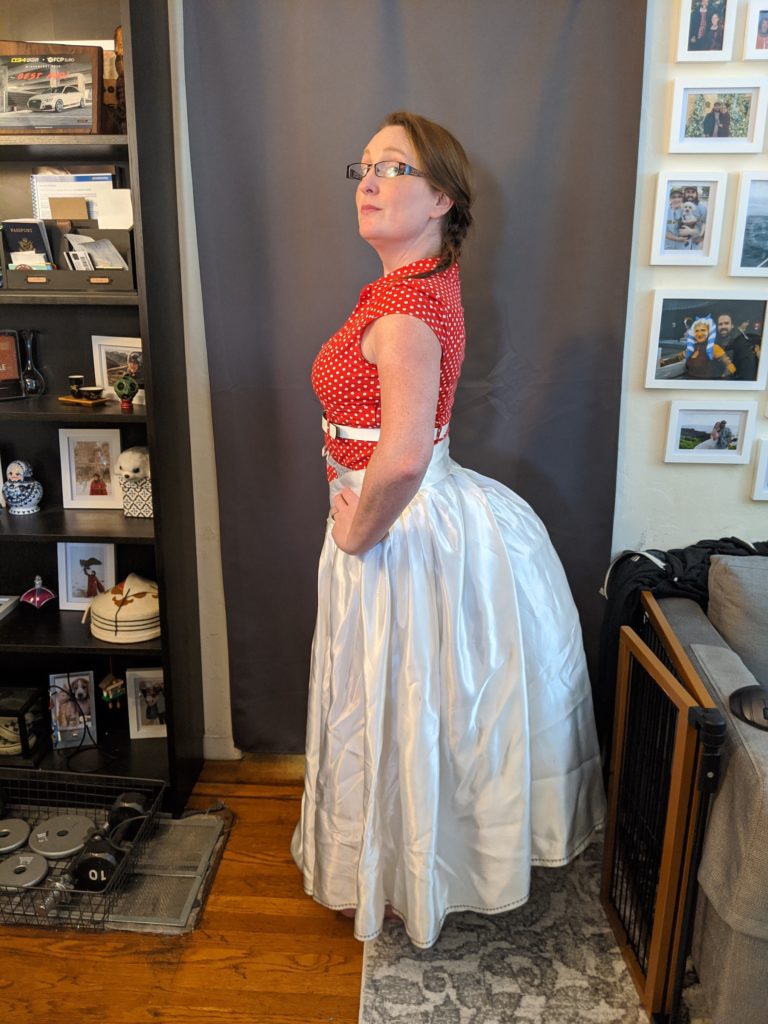
Very refined Victorian lady. Perhaps transporting some prohibited cargo. 
Just out here, trying to avoid the wagon wheels