I’ve been enjoying the quarantine baking, probably more than most. And this week I used it as an excuse to make one of my favorite treats from traveling, a dish I have tried in multiple cities and countries. So this post will be about me reminiscing about how much I enjoy it, my travels, and if you’re just here for the recipe, you can check that out here. Chef John is pretty to-the-point about it. I, however, write this blog as a journal, a hobby, a way to entertain myself. So if that’s your jam, you can keep reading.
Research
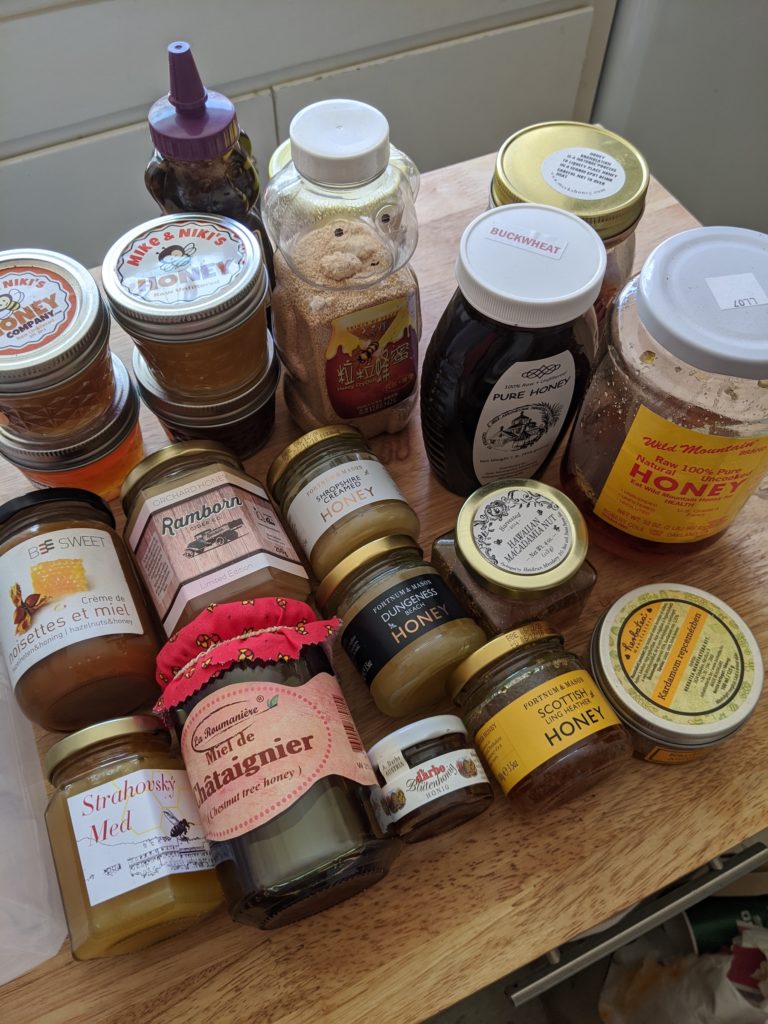
I love honey. It is one of my favorite things to collect, particularly when traveling. It feels so intimately linked to its place of origin. I’m a total sucker for artisanal, locally produced honey. Bees kept on the rooftop of a local hotel, honey that is the source of income for a small group of monks, a local school fundraiser, backyard bees from a coworker. I will buy all of them. And for the most part, I collect them and rarely eat them. I bring tiny jars of honey from far-flung corners of the earth, small enough to go into a carry-on bag, and therefore small enough to be in very limited supply, so I end up never eating them. I didn’t say it was the best approach, but these are my souvenirs.
Because of my love of honey, the first time I heard of Medovik, or Russian Honey Cake, I was desperate to try it. I had my first slice while in Prague the first time, in 2015. I was… disappointed. It was the day that I had planned to tour the Jewish quarter. I stopped at a little Jewish bakery to have a coffee and a slice of honey cake for breakfast. It was early morning and they had just opened. And I think there aren’t a bunch of people eating cake instead of more traditional pastries for breakfast. Because it was so early, they went to get the cake out, and the cake was frozen solid. This did not dissuade the lady at the café from hacking into it and serving me an ice-cold, rock-hard slice. It wasn’t great.
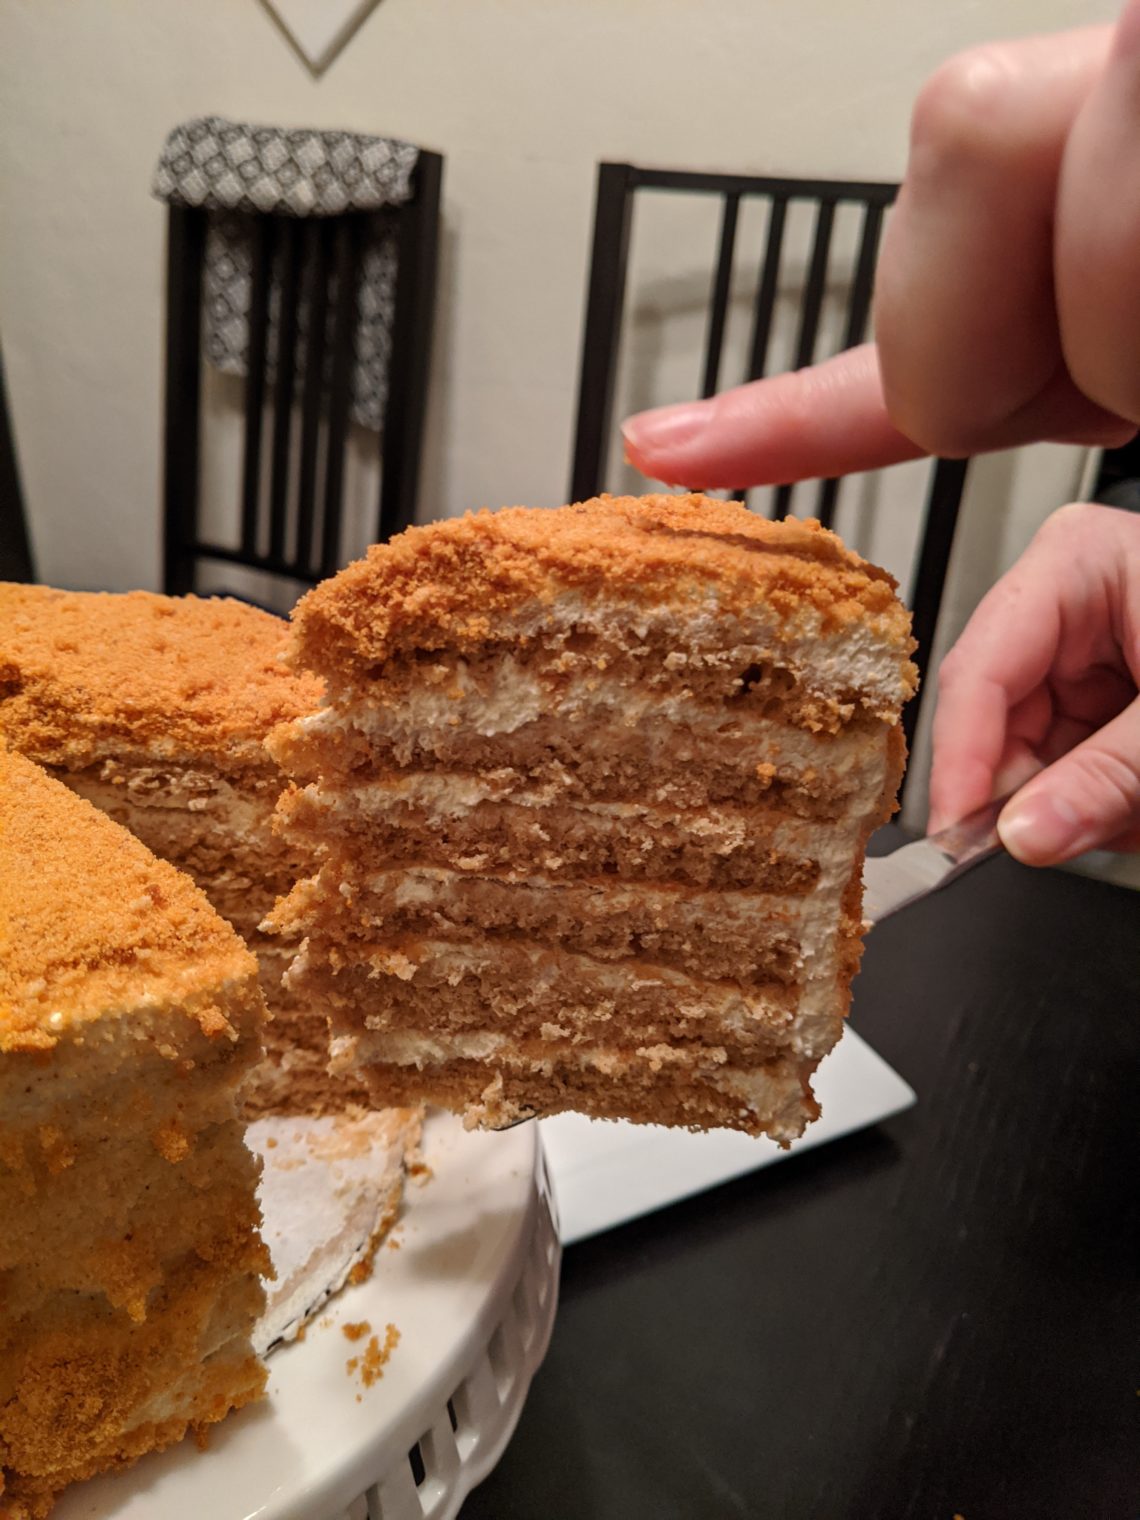
I’m certain that, while traveling through Russia, I had at least a slice, but I can’t find any photos in the piles of food pictures I took while traveling. However, I did definitely have a slice this most recent visit to Prague, in an indoor Christmas market. This was the most delicious cake, the honey cake to end all honey cakes. The frosting was smooth and creamy and tart. I assumed it was a cream cheese frosting, but in reality, it’s made of sour cream and whipped cream. The cake itself is like a magical form of soft, fluffy graham crackers. Amazingly, one of my other favorite foods is graham crackers. Honey grahams. Honey and a bit of spice. Mmmmm. There’s a bit in the movie Multiplicity, where, after a sexy romp with Michael Keaton, Andie MacDowell strolls into the kitchen and proclaims her favorite post-coital snack to be graham crackers and chocolate milk. In her soft Southern accent, she expresses perfectly my feelings about graham crackers. Just go watch it.
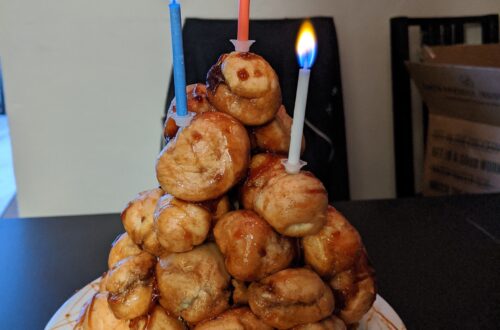
This cake strikes that perfect balance of honey and spice, of soft, fluffy, cake texture with crunchy crumbs. I watched the Food Wishes video recipe a few times, starting in January. Then, suddenly, March happens, and I have time to both cook and to eat a whole cake. I mostly followed Chef John’s recipe, only making a few changes to the frosting. I like it a bit on the tart side. Here’s what it looks like. Recipe below, in case you want to try it yourself.
Recipe
Official Food wishes recipe here. Because I am but 1 person, and Joe can’t eat dairy, I made a half recipe. The recipe below is the half recipe, which makes a 6-layer 6-inch round cake. And incorporates the changes to the frosting recipe to make it a bit more tart.
Ingredients
- For the caramelized honey:
- 1/4 cup and 2 tablespoons honey
- 1.5 tablespoons cold water
- For cake batter:
- 7 tablespoons unsalted butter, cut into slices
- 1/2 cup white sugar
- 1/4 cup and 2 tablespoons honey
- 3 large cold eggs
- 1-1/4 teaspoons baking soda
- 1/4 teaspoon fine salt
- 1/2 teaspoon ground cinnamon
- 1-3/4 cups and 2 tablespoons all-purpose flour
- For frosting:
- 1 cup cold heavy whipping cream
- 1 cup sour cream
Procedure
- Make the caramelized honey
- Place the 1/4 cup + 2 tbsp honey into a small saucepan over medium to medium-high heat and boil until it’s just a shade darker than the honey was before. It should begin to smell like caramel.
- After reaching the desired color, approximately 10-15 minutes, add the cold water and remove from heat. This will stop the cooking process.
- Pre-heat the oven to 375 degrees F
- In a double boiler or metal bowl over very low heat, mix together the butter, white sugar, the raw honey, and 1/2 of the caramelized honey. Let the butter melt and then stir.
- While the butter is melting, combine baking soda, salt, and cinnamon in a small bowl
- When the butter mixture is very warm, but not hot enough to cook the eggs, whisk in the 3 cold eggs. Return to the heat until warm again (still not hot enough to cook the eggs), and then add the baking soda mixture and remove from heat.
- Sift in 1/2 of the flour and stir until incorporated. Then add the remaining flour and stir until combined. The batter should be thick and spreadable.
- Place 1/3 cup of batter on a silpat-lined cookie sheet and spread into a circle, approximately 6 inches in diameter. Place the circles at opposite ends of the mat to cook 2 at a time.
- Bake for 5-7 minutes.
- Remove cake layers from the oven and remove silicone baking mat from the pan. Allow the layers to cool on the mat for 5 minutes before removing.
- Repeat, baking 6 total layers (3 rounds). On the final round, take any remaining cake batter and spread thinly on the baking mat, not touching the 2 round layers.
- Make cake croutons from the extra batter.After removing the final 2 layers from the silicon mat, break the extra cake bits up into 1-inch squares and place back in the oven. Bake until crispy and dry.
- Once cooled, take the cake croutons, place in a zip-top bag, and use a rolling pin to make crumbs
- Make the frosting
- Whip the whipping cream until it has firm peaks.
- Add the caramelized honey to the sour cream and mix well. The honey may have hardened a bit while cooling, so you might need to warm it a bit before mixing into the sour cream. Warm it just enough that it can be stirred into the sour cream, not too hot.
- Add the sour cream to the whipped cream and whisk together. The resulting frosting will be quite loose, but not runny
- Frost the cake. Place cake layers on a cake plate, 1 at a time, and frost the top. Then add the next cake layer. Take all of the remaining frosting and spread over the top and sides of the cake.
- Take the crumbs and dust the entire cake with them. They should stick easily to the loose frosting. The crumbs are, by far, the most delicious part. Don’t skip them or skimp on this!
- The hardest step of all: let the cake rest overnight. This is essential. The liquid in the frosting will be absorbed into the cake layers. This makes the cake moist and delicious, but also helps the frosting firm up.
Final/afterthoughts
I have now made 2 of these. Lucky me! A few tips and thoughts. First off: the caramelized honey. For the first cake, I may have over-caramelized the honey. As it cooled, it got quite thick. Not hard like a hard candy, but very thick like caramel. I had been concerned about adding too much water to it, as that would make the frosting too runny. But, having to heat up the honey to get it to go into the frosting reallllly made the frosting too runny. The second go-round, I added more water to the honey and it worked great. The secret seems to be adding the honey to the sour cream, to keep from breaking the whipped cream. If I were to make it a third time (which I definitely will some day), I would maybe take the sour cream and put it in a coffee filter overnight, the way you’d make Greek yogurt, just to get some of the liquid out. But it’s not a huge deal. The other change I think I’d make, is to keep the cake layers at the larger, 8-inch layers. 4 8-inch layers instead of 6 6-inch layers would make for a larger surface area, upon which to place more crunchy crumbs, which, as I have stated, are the best part. So I think a shorter, flatter cake would hold more crunchies and taste better. Both times, I had slightly more crunchy bits than would stick to the cake, and I used them during plating. But as of right now, I have a half-bag of leftover crunchies from the last cake to just eat with a spoon or whatever, so there are up-sides to both approaches.