As the shelter-in-place draws on and on, I am going through waves of excessive energy and the urge to stay busy and make things, followed by periods of near paralysis, glued to a video game for a few days or a week. I think I enjoy both, and each is kind of a re-charge from the other. The past 2 weeks have been a huge up-swing in energy and making things. While this week is much more sedate, which allows me time to actually sit and sift through a million photos and write about things. I’m not usually prone to such differences in mood, but I think the news and the alternating optimism, followed by crushing fear, are probably the cause of this. At first, this seemed like a fun, work-from-home adventure. Then shit got real, and scary. And now it’s just a prolonged amount of both of those things.
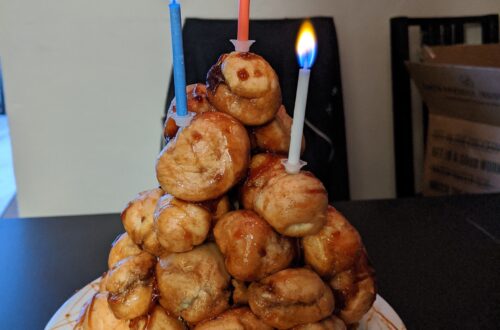
For this week, I made a croquembouche for my birthday. I also made a loaf of focaccia bread from scratch, because I felt like it. And then the next day, I woke up and decided that today is the day to make some dumplings. In the end, it took about 4 hours, and I was well beyond exhausted (as I also had work that day). So by the time I was finished with these dumplings, I knew I was in for a week or so of relaxing on the sofa. That’s ok. Quarantine isn’t a competition. But if it were, I’m doing well, right? Right?!?
Pelmeni / Vareniki
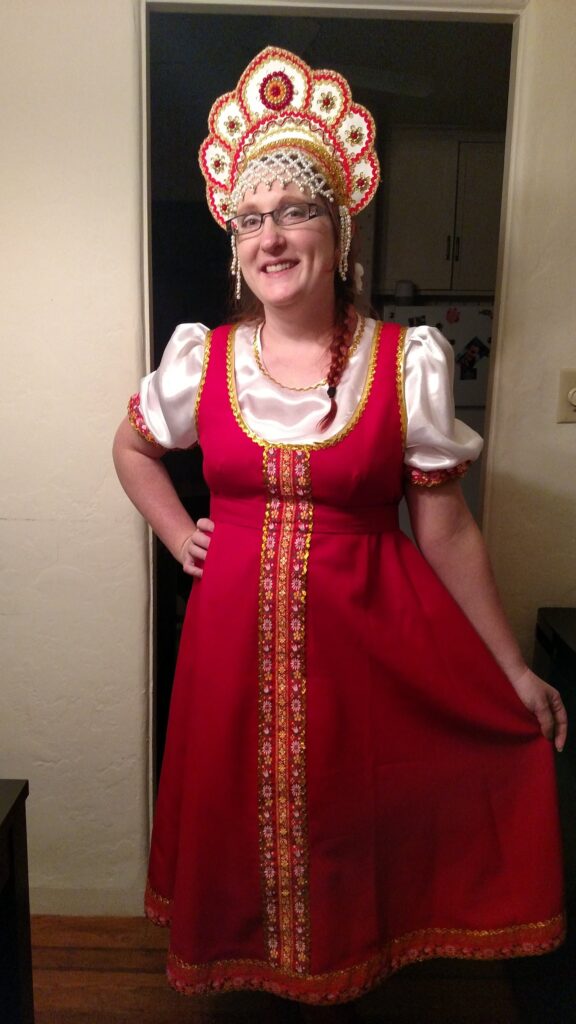
I decided this is the week to try making some Russian/slavic dumplings. There are tons of recipes out there and variations on these dumplings. They can be filled with almost any kind of meat, cheese, vegetable, or even fruit for dessert dumplings. I had bear pelmeni in Moscow. And I had cherry dumplings at a Ukrainian restaurant. I do not in any way claim to be an expert at the etymology of slavic words, but here is my general understanding, from what I experienced on restaurant menus in different parts of Russia. Pelmeni are specifically a Russian dish. They most frequently are filled with meat, and they have a signature shape, like the cute folk headdresses that ladies wear. Vareniki, on the other hand, is (I think) the Ukrainian word for dumpling, and I most often found them filled with mashed potatoes and cheese, or served as a dessert, filled with fruit. These can be in various shapes, generally semi-circles or triangles. And I believe them to be generally the same as Polish perogis. From here, I will refer to the meat ones as pelmeni, and the potato-cheese ones as vereniki.
The Filling
I started out by preparing the fillings. My intention, when I went grocery shopping, was just to make the vareniki. But, as I realized that I had an extra half-pound of ground beef in the fridge, I decided to also make some pelmeni.
For the Pelmeni, diced up one shallot, and added 3 cloves of garlic, extracted from my garlic press. I mixed in the half pound of ground beef, along with a generous amount of salt and pepper, a teaspoon or so of water, and a teaspoon of dried dill. I only had dried dill on hand, as I hadn’t planned to make the pelmeni, but I would definitely recommend fresh dill. I mixed it all together, and this filling is finished.
For the vareniki, I went with potatoes, onions, and cheese. I began by boiling 3 russet potatoes, in their jackets. I boiled them for about 25 minutes. They were huge potatoes. I peeled them under cool, running water while they were still hot, just rubbing the skin off with my hands. Once peeled, I passed them through a potato ricer. This thing makes nice, fluffy, perfectly smooth mashed potatoes. However, it has holes on the bottom (which makes sense), but also it has holes in the sides, for about an inch. If you don’t hold it INSIDE the bowl you’re aiming for, the scalding hot potatoes shoot out horizontally in all directions, making quite a mess and possibly burns. Trust me, I have experience. I then added a small amount of butter, 1-2 tbsp, and some salt and pepper. These mashed potatoes should be very smooth, but not very liquidy. Definitely do not add any milk or cream at this step, as the liquid in the potatoes can slowly dissolve the pasta dough later. We’re going for very dry mashed potatoes. I then chopped up an onion and sauteed it until golden. Both sweet caramelized onions and more savory aromatic quick-sauteed onions work here. It’s just taste preference. I tossed the onions in with the potatoes and stirred to mix. I then separated the potatoes into 2 bowls, and added a cup or so of shredded cheese to one half. The other half, I left mostly dairy free.
Dough
The next step in making these was to make the dough. The dough is made of flour, water, milk or sour cream, and an egg. This is why we’re making a gajillion dumplings today: I try to never cut a recipe portion size to the point that I have to split up an egg. So if it calls for 2 eggs, I can make a half recipe. If it calls for 1 egg, I have to make the whole thing.
So we end up with a very simple dough recipe that calls for 1 egg, 2 tbsp of sour cream, a teaspoon of salt, 1 cup of water, and 1 cup of milk, and a whopping 4 and a half cups of flour. 4 cups of flour makes a ton of dough, and these guys are time consuming to roll out and fill and shape. We are in it for the long haul.
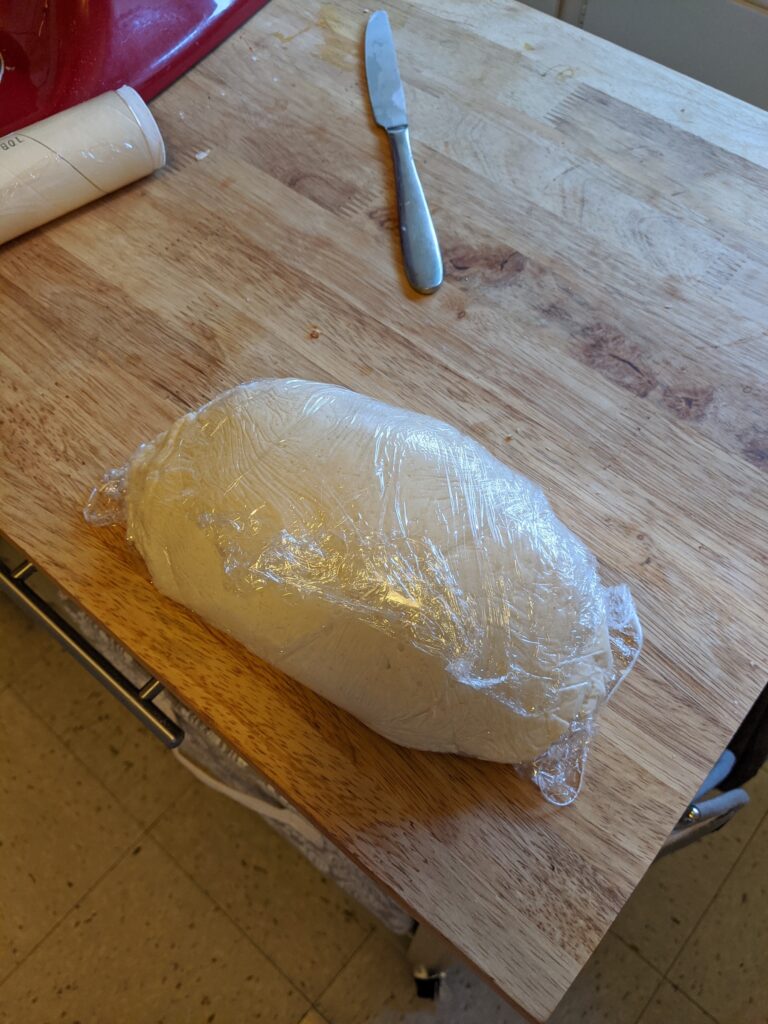
I made the dough by simply tossing all of the wet ingredients into my stand mixer. Once that was mixed together, I added the flour, 1 cup at a time for the first 3 cups. I let each flour addition get completely incorporated before adding more. I then added the final flour in 1/4 cup increments until the dough was the desired consistency. Then I let the stand mixer knead the dough for a solid 10 minutes on low speed. Once the dough was kneaded, I pulled it from the bowl, made a ball, and wrapped it in plastic wrap. The dough had a nice little rest in the fridge for about half an hour.
Assembly
After all of the prep work is done and we have our fillings and our dough, it’s time to start making dumplings. I took a class in St. Petersburg on how to make the pelmeni dumplings, so I started with those. The first step is to roll out the dough, essentially until you have a pasta thickness, like making ravioli. Next, I cut out circles using a cookie cutter. Mine were about 3 inches in diameter. I made a bunch of these dough circles and then pulled away the excess dough.
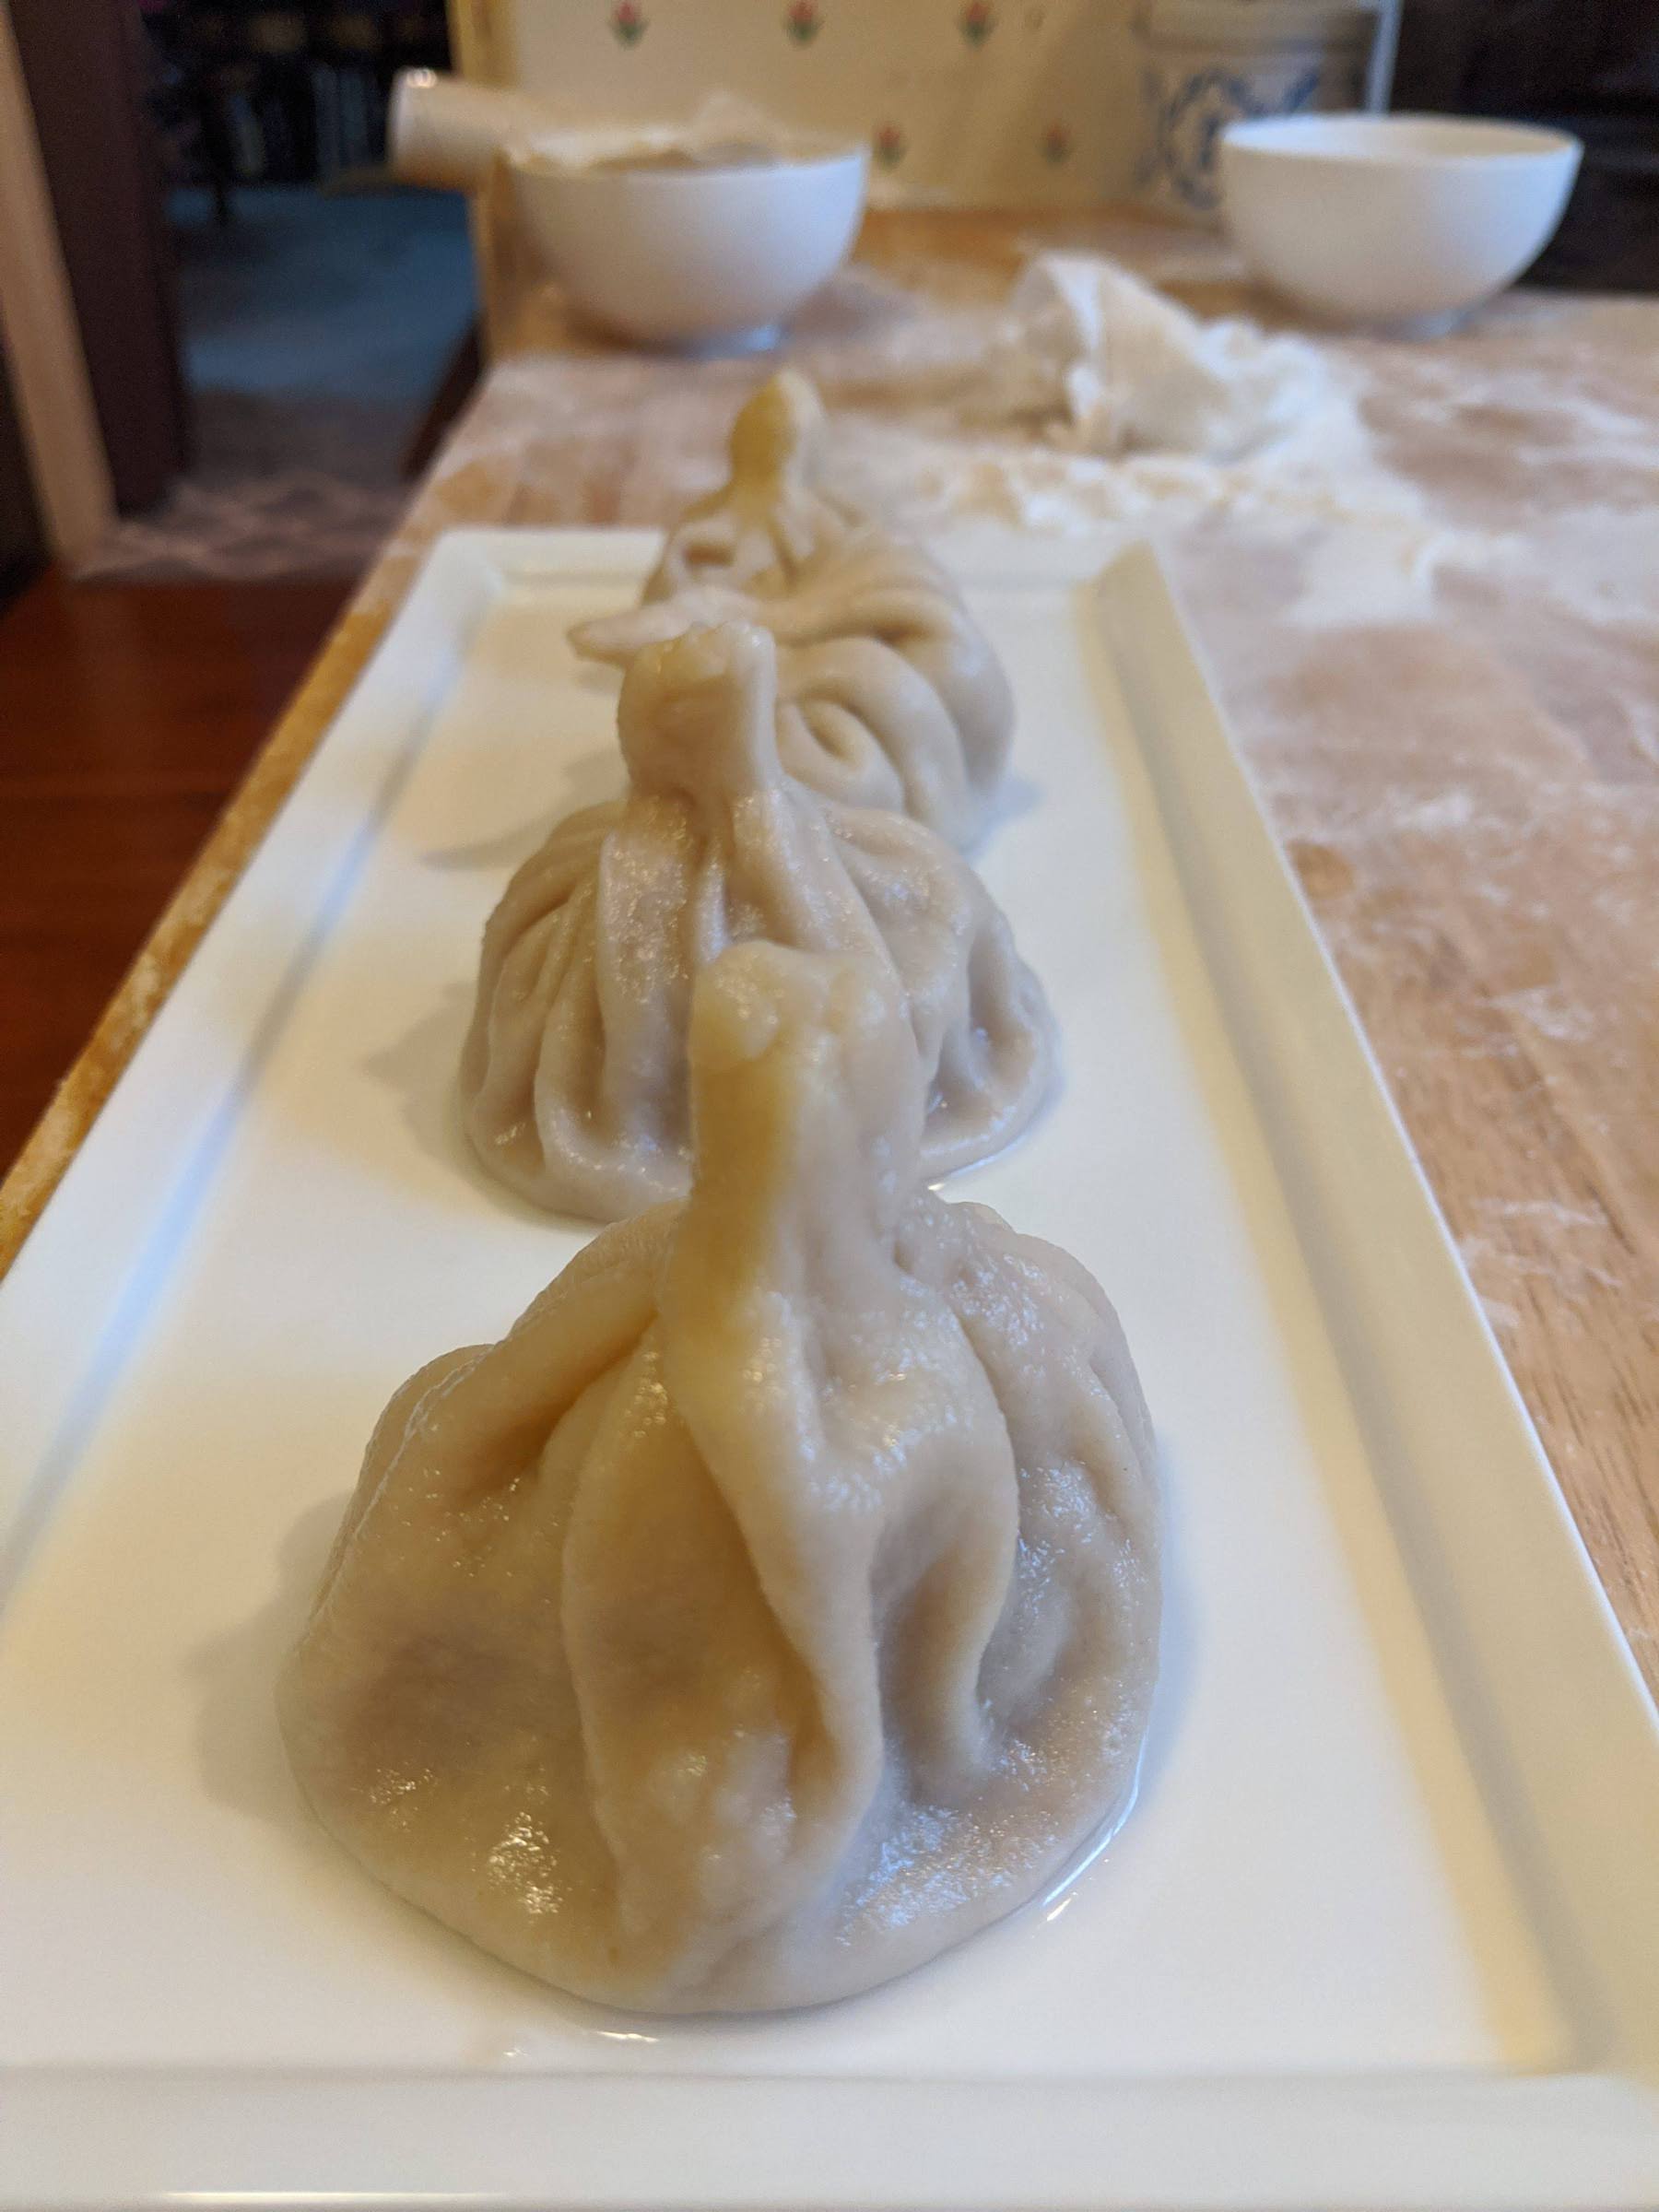
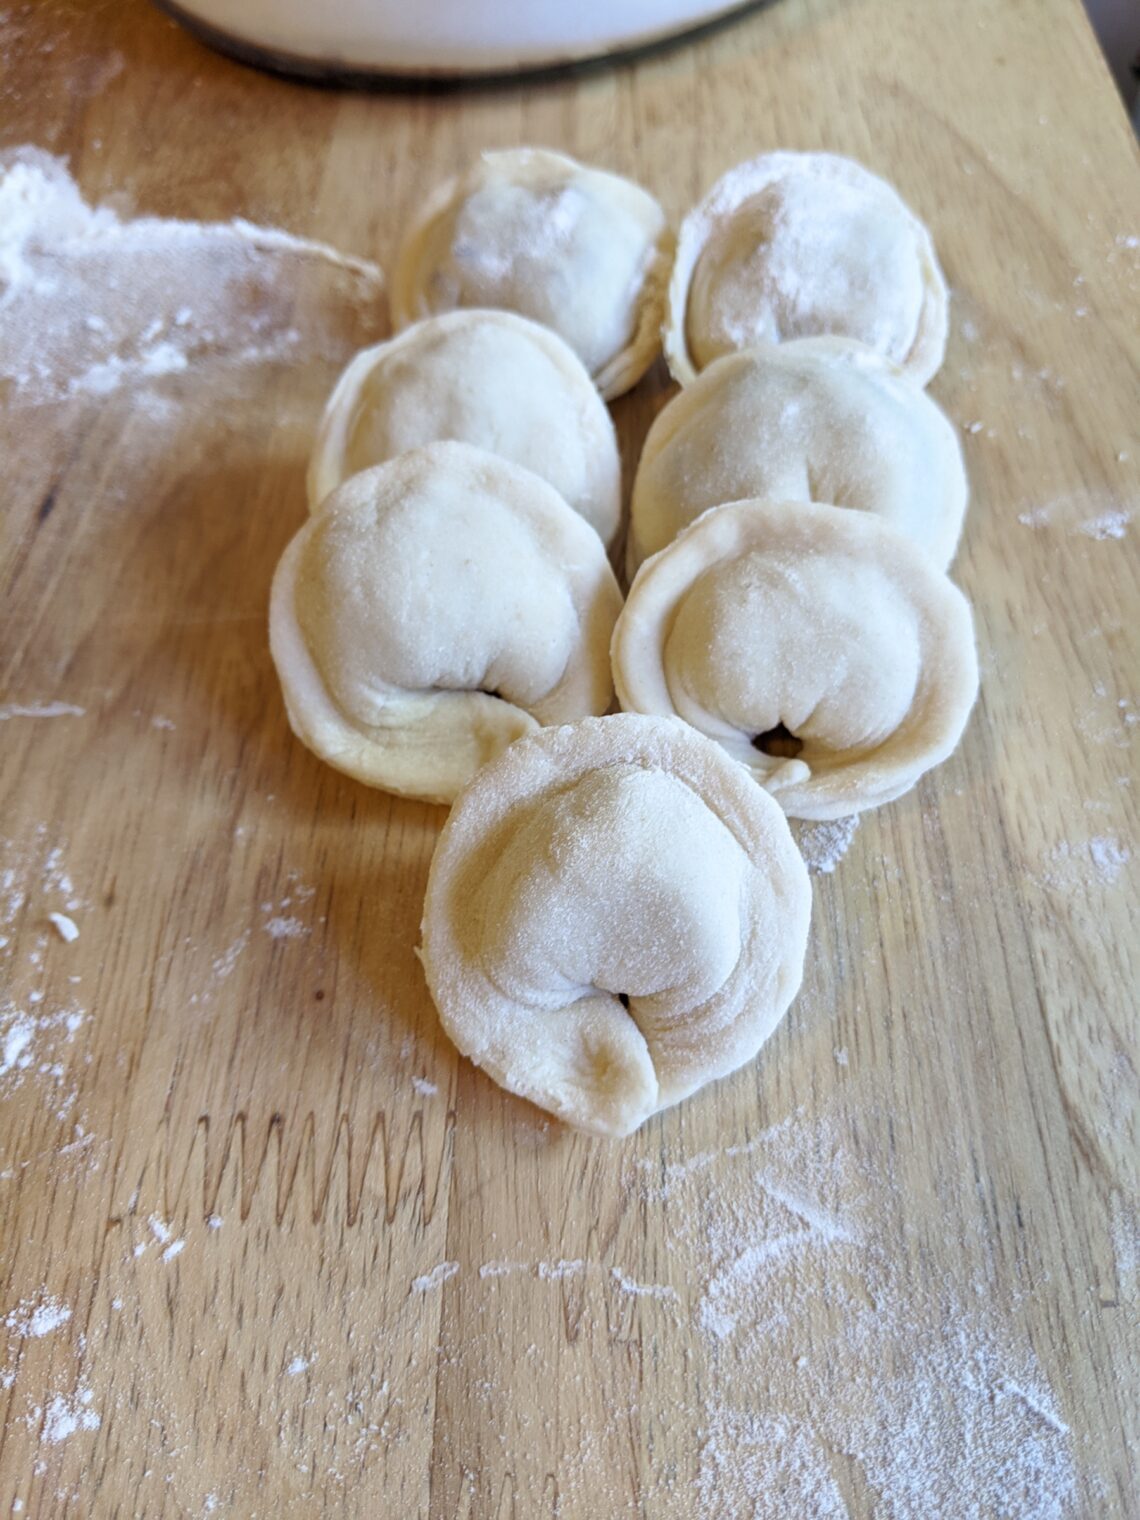
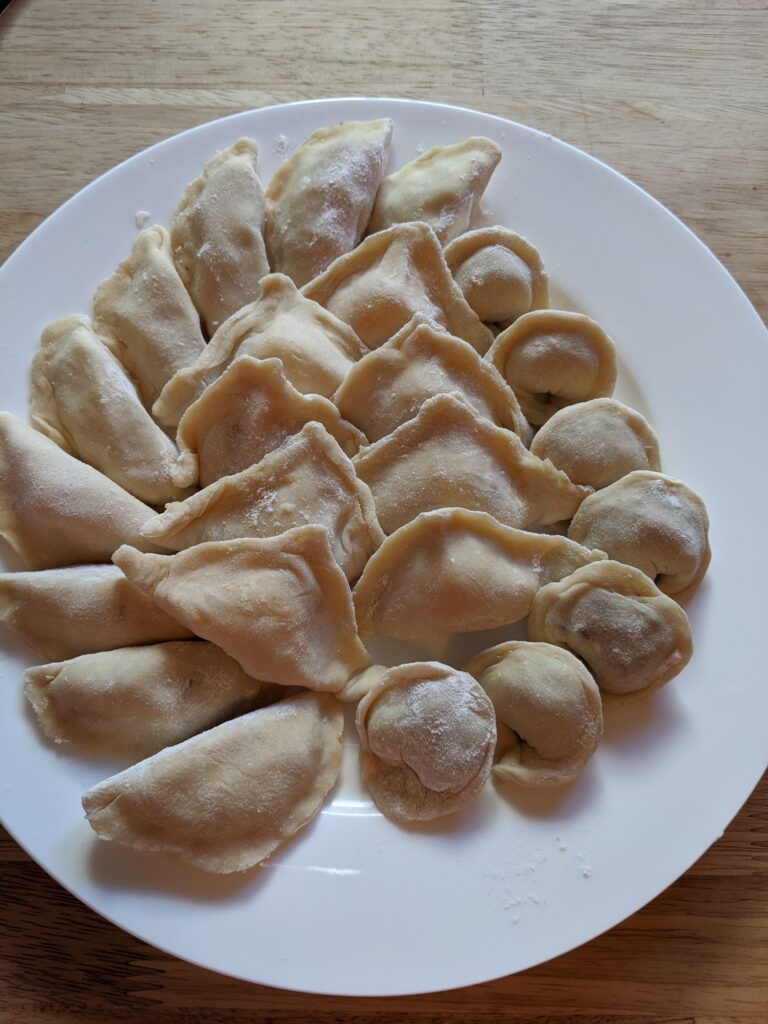
To fill the pelmeni, I place a rounded scoop of meat filling into the center of each one. I used a melon baller, so I am not totally sure what the volume was… maybe 2 teaspoons? I pick up each dough circle in my hand, pull the centers together and press. Then press together each side, making a half-circle. From there, take the two corners of the half circle and pull them down and press those corners together. And now it should look like a Russian folk hat. I put 6 of them on a plate to make for dinner. The other 16 or so, I sprinkled flour over them and placed them on a sheet pan in the freezer. Once frozen, I put them in a zipper bag and they’ll be frozen until we’re ready to eat them.
To fill the cheese-free vareniki, I followed the exact same process, except I didn’t do the last step of pulling the two corners together. This made little half-circles. I wanted to be able to tell the difference between the 2 types of vareniki, so for the cheesy ones, I used a square cookie cutter. Again, I just folded them in half and pressed, making triangle-shaped dumplings. I followed the same process of freezing these in a single layer, then putting them in a zipper bag for long-term storage.
Cooking!
Finally, we get to add the heat. I brought a large saucepan of salted water to a boil. Most traditionally, an onion and some bay leaf are added to this water. Once it is boiling, stir the water, to get it circulating. Drop the pelmeni in, one at a time and keep the water moving to be sure they don’t stick together or stick to the bottom. Once they float to the top, boil for 3-5 minutes (or longer if you make bigger dumplings). The pelmeni have raw beef inside, so it’s critical to boil them long enough to cook the meat. Once cooked, I pulled them from the water and put them on a plate.
Next, I added the vareniki to the boiling water in the same way. While that was cooking, I chopped up some bacon and sauteed it in a skillet. When the vareniki were finished boiling, I transferred them to the skillet with the cooked bacon and added a bit of butter. The pan was still hot, so the outsides of the vareniki get a little bit of a sear and soak in a bit of the bacon grease. These were then added to the plate with the pelmeni, and the pelmeni were topped with some sour cream and chopped dill.