The key to getting the proper silhouette in historical garments starts with the parts you can’t see: the underwear, the hoops and panniers, corsets, stays, petticoats, chemises, bloomers, and…. combinations. Historically, a shift, or chemise, was the first layer a lady would wear. Social or class standing might dictate what that first layer was made of: cotton vs. linen or silk. But from the most decadent ball gowns to the most modest house maid’s dress, they were all worn atop a base layer that was loose fitting and washable. Eventually, along with a chemise, a lady would wear bloomers. And then, even more eventually, combinations. Combinations are exactly that: a combination of bloomers and a chemise. Kind of like a modern romper, they are a slip dress that kind of ends in flowy shorts. They could be as frilly and ornate or plain and utilitarian as desired.
So I am starting at the center of the tootsie pop and working my way out, as it were. Combinations, then corset, then hoops, petticoats, underskirt, overskirt, and finally, the bodice. After reviewing lots of patterns and photos, I selected a style of combinations to make for myself. Ideally, I wanted to make something that would be in the sweet spot of late Victorian, such that I could wear them underneath Victorian clothing, and early Edwardian, so they could do double duty and work underneath later era dresses as well.
Picking a Pattern/design
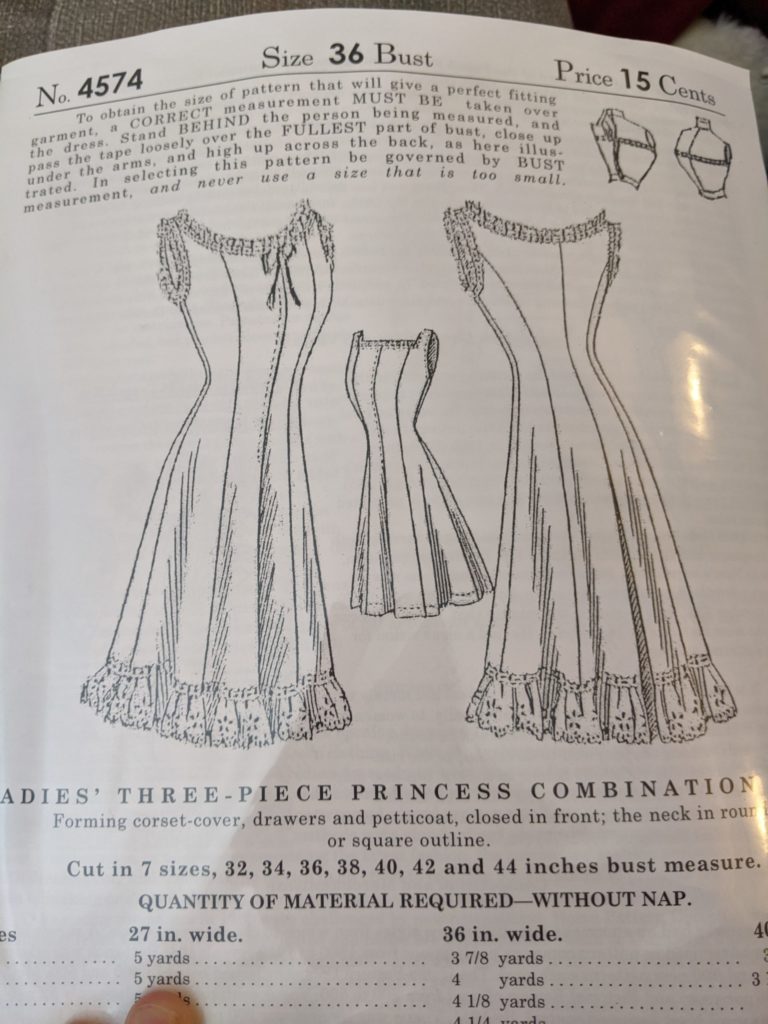
Many patterns and photos showed the combinations with a waist band and kind of a poofy chest/shirt portion. Given that my intention is to wear this under a corset and not on its own as a standalone garment, I selected a pattern that had as little bulk and poofiness in the abdominal area as possible. This led me to a reproduction pattern from the “Ladies’ Home Journal” from the early 1900s. I found a set of princess-seamed combinations that didn’t have a fluffy mid-section.
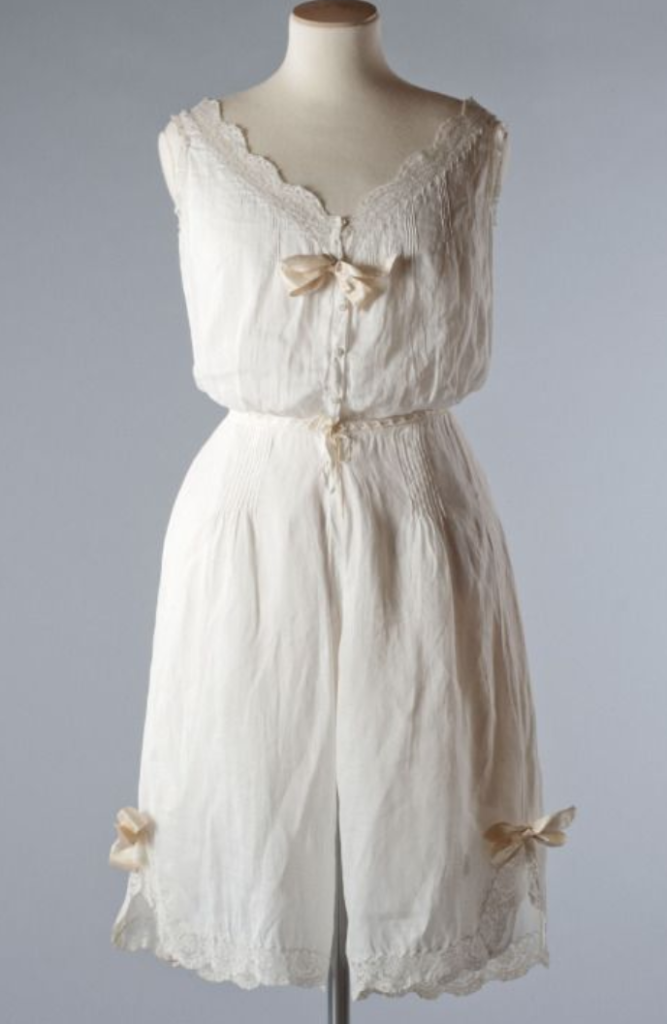
Existing Combinations from the 1910s. It has some fluffiness around the mid-section – not what I’m going for (source link)
However, when the pattern arrived, they also didn’t have any instructions. There is one sheet included with the pattern that has an explanation of the markings and what they mean. But nothing indicating the easiest/ideal order for stitching the pieces together or the best layout to conserve fabric when cutting. No grain line markings either. The pattern has only 4 pieces: front, side front, side back, and back. How hard could it be??
Smooth over the mid-section, and moderately frilly. A good balance 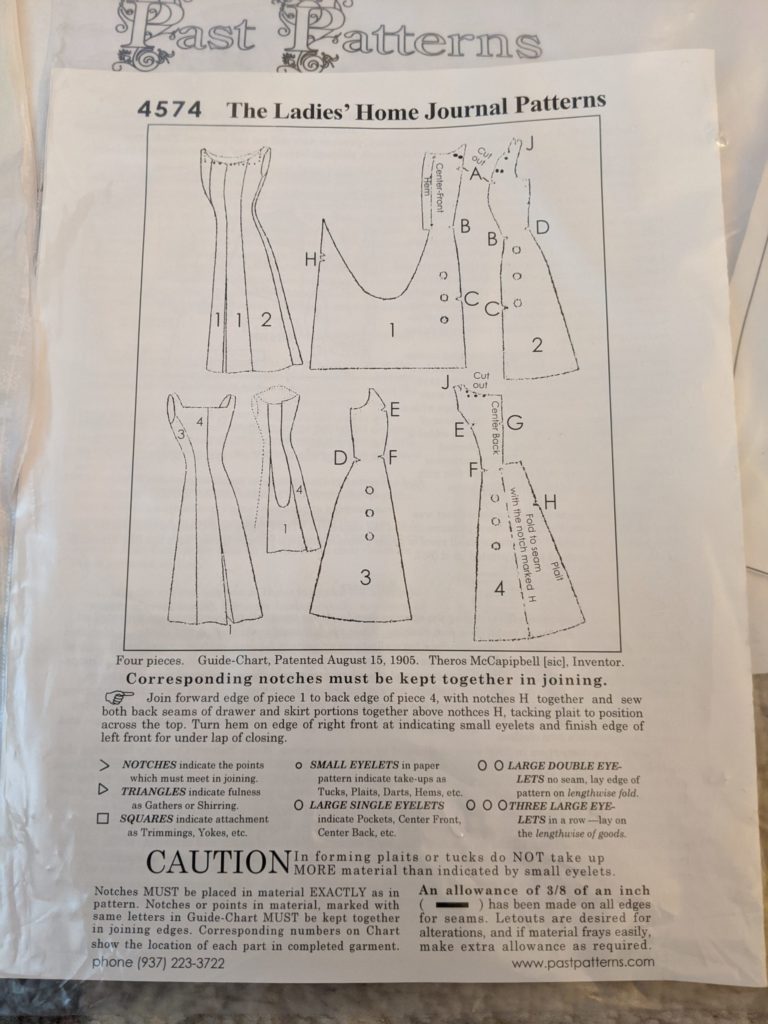
This is the entirety of the instructions.
I spent a couple of nights thinking it through and envisioning how these pieces should go together. The front piece has the inner leg/shorts portion. There’s no marking indicating where the opening in the shorts goes. Combinations were generally open in the center so you didn’t have to take off your dress, your corset, and your combinations to use the ladies’ room. So it took a bit of working to figure out how to get it together.

Cutting out all the pieces 
This is the one piece that confounded me
Choosing a fabric
Combinations are generally made of light weight cotton. After watching videos of other costumers making combinations, there seemed to be the options of either making them from a more solid cotton fabric and then adding lots of insertion lace to give it some texture or starting with an eyelet embroidered cotton so that there was already some texture and interest in the fabric. I went with the latter and found a lovely eyelet cotton lawn fabric from an etsy seller. Lawn is a very thin, quite sheer fabric, and it feels super soft and delicate. Patterns suggest ‘lawn’ as a fabric choice, but it definitely doesn’t feel as sturdy as the one garment you wash regularly should feel, in my opinion.

Sheer eyelet cotton fabric
Construction
I began by cutting out 2 of each of the 4 pieces. I just kept looking at them and couldn’t quite get my head around how the center shorts part would come together. So I took some black thread and basted the seams together.
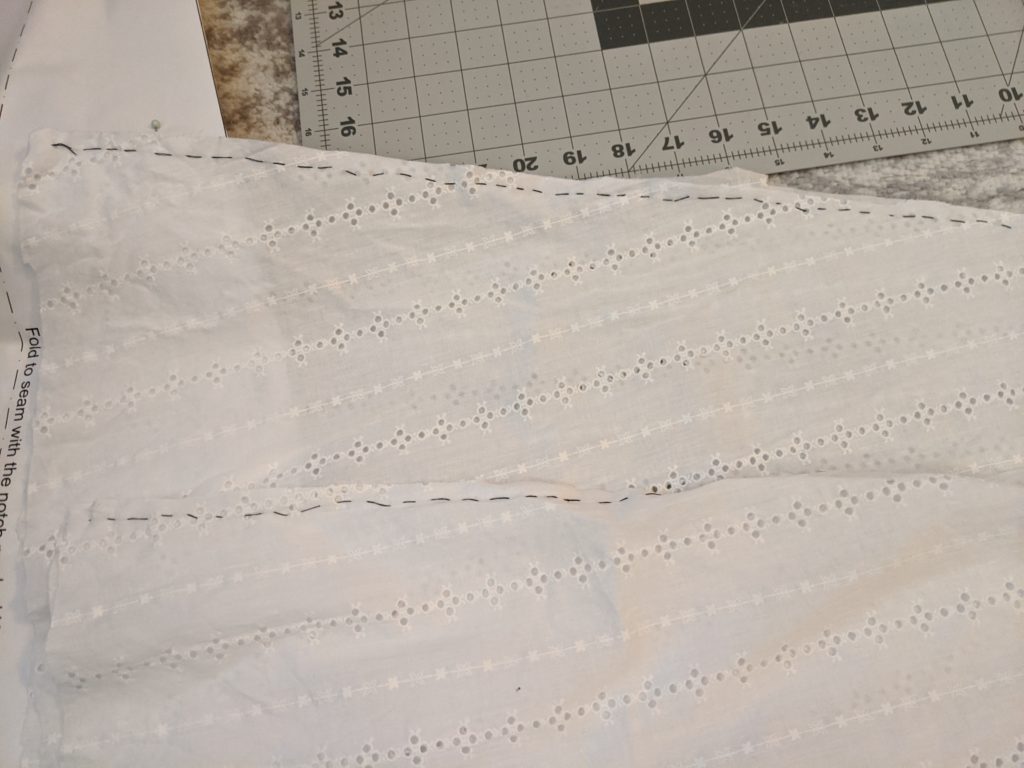
Basting with the black thread so it’d be easy to pull out 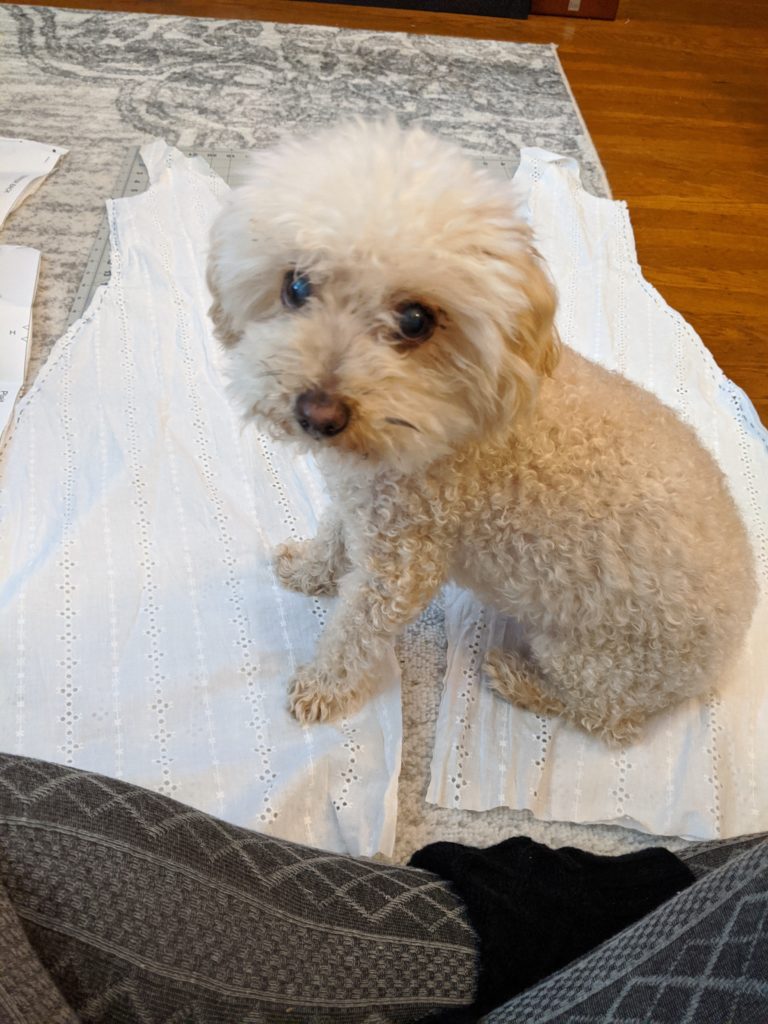
My little helper. He just wants to be in the middle of things. 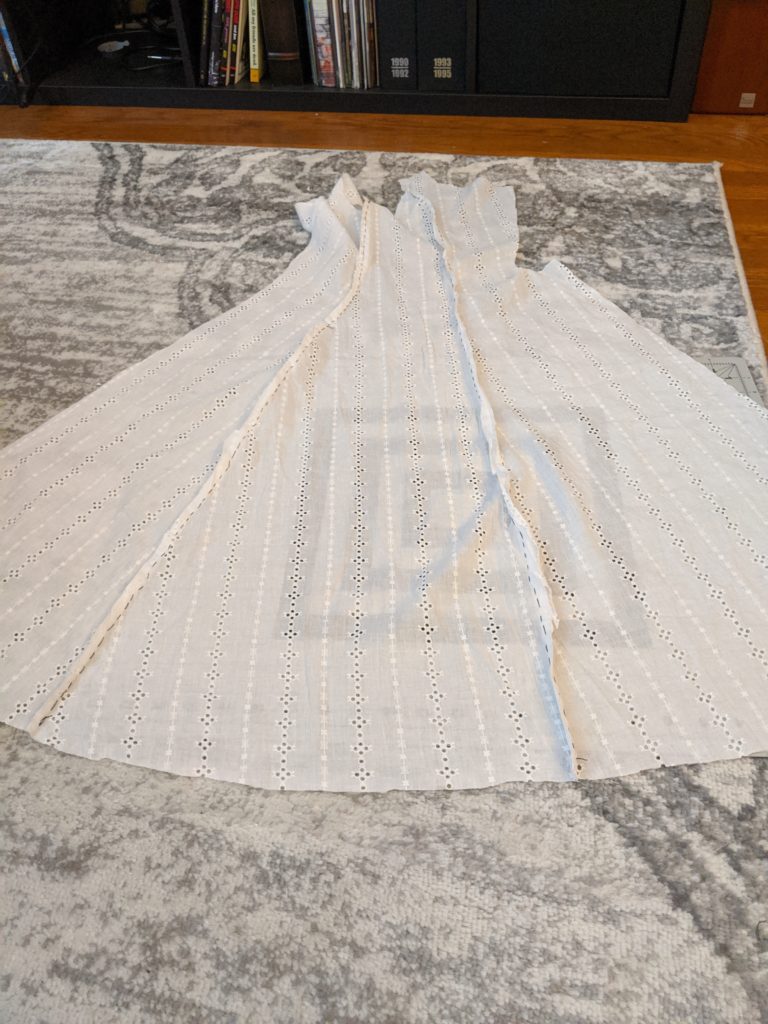
One side completed… mostly… Still a little nervous about that last piece
This was fairly easy, as there are 4 pieces, and all of the pieces have notches on each side. So there’s no risk of putting things together upside down or connecting the wrong 2 pieces.
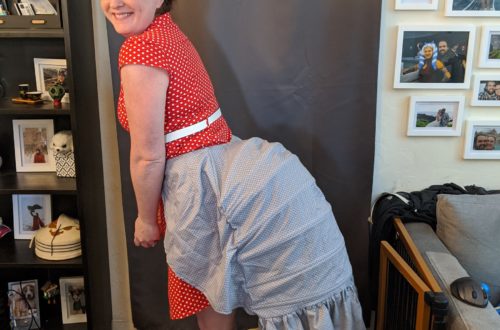
Once I had 2 halves of the combinations basted together, it was time to start pinning it to my dress form and see how this middle section was going to work. This was actually super easy and I was quite glad I did it. The shorts fit together perfectly because they’re the exact same shape. But once they reach the back, the back has a weird pleat in the center waistline that didn’t make sense in the pattern, but was completely obvious when trying to see how the fabric should lay.

Pinning the 2 halves together 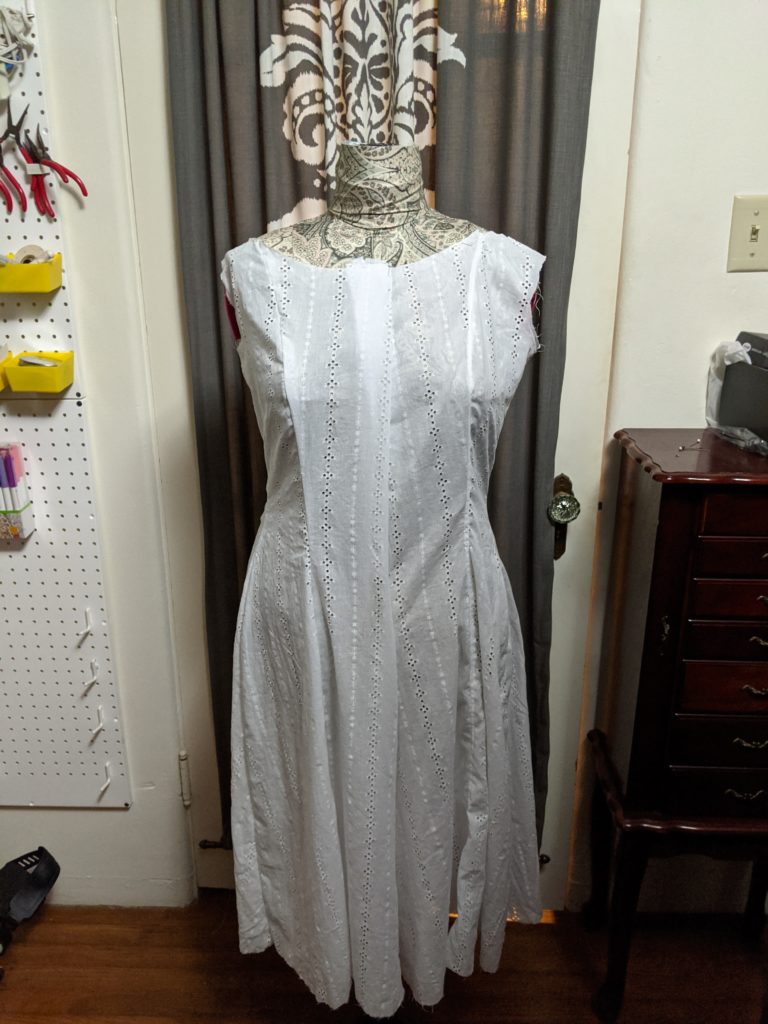
Putting it up on the dress form to get some 3-D perspective 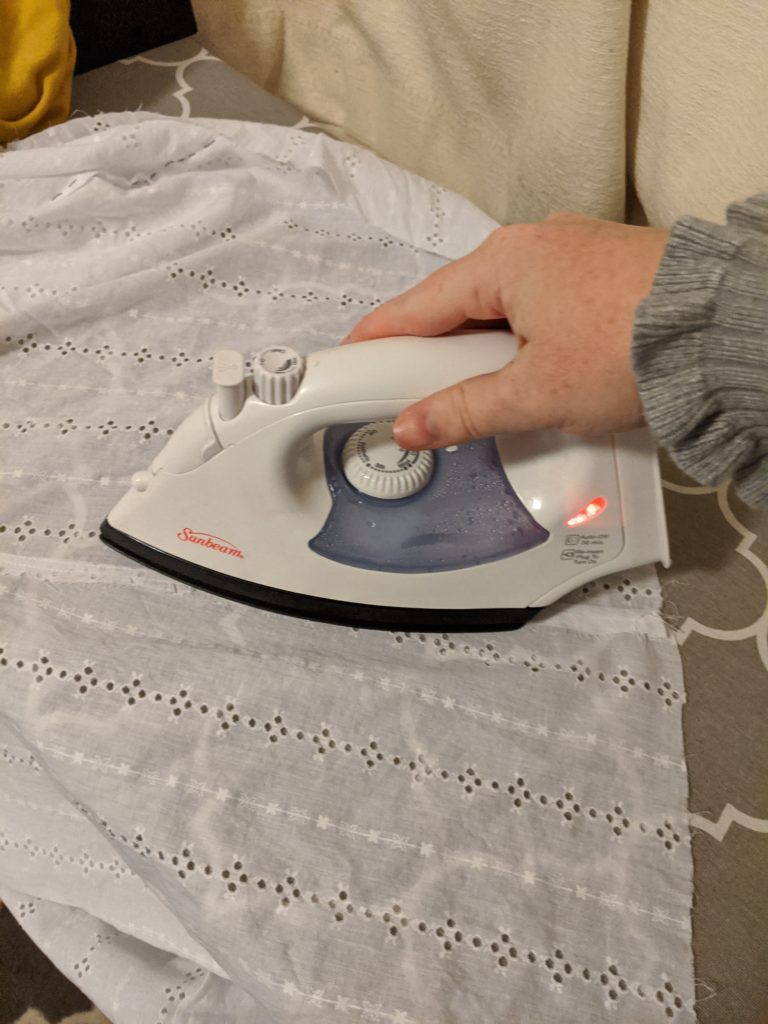
Ironing 
And pulling out the basting thread 
And more ironing
So now, off to the sewing machine. I stitched all of the seams, then pressed them open. This is when it became obvious that the seams were going to be very visible through the sheer fabric (as is everything else…), so they were going to have to be finished nicely. It fit me without a lot of ease, so I didn’t think I’d have enough fabric to do French seams. So after making each seam, I trimmed one side, folded the other side over it and ironed it down, and then stitched it down. So all of the seams are kind of a bright, opaque white, while the rest of the garment is very sheer white, but I think it works well to show the princess seaming.
Finishing
After I put the whole thing together, the next step was to add some buttons up the front. I picked the smallest buttons I could find, as again, they’re going to be underneath a corset, and having big, hard buttons pressing into your rib cage doesn’t seem fun. There is a little flap in the pattern for doubling the fabric over for adding the buttons, but in hindsight, I should have gone ahead and added a bit of a lining fabric here. The eyelet holes are pretty big, and trying to stitch a button hole through an eyelet left some… strange looking button holes. I might try to fix that up later, but again, this is the underwear layer, so it doesn’t have to be totally perfect. I’m just learning about how to read and construct from actual historical patterns. Right? right.
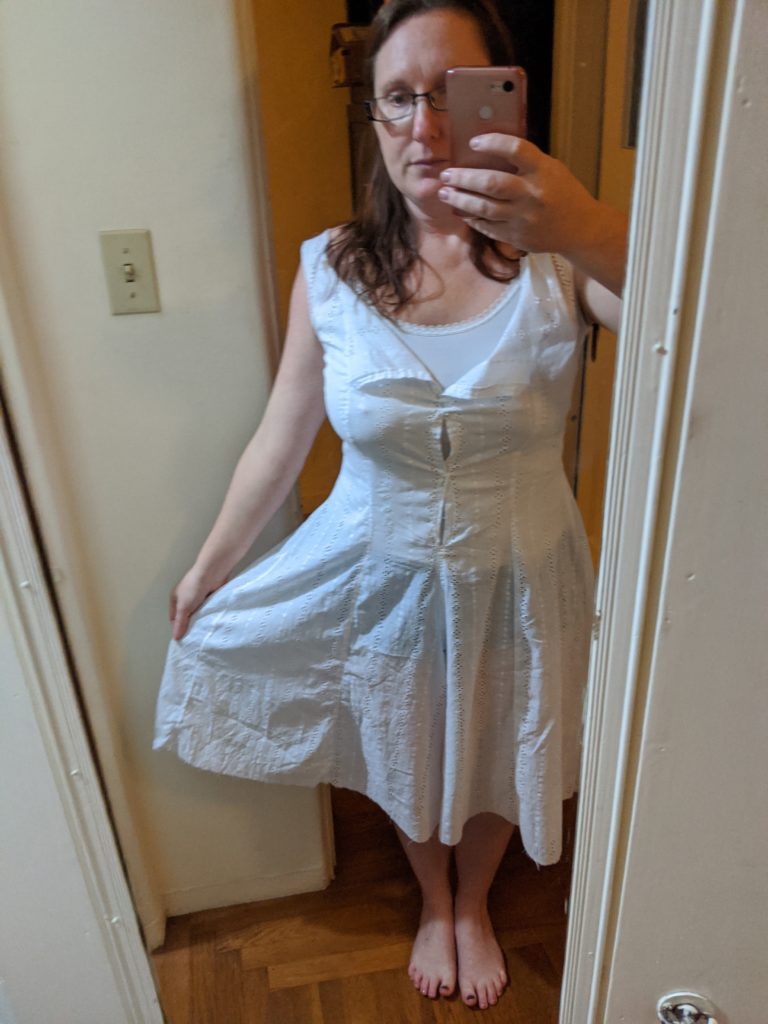
Before alterations. 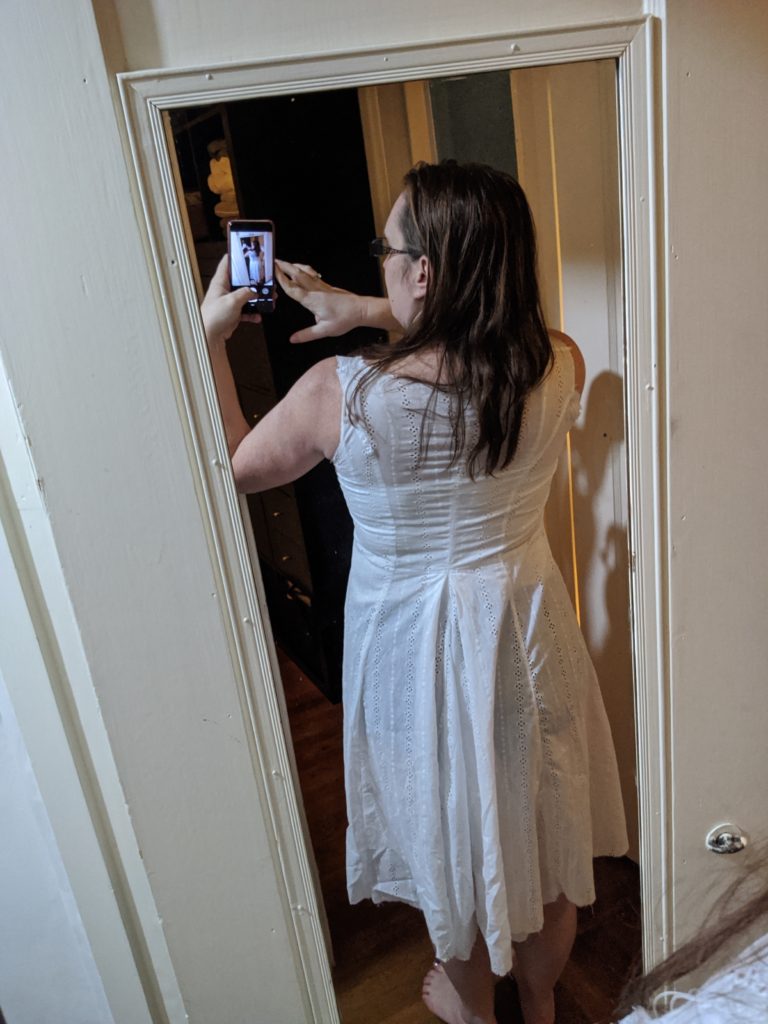
I really love how the little pleat in the back turned out 
After trimming the neckline down
The next step is to finish the neck line. Now, this is a very modest combinations pattern, with a pretty high neckline in front and a very high neckline in back. I have already started sketching some bodice ideas for dresses, and I know that this simply will not do. Victorian dresses, particularly, were low cut and evening gowns of most decades are sleeveless. So I cut the neckline down to juuuuuust above where the corset will end (more on that later!). And made the shoulder straps narrow and gave it a nice, deep V-back. I just did a basic hem stitch around the neckline to finish off the raw edges. Then I added a string of antique lace around the entire neckline. Unlike the pattern, I did not gather it or make it ruffly. I left it decidedly flat. Then I threaded some soft pink silk ribbon through the lace and gave it a little bow in the back.
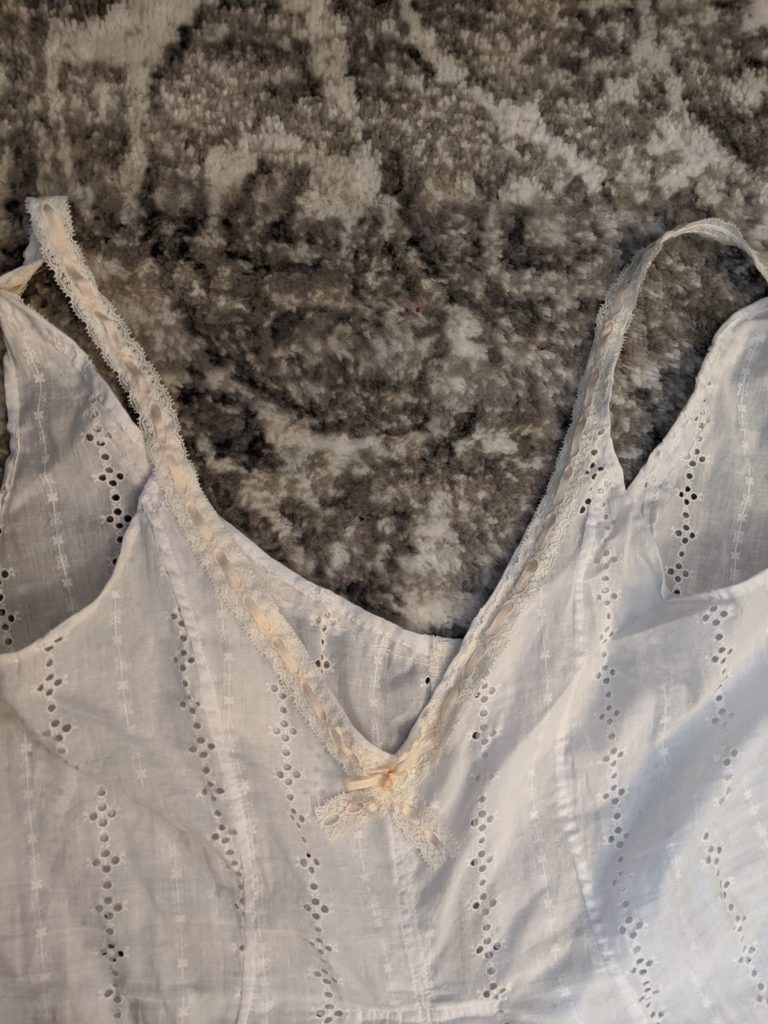
Close-up of the finished neckline – pink silk ribbon and antique cotton lace add some nice detail
The final step is to finish the hem of the shorts. As a short person, I feel like their current length is a bit too long for me, especially since there is supposed to be a layer of ruffles added to the bottom. So I shortened the legs by about 4 inches, which I then replaced with a few inches of ruffles. This didn’t make them shorter, but kept them from being any longer. And now, with that, they are finished!
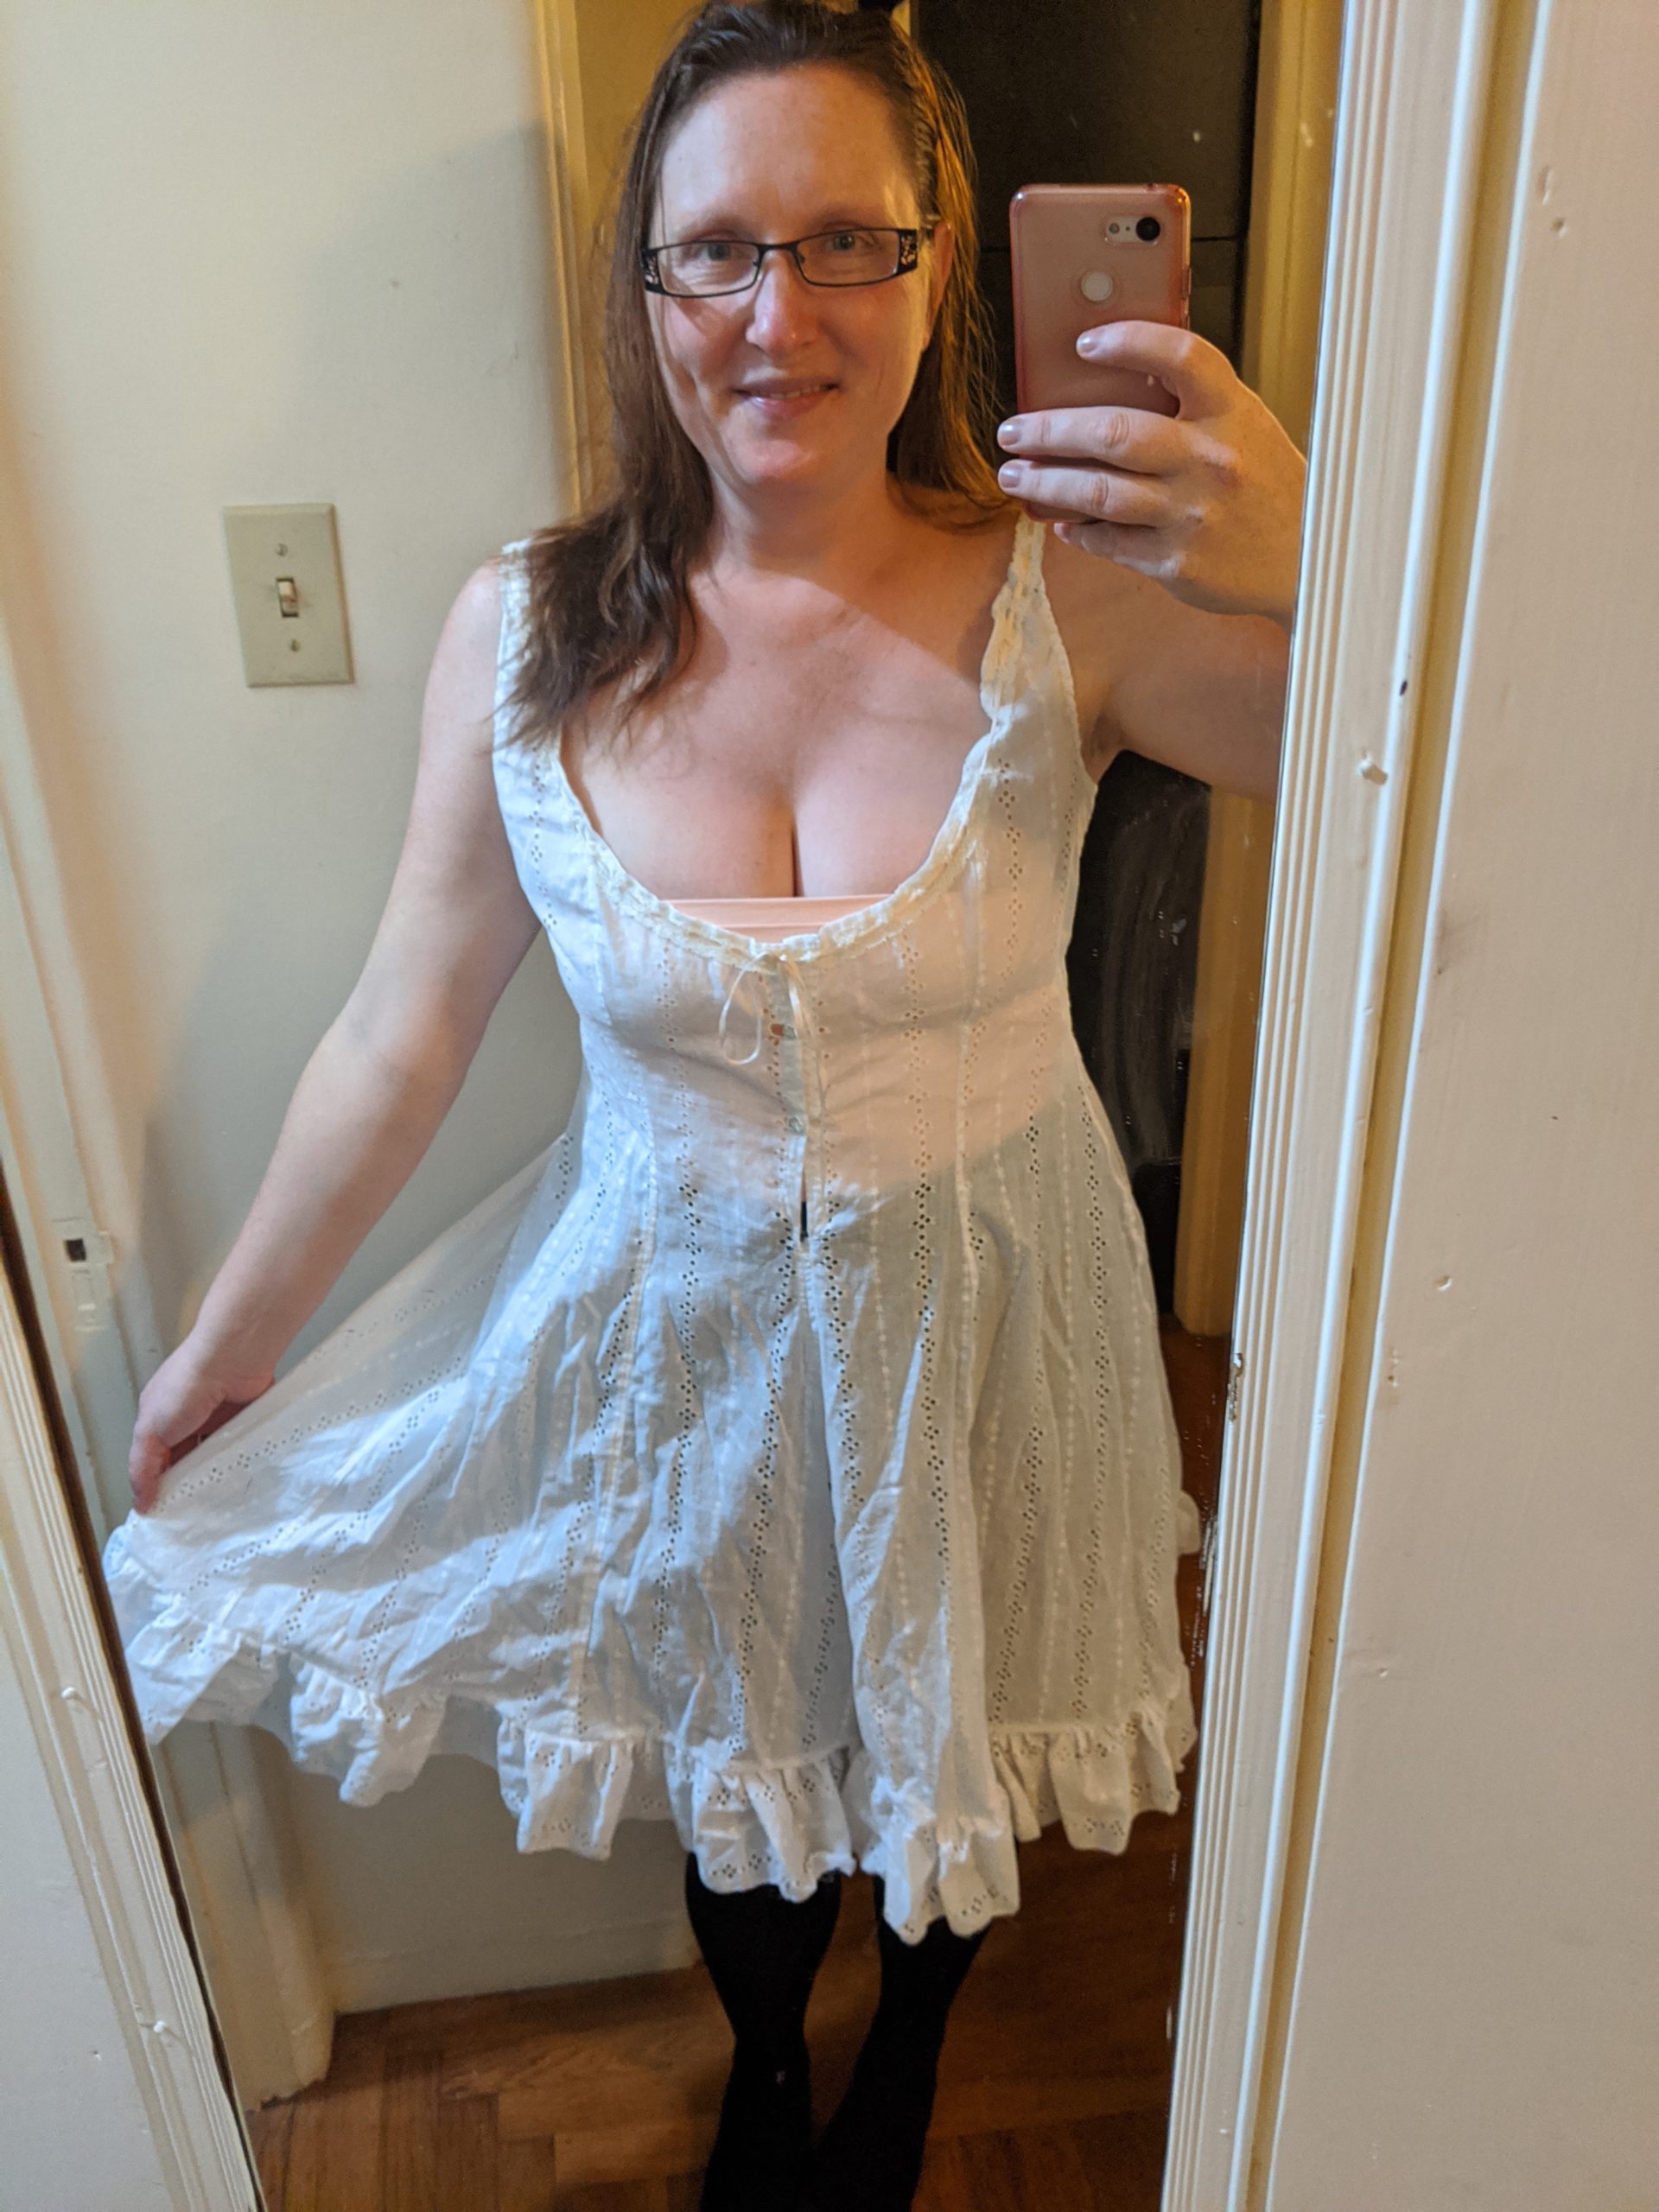
The front, with low neckline, thin shoulder straps, and all the leg ruffles a girl could want 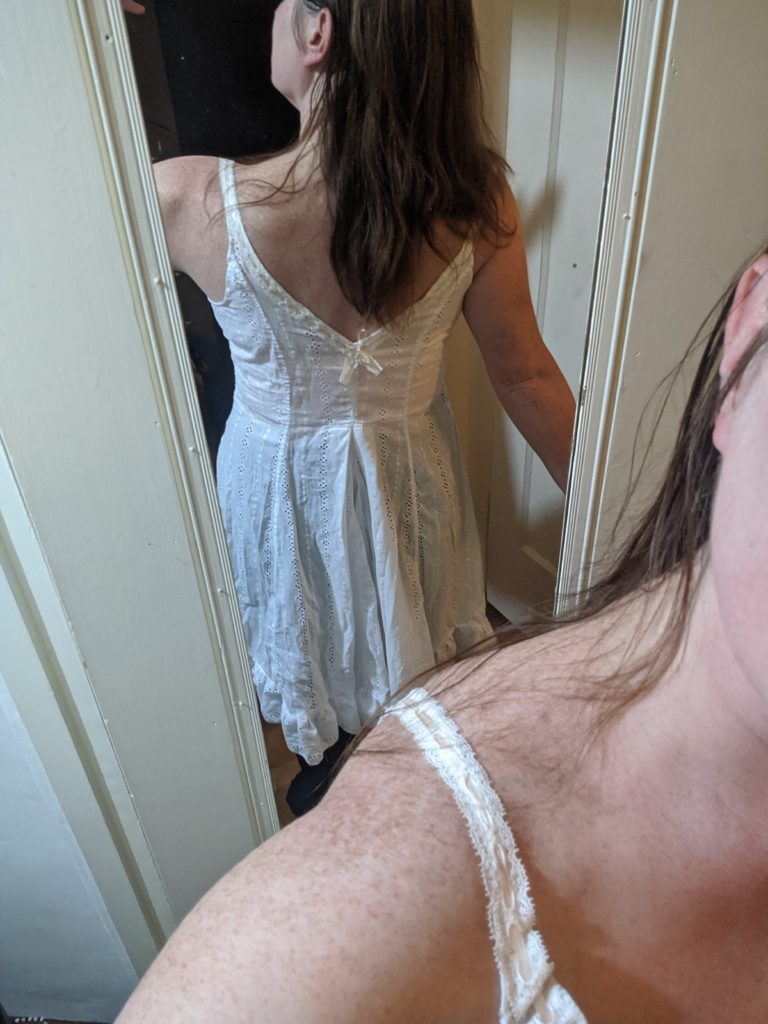
The back – with lower neckline, lace, bow, and leg ruffles


2 Comments
clare
So complicated! I admire your ambition in attacking this project. Love the fabric and ribbon detail! And the cute little pleat in the back 🙂 I would think you could do this as a sundress and not just a corset. Great job, Tina!
Tina
Ooooh, I bet it would make an adorable sun dress 😀 I’d have to pick a less sheer fabric, though. I can’t even take photos of this one without wearing something under it, even though it’s technically the ‘underwear’ of its time.