Here is my attempt at the famous and famously complicated Hungarian Dobos Torte. I mostly followed along with this video from a Hungarian chef’s youtube channel. It’s in Hungarian and I, regrettably do not understand any Hungarian. Don’t blame me, I tried. But that’s another story. This recipe has been in my list of things to try for years. Literally, I have it saved from 2010. This and croquembouche. Some day I will make one of those… There are lots of interesting Hungarian cakes, but this one has stuck with me for 1 reason: it lacks fruit. I love fruit. And I love chocolate. But I never like fruit and chocolate mixed together. I’m a no on chocolate covered strawberries, chocolate cake with raspberry frosting, chocolate covered cherries, etc. Most Hungarian cakes are beautiful and seem to revel in their complexity. They have 7 layers or 10 layers…. always lots of effort to make them. But they also usually have either apricot or other fruits (Sacher torte, Zserbó). But the Dobos torte is the only one with caramel, the best and only acceptable accompaniment to chocolate.
Anyway, I watched the video and clicked the link underneath for the recipe. I used google translate to get the English version of the recipe, and then proceeded to try to decode things I didn’t understand. Having done a lot of cooking in foreign countries, I know that there are always some ingredients that exist there that just don’t exist here, and some ingredients that they call one thing and the literal translation into English is not at all what we would call it. So for this recipe, I had to decipher things like “yeast butter”, which just ended up being sweet/unsalted butter, and cocoa paste and cocoa butter, which I just left out and replaced with melted dark chocolate.

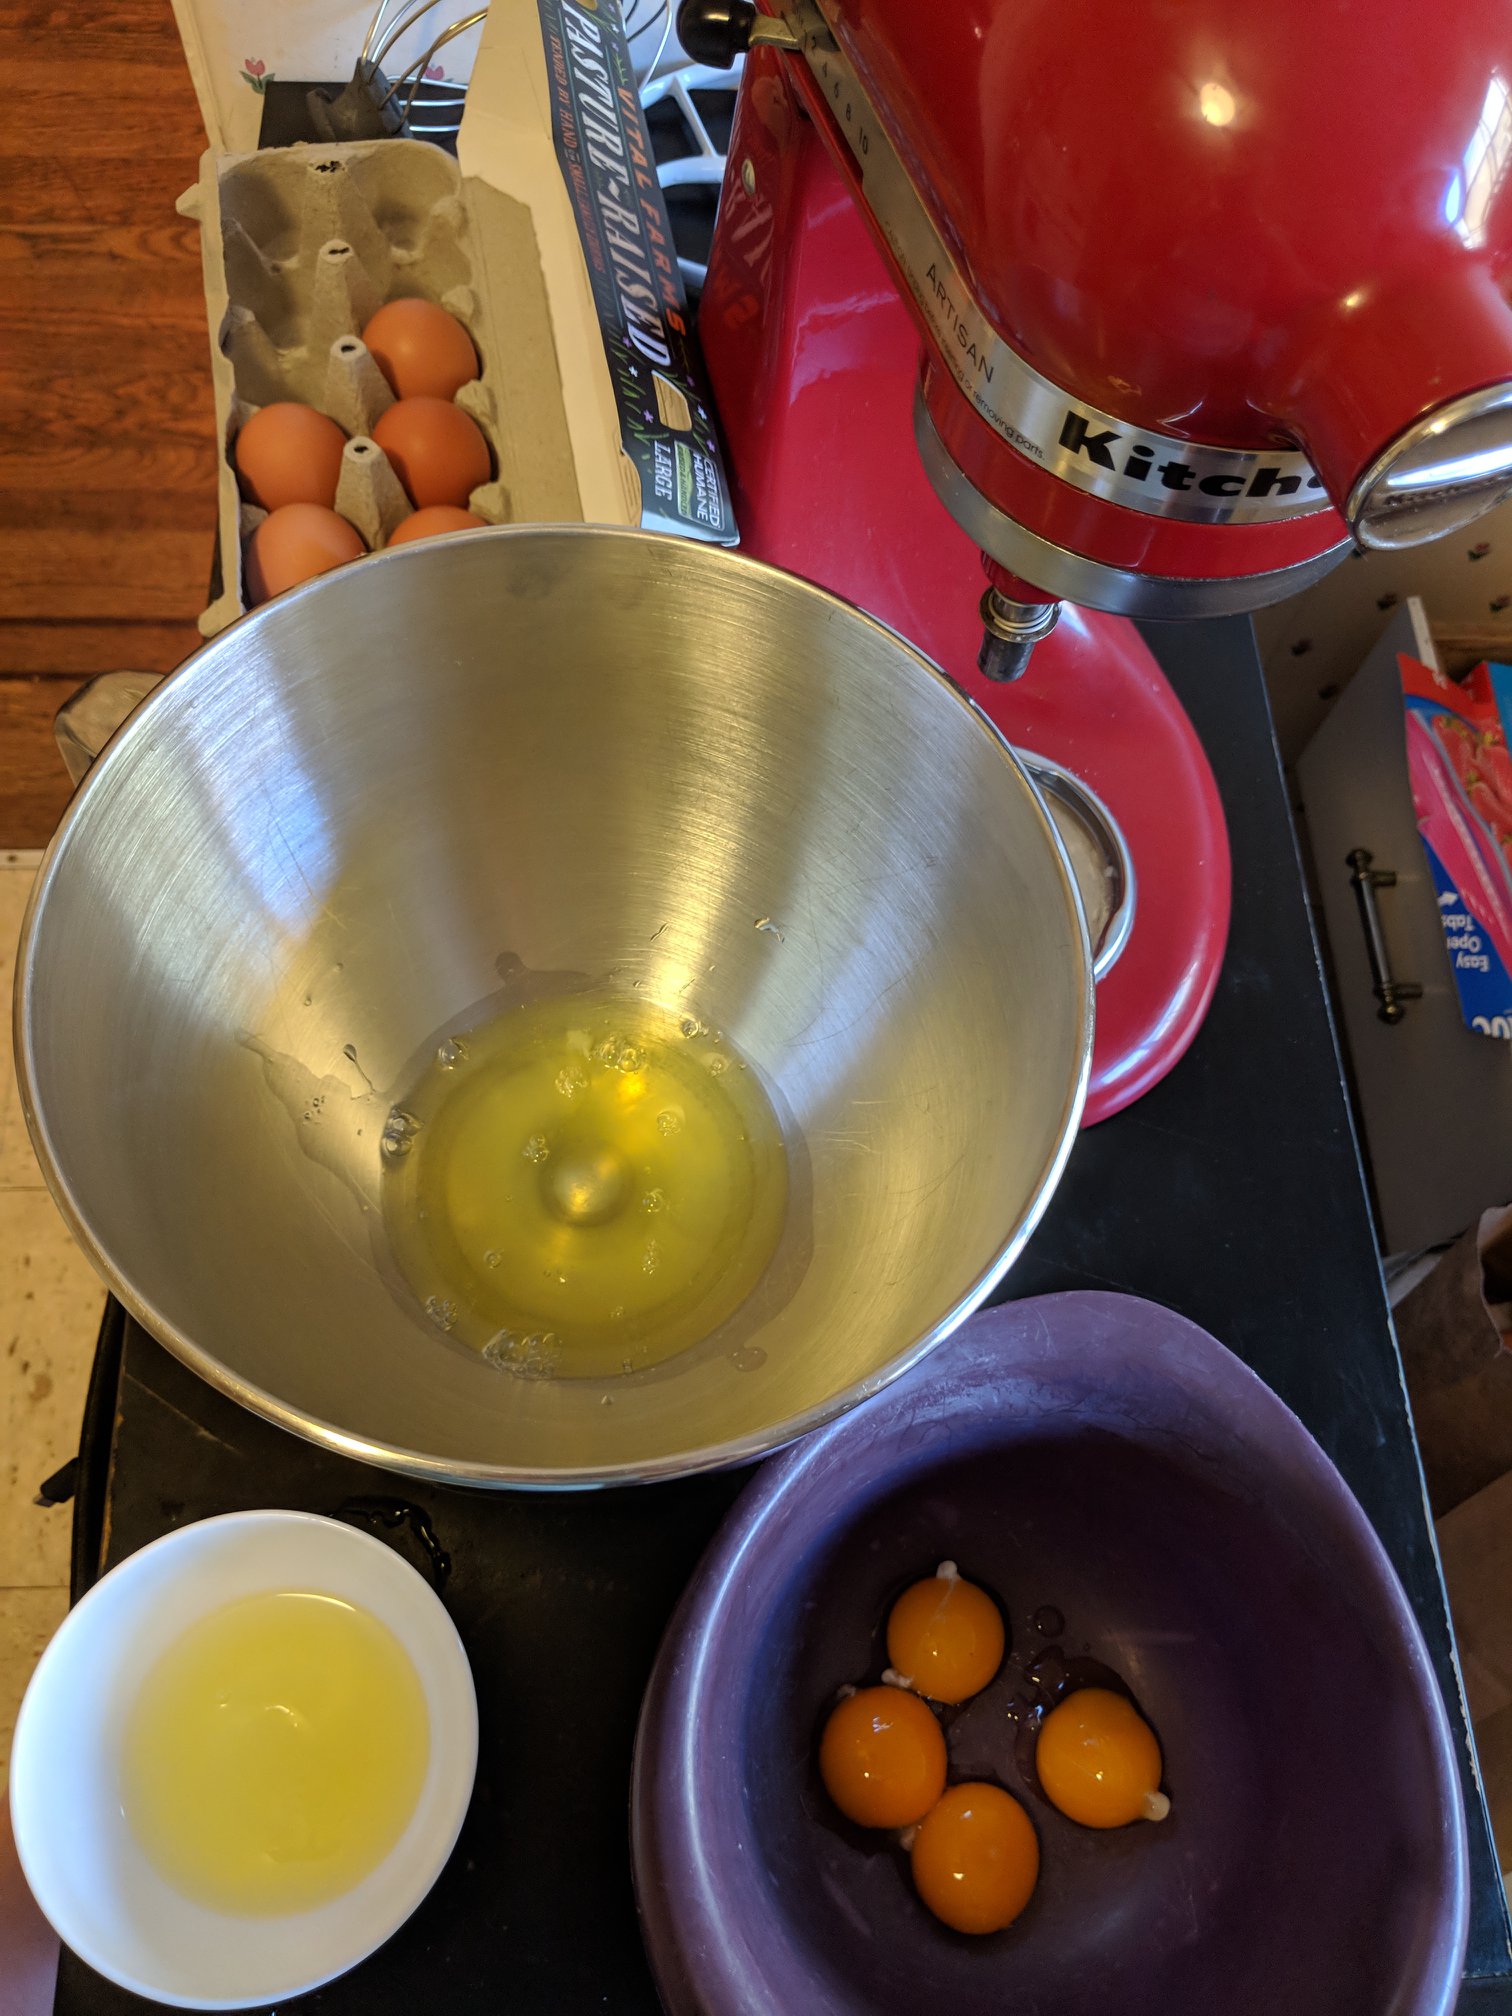
The recipe begins with spongecake. 7 layers of spongecake, each baked separately. To make the spongecake, I broke with the video’s process a little. The cake batter is made of egg whites whipped to a meringe, egg yolks whipped into a yolk foam, and the usual four/sugar/vanilla/etc. He whipped the egg yolks first, but I started with the egg whites because I don’t have a commercial kitchen with extra bowls and mixers just lying around, and I didn’t want to have to go through the very thorough cleaning it would take to whip egg whites in the same bowl the egg yolks had just come out of. Any small amount of yolk with break a meringue. But egg whites won’t keep the yolks from foaming.
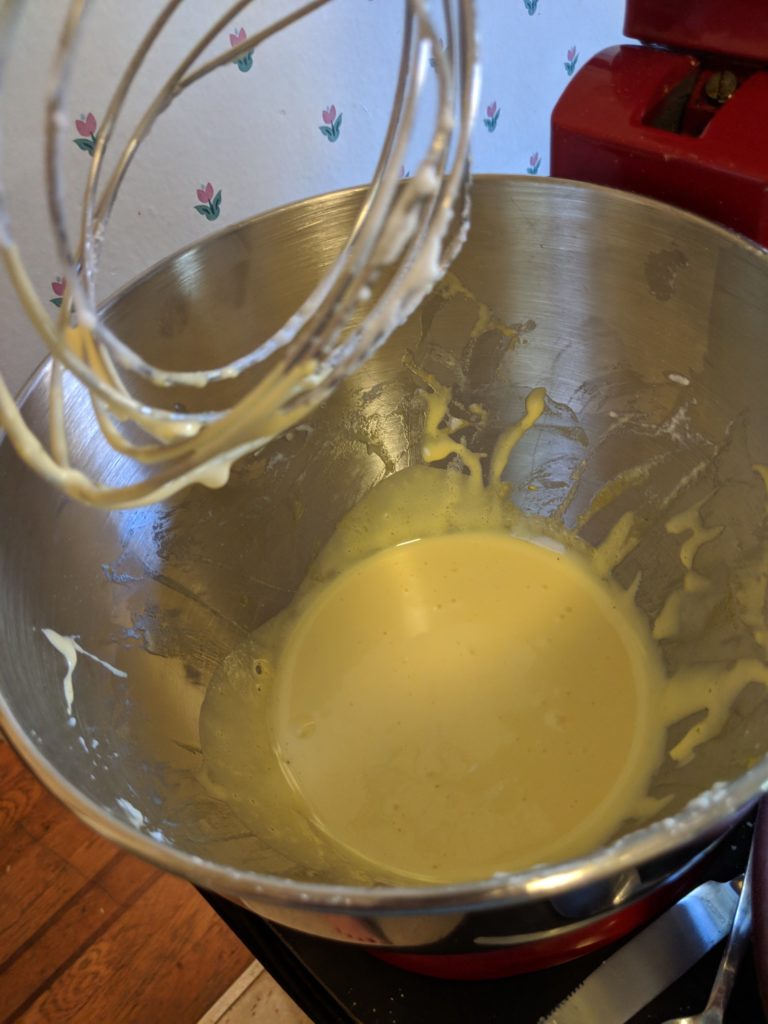
So, I began with whipping the egg whites, moving them to a clean bowl, and then whipping the yolks. I didn’t really feel like my egg yolks got as voluminous as his, but they were in that Kitchenaid for a long time. I felt like this was as good as it was going to get.
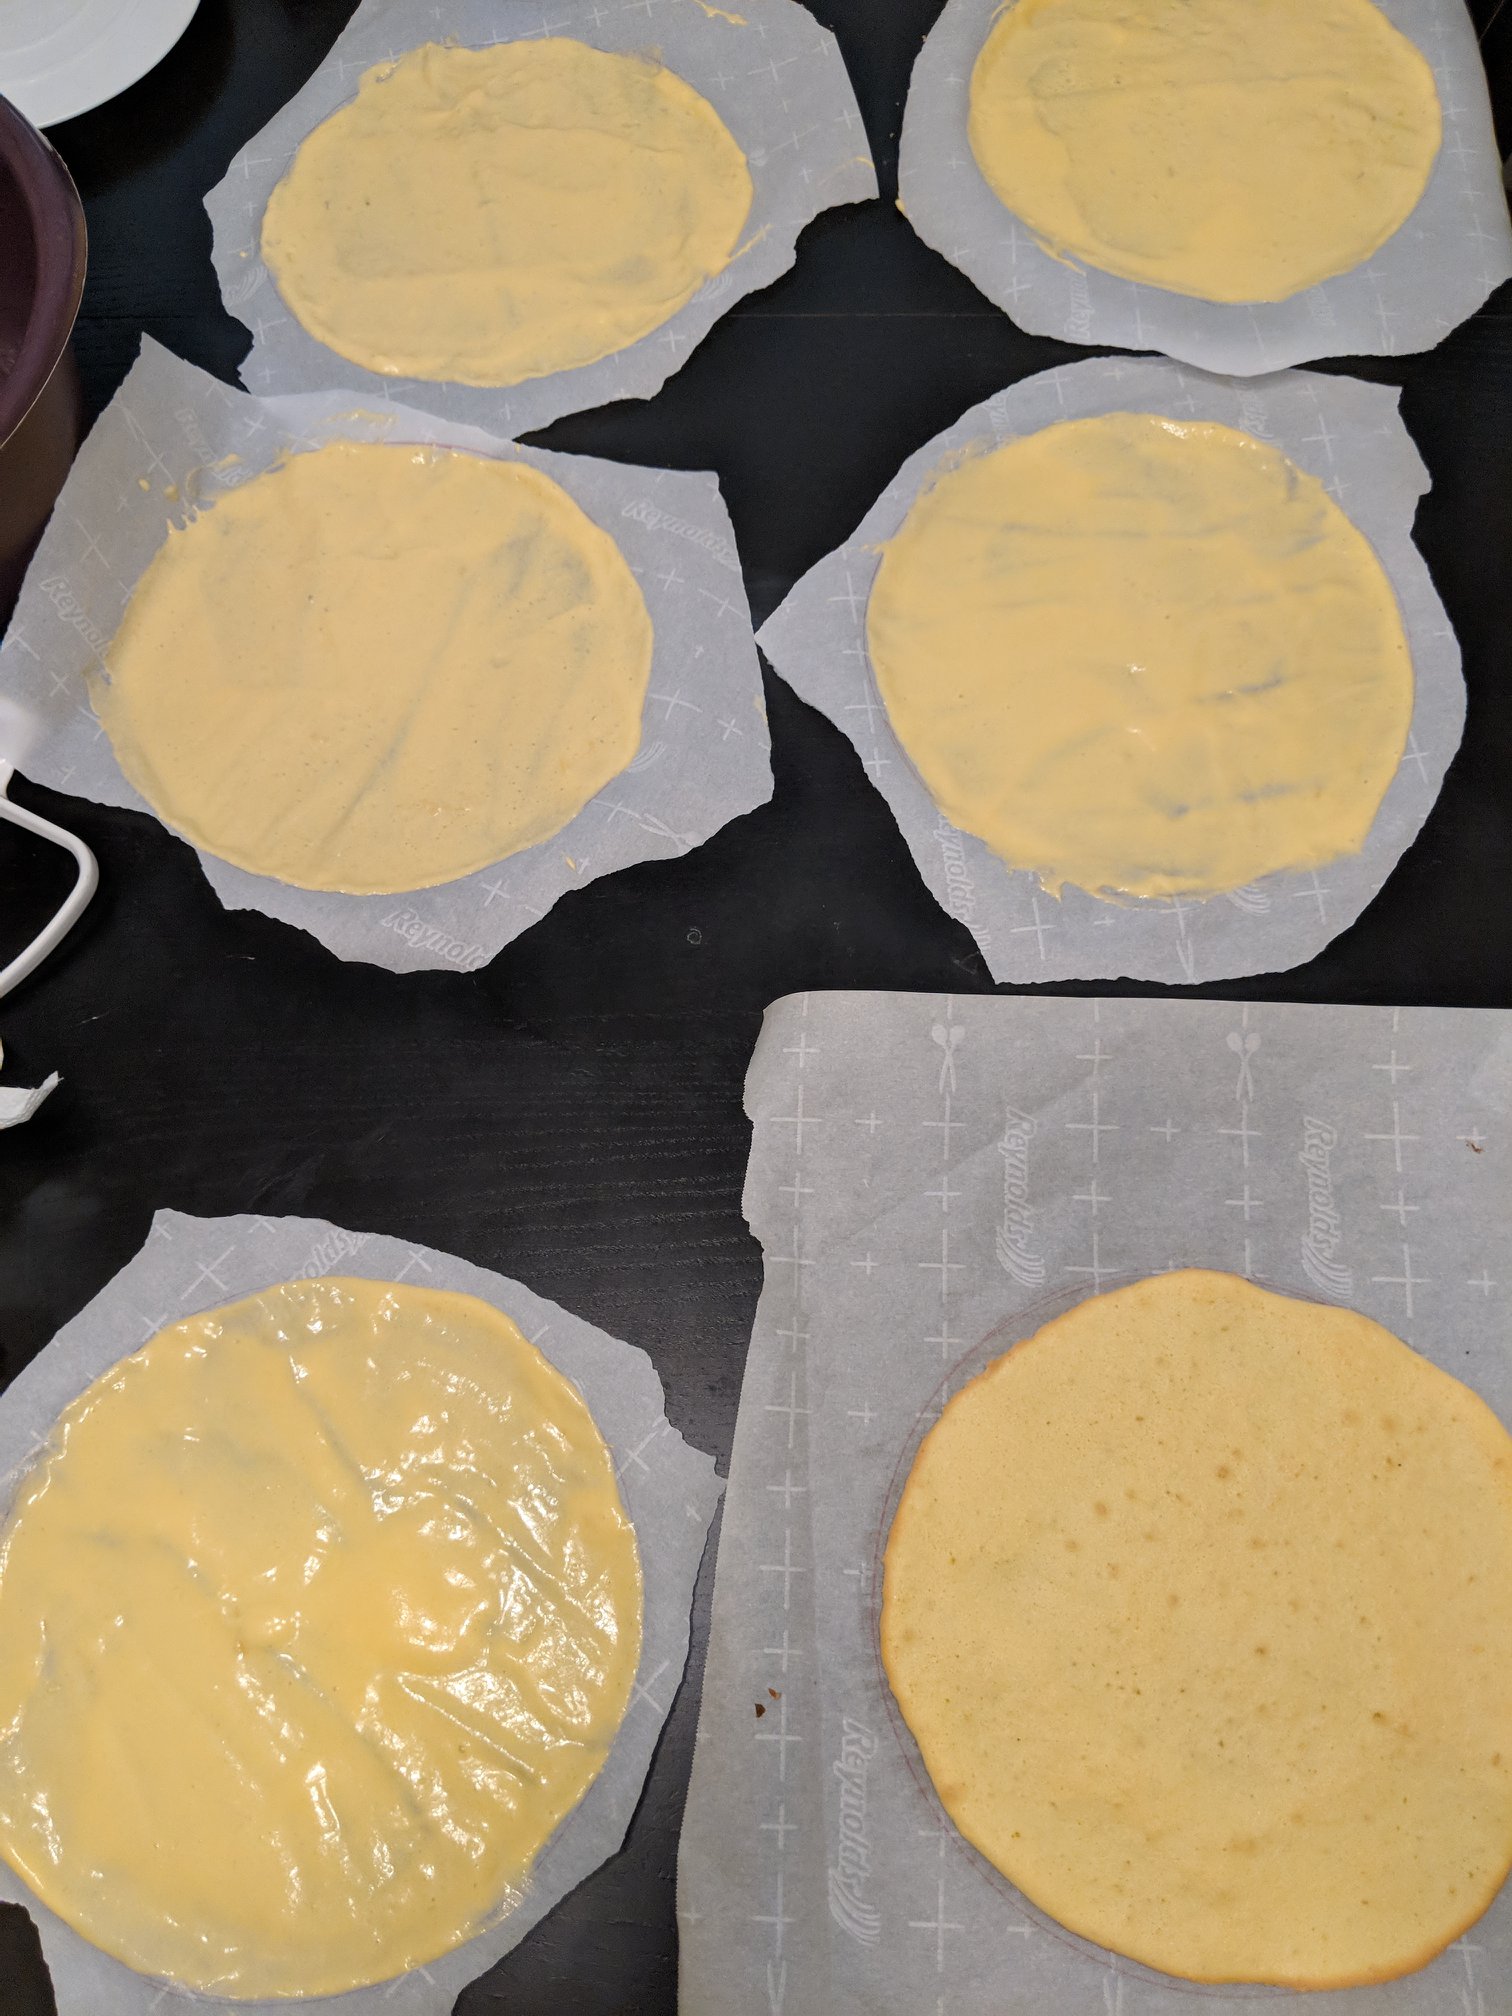
To form the cake layers, the process is to take parchment paper, use a round pan to draw a circle on the underside of it, flip it over, and spread the batter into the shape of the circle. This was, honestly, far easier and less messy than I had anticipated. My layers were thinner than I thought they should be, as I think maybe my springform pan that I used to draw the circles was an inch or 2 larger than what was used in the video. If I were going to make this recipe again, I would probably double the cake batter recipe and end up with 10 layers instead of 7. Each layer is then baked for 10 minutes. Mine were done a little faster than that, around 8 minutes, as they were thinner and I didn’t want them to get crispy. I have a small oven, so they went in one at a time, but I’m sure they could be baked in batches.
While the cakes are baking, I used my 5 minute increments to make the frosting. It begins with the same process as the cake: whipping egg whites and egg yolks separately. The yolks are heated first, then whipped. This is a bit stressful, as it is super easy to cook the yolks and have just some scrambled eggs. Fortunately, that didn’t happen and I was able to make the frosting on the first try. I whipped the egg whites with the Kitchenaid. Then I used an immersion blender fitted with a whisk attachment to whip the egg yolks, still in the saucepan that they were heated in. This was the key to everything. The immersion blender has a super fast speed and the whisk attachment is much more flexible and gets into all of the edges and corners. The egg yolks this time came out super fluffy and foamy.
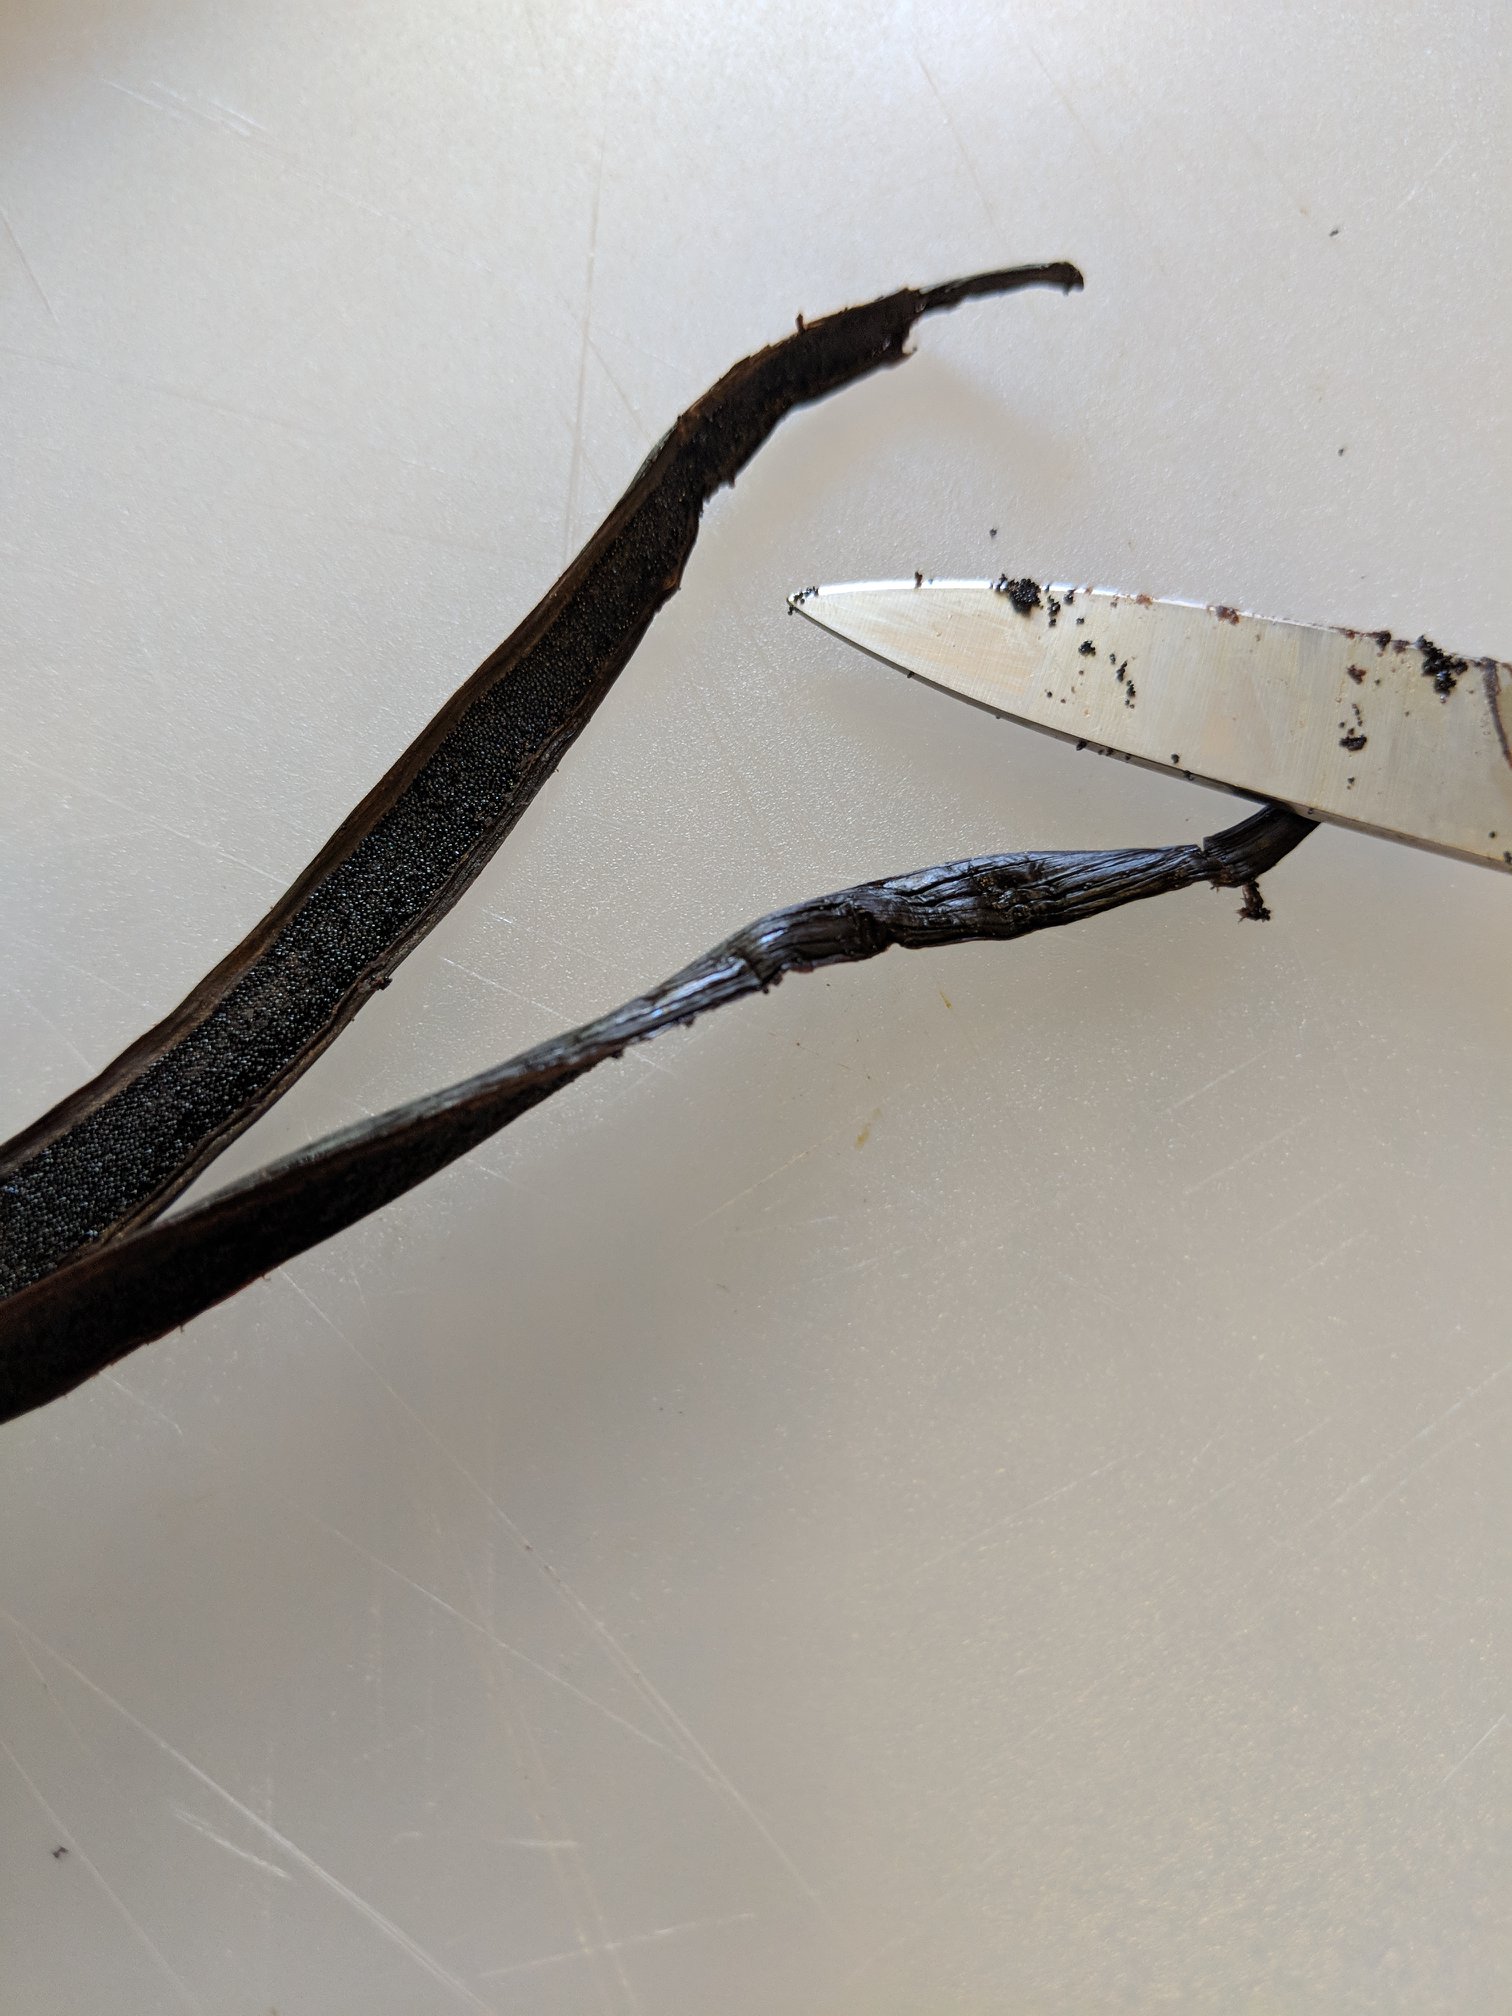
Scraping the vanilla bean 
Vanilla bean, powdered sugar, butter. This is delicious on his own. 
Melting the dark chocolate 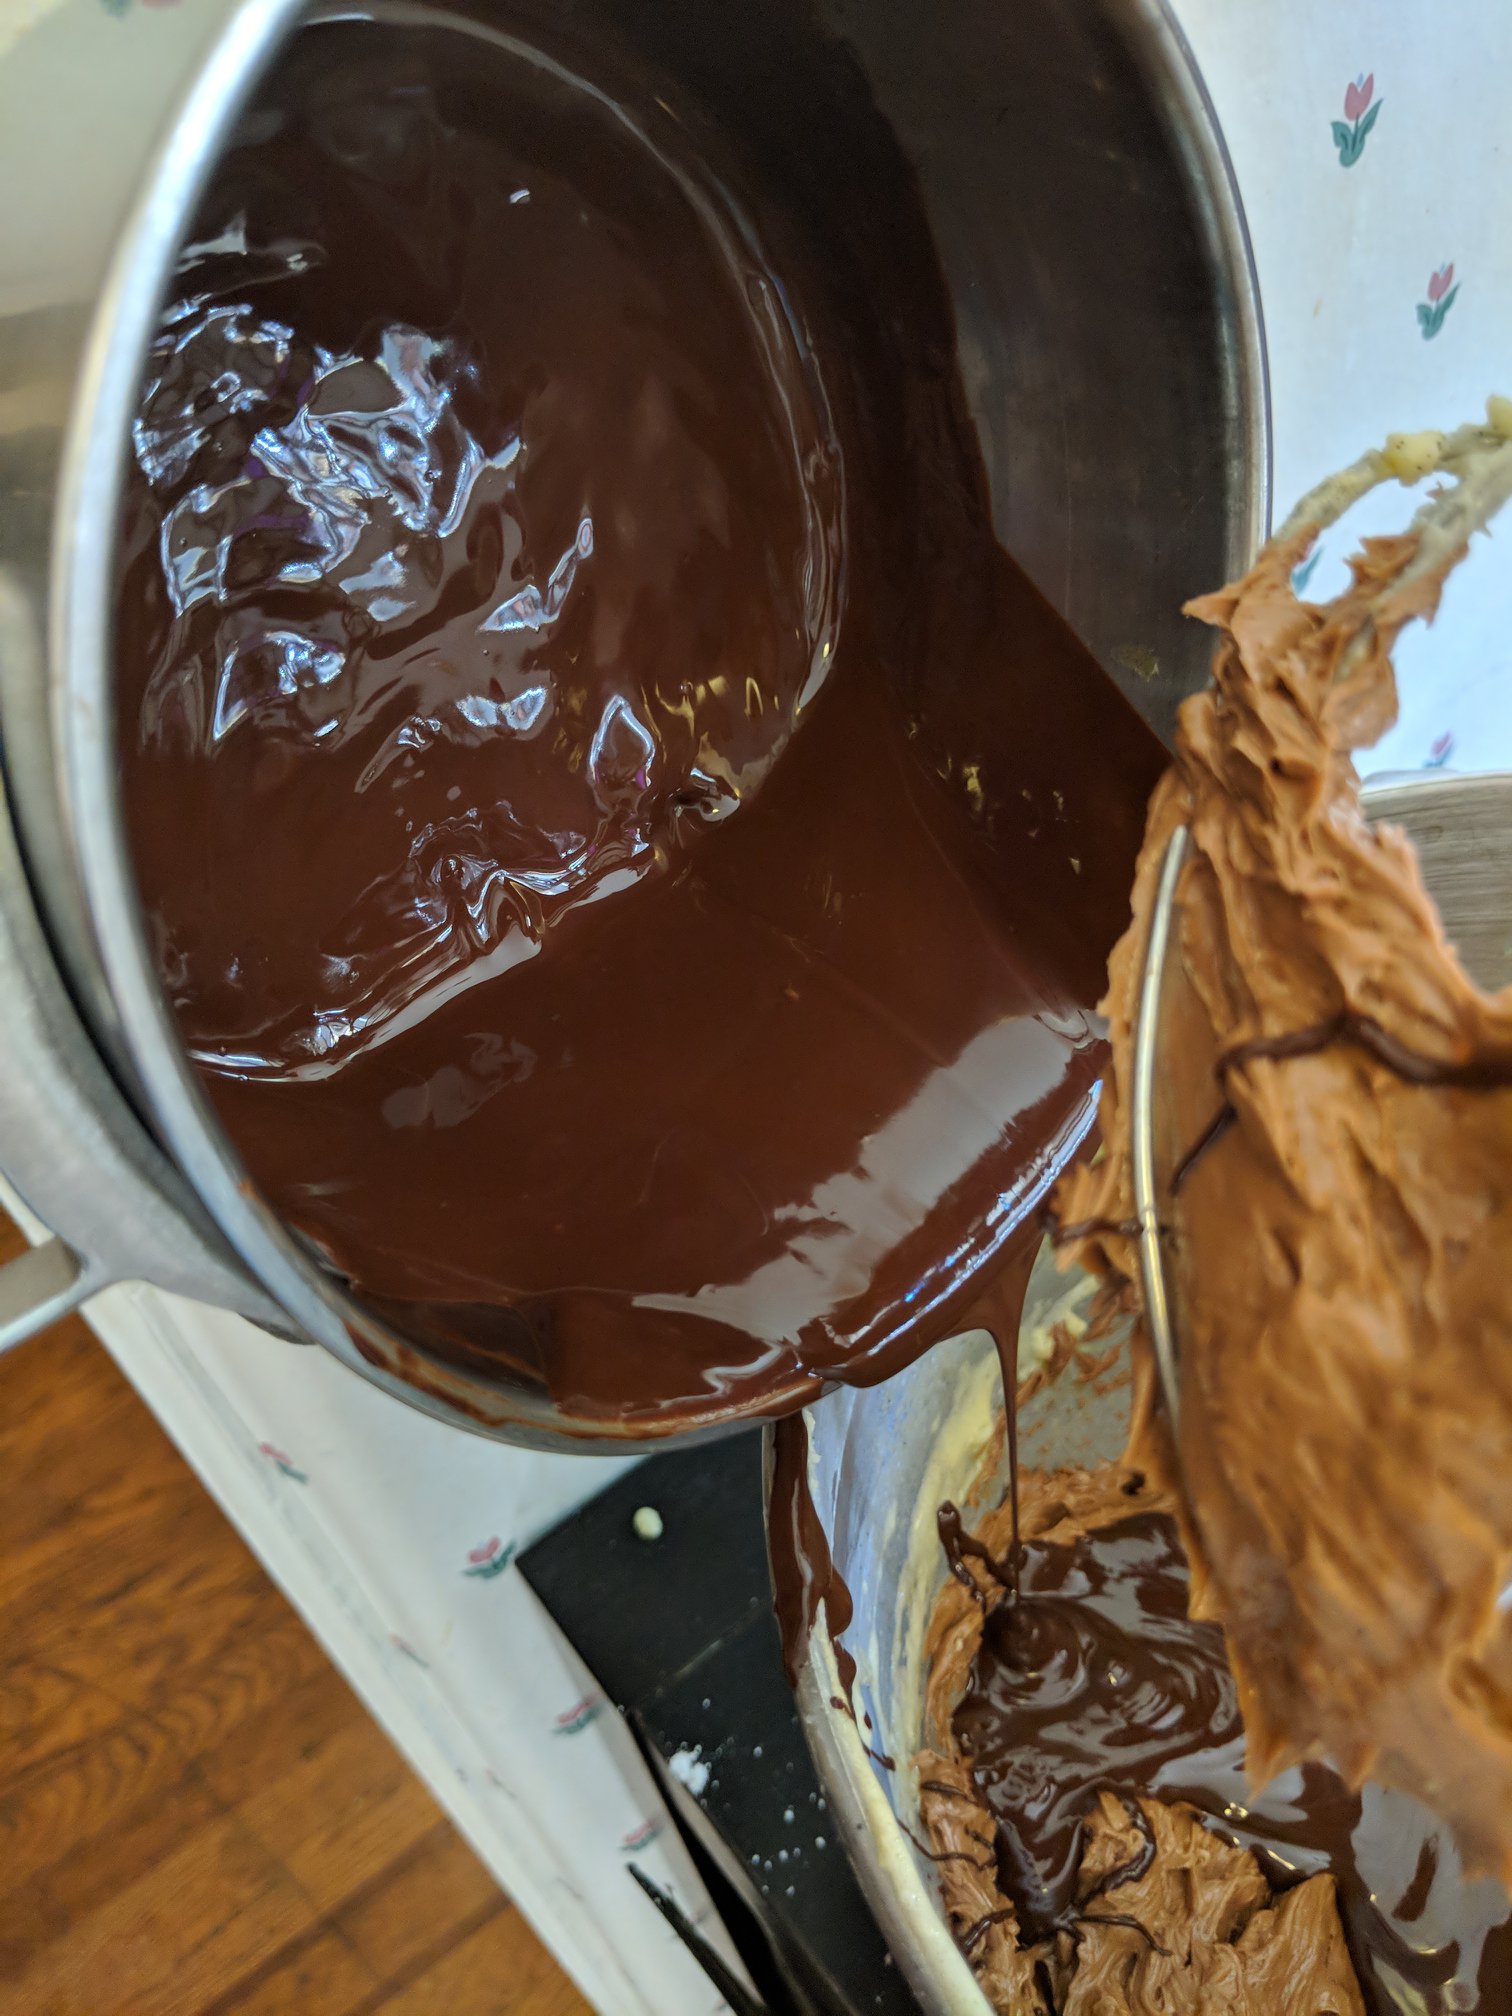
Adding the chocolate to the whipped eggs and butter.
Here, I misread the recipe a bit and took the room temperature butter, added in the vanilla bean, and mixed it together with the powdered sugar. I should have added the powdered sugar to the egg whites, as adding it to the butter made the pliable butter into a thick mortar-like paste. Since the next step is to mix the egg whites, yolks, and butter together, I ended up having to heat the butter a bit to get it to soften up. Trying to mix the paste-like butter with the delicate egg foams would have ended disastrously… possibly with a ganache instead of a frosting. The horrors…. Anyway, I guess it wouldn’t have been entirely bad. I could have rescued it, but it would not have been authentic. The final step here is to take a half a pound of dark chocolate, melted, and fold it into the butter/egg/vanilla mixture. I thought ahead and got an early start on melting the chocolate. I put it in a pan, and put the pan on top of the oven where the cake was baking, and didn’t turn on the stove eye. This allowed it to melt all morning while I was cooking (because my oven is literally almost 100 years old and doesn’t hold heat in at all), without me having to babysit it too much and worry about it scorching. It was never over direct heat.
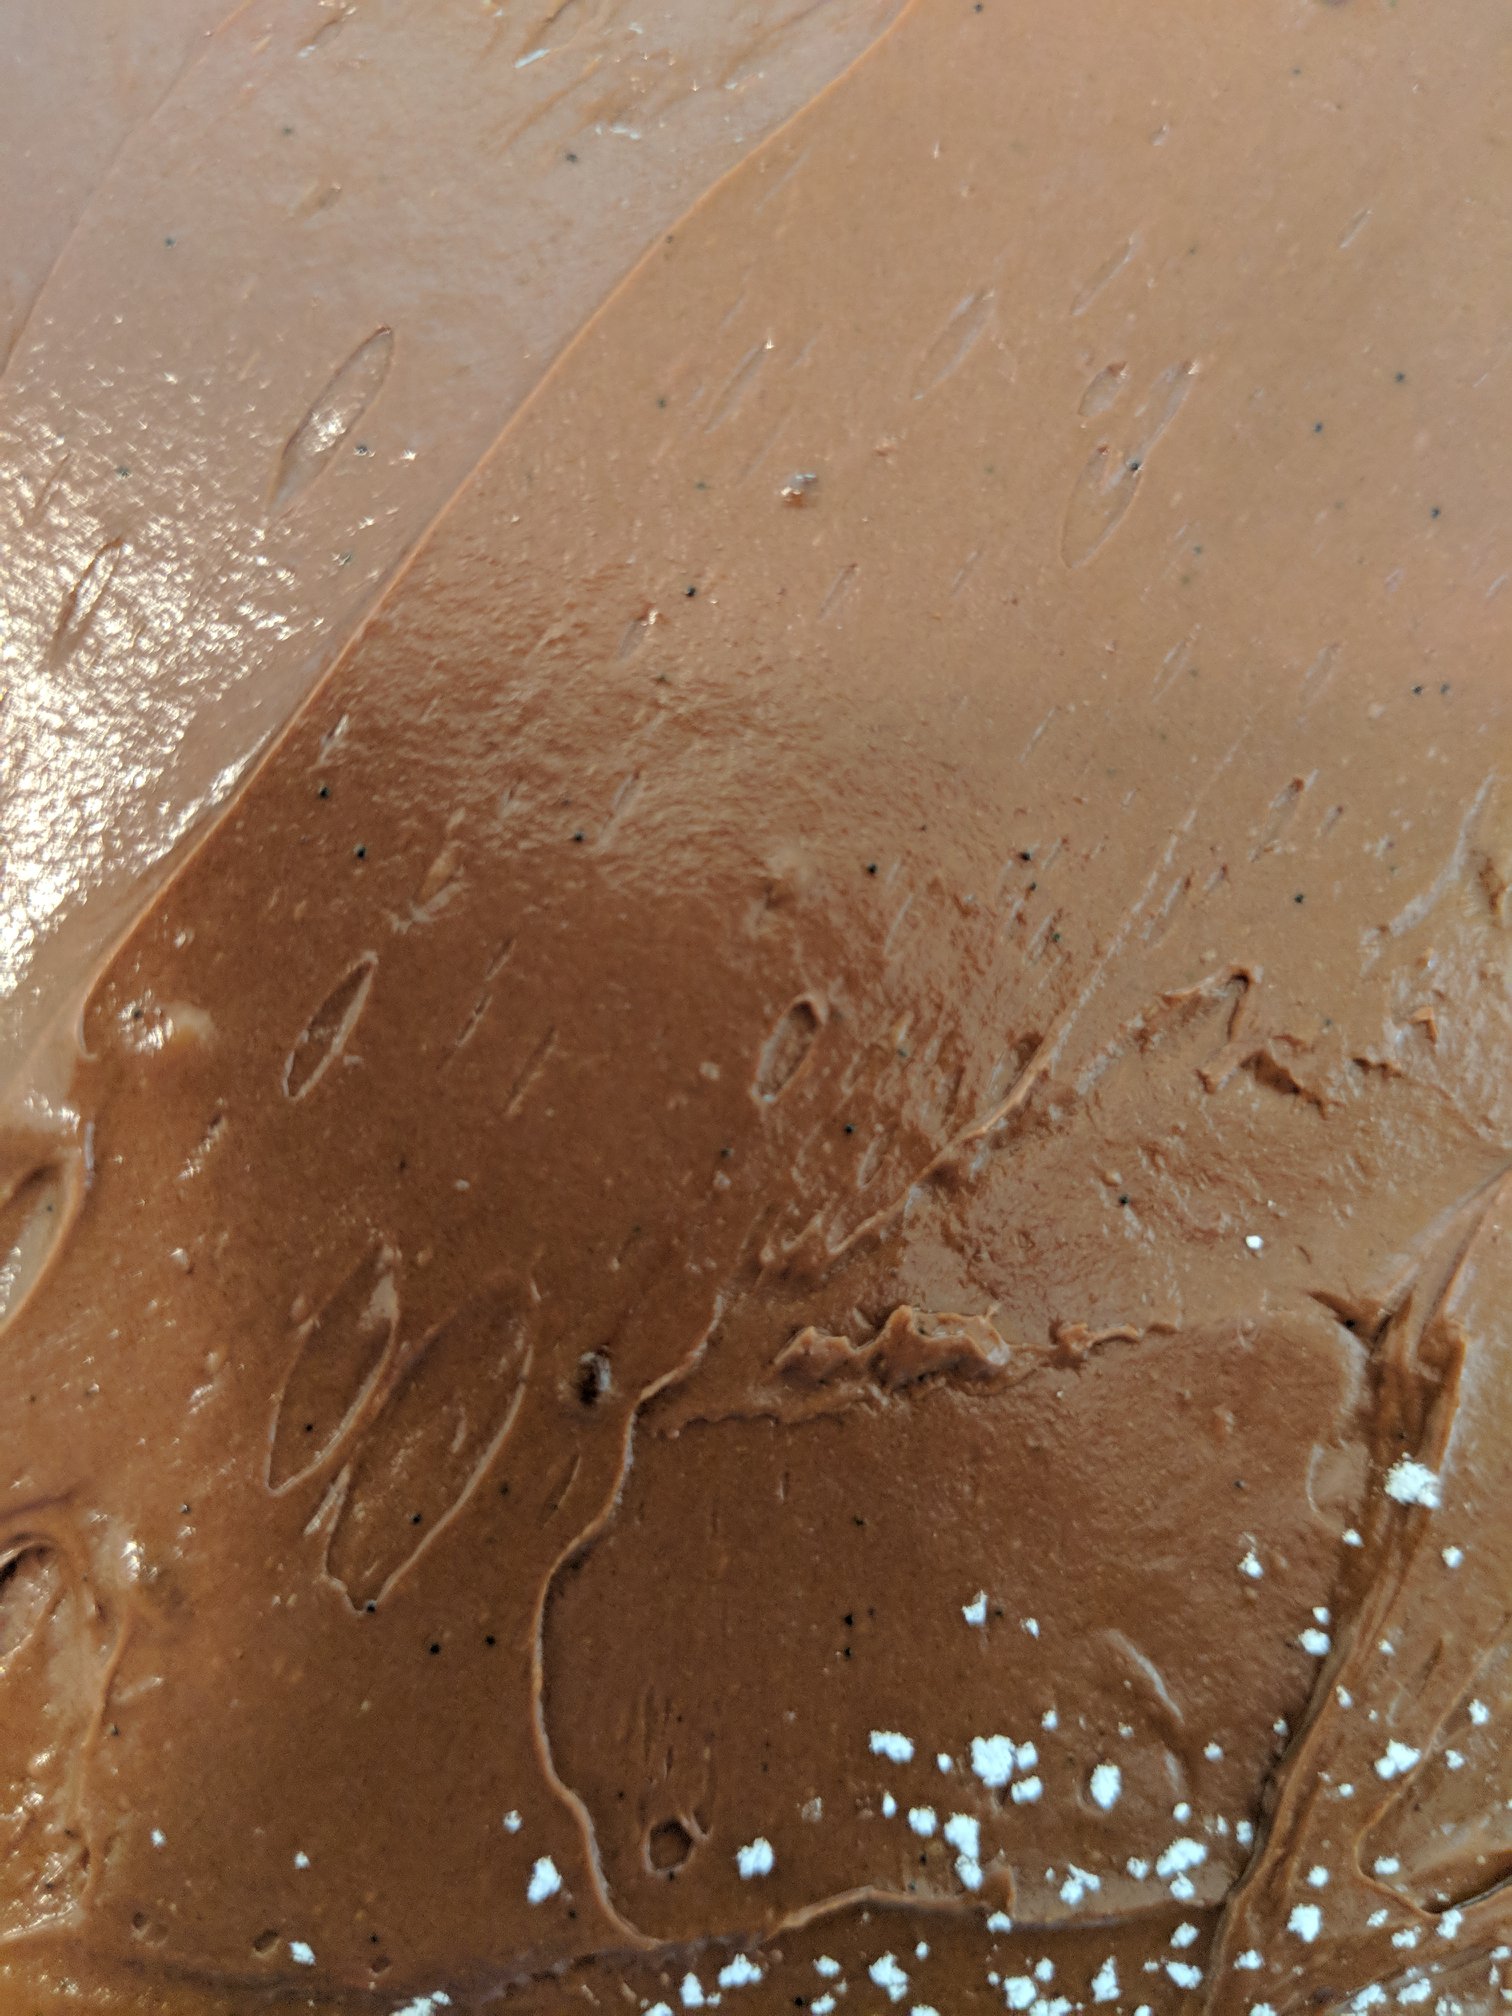
Anyway, pour in the chocolate, fold it in, and boom: frosting. This is definitely one of my favorite frosting recipes I’ve come across. Even though it is chocolate, the heavy vanilla bean usage lends a lot of nuance and complexity, not to mention the beautiful visual of the little specs of vanilla bean in the frosting. Now that the cakes are cool, I picked out the prettiest layer of cake and reserved it for the top layer. Then I layered each one, frosted it with chocolate frosting, then added the next layer.
The top layer
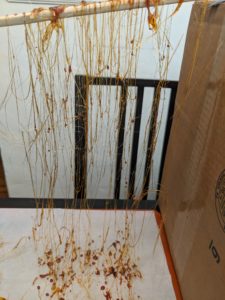
This was the most complicated and, perhaps, most dangerous part of the cake. I took the top layer of sponge cake, put it on some parchment paper on a cutting board. Then I melted some sugar, slowly melting and stirring it until it turned into a nice golden brown caramel. Then, I took this boiling hot sugar and spooned it on top of the cake layer, being sure to coat the entire thing. Obviously this has to be done while the caramel sugar is still hot and liquid. I then took the remaining drips of the sugar and drizzled it in the air over a wooden spoon handle (this makes no sense, but hopefully the photos will explain more) to make some caramel sugar floss, the kind that goes on top of croquembouche. Finally, while the sugar-cake layer is still warm enough to cut without cracking but cool enough to not just pool back together, I took a giant knife, and pre-sliced the cake into individual pieces. I had to slide the blade of the knife through some cold butter a few times to keep the sugar from sticking to it.
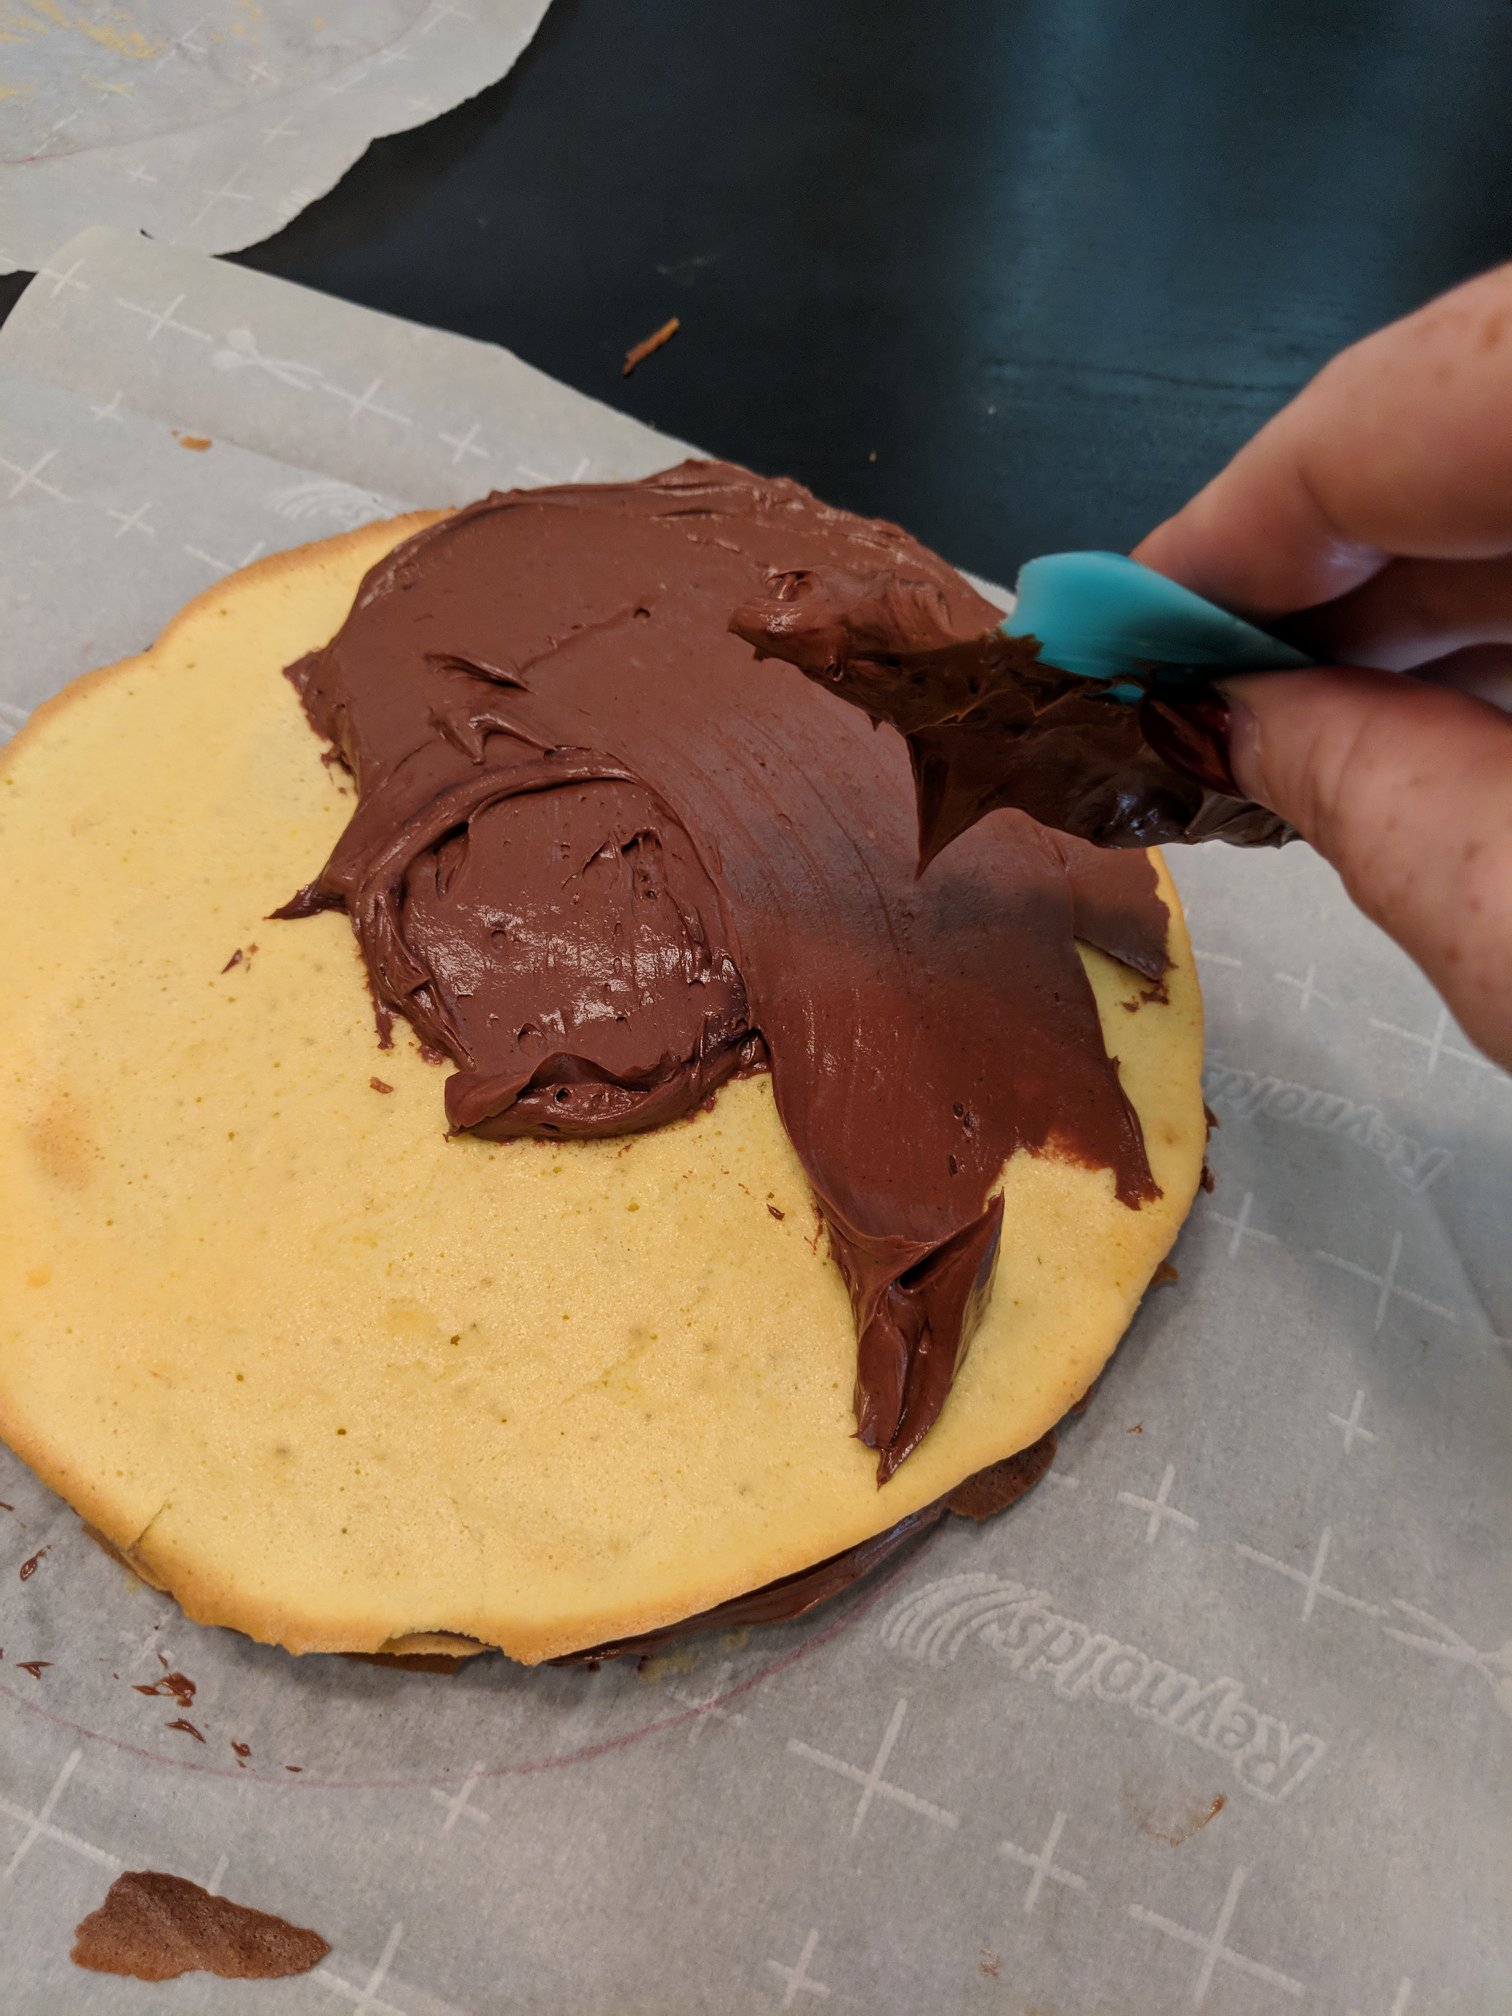
Frosting a layer of cake 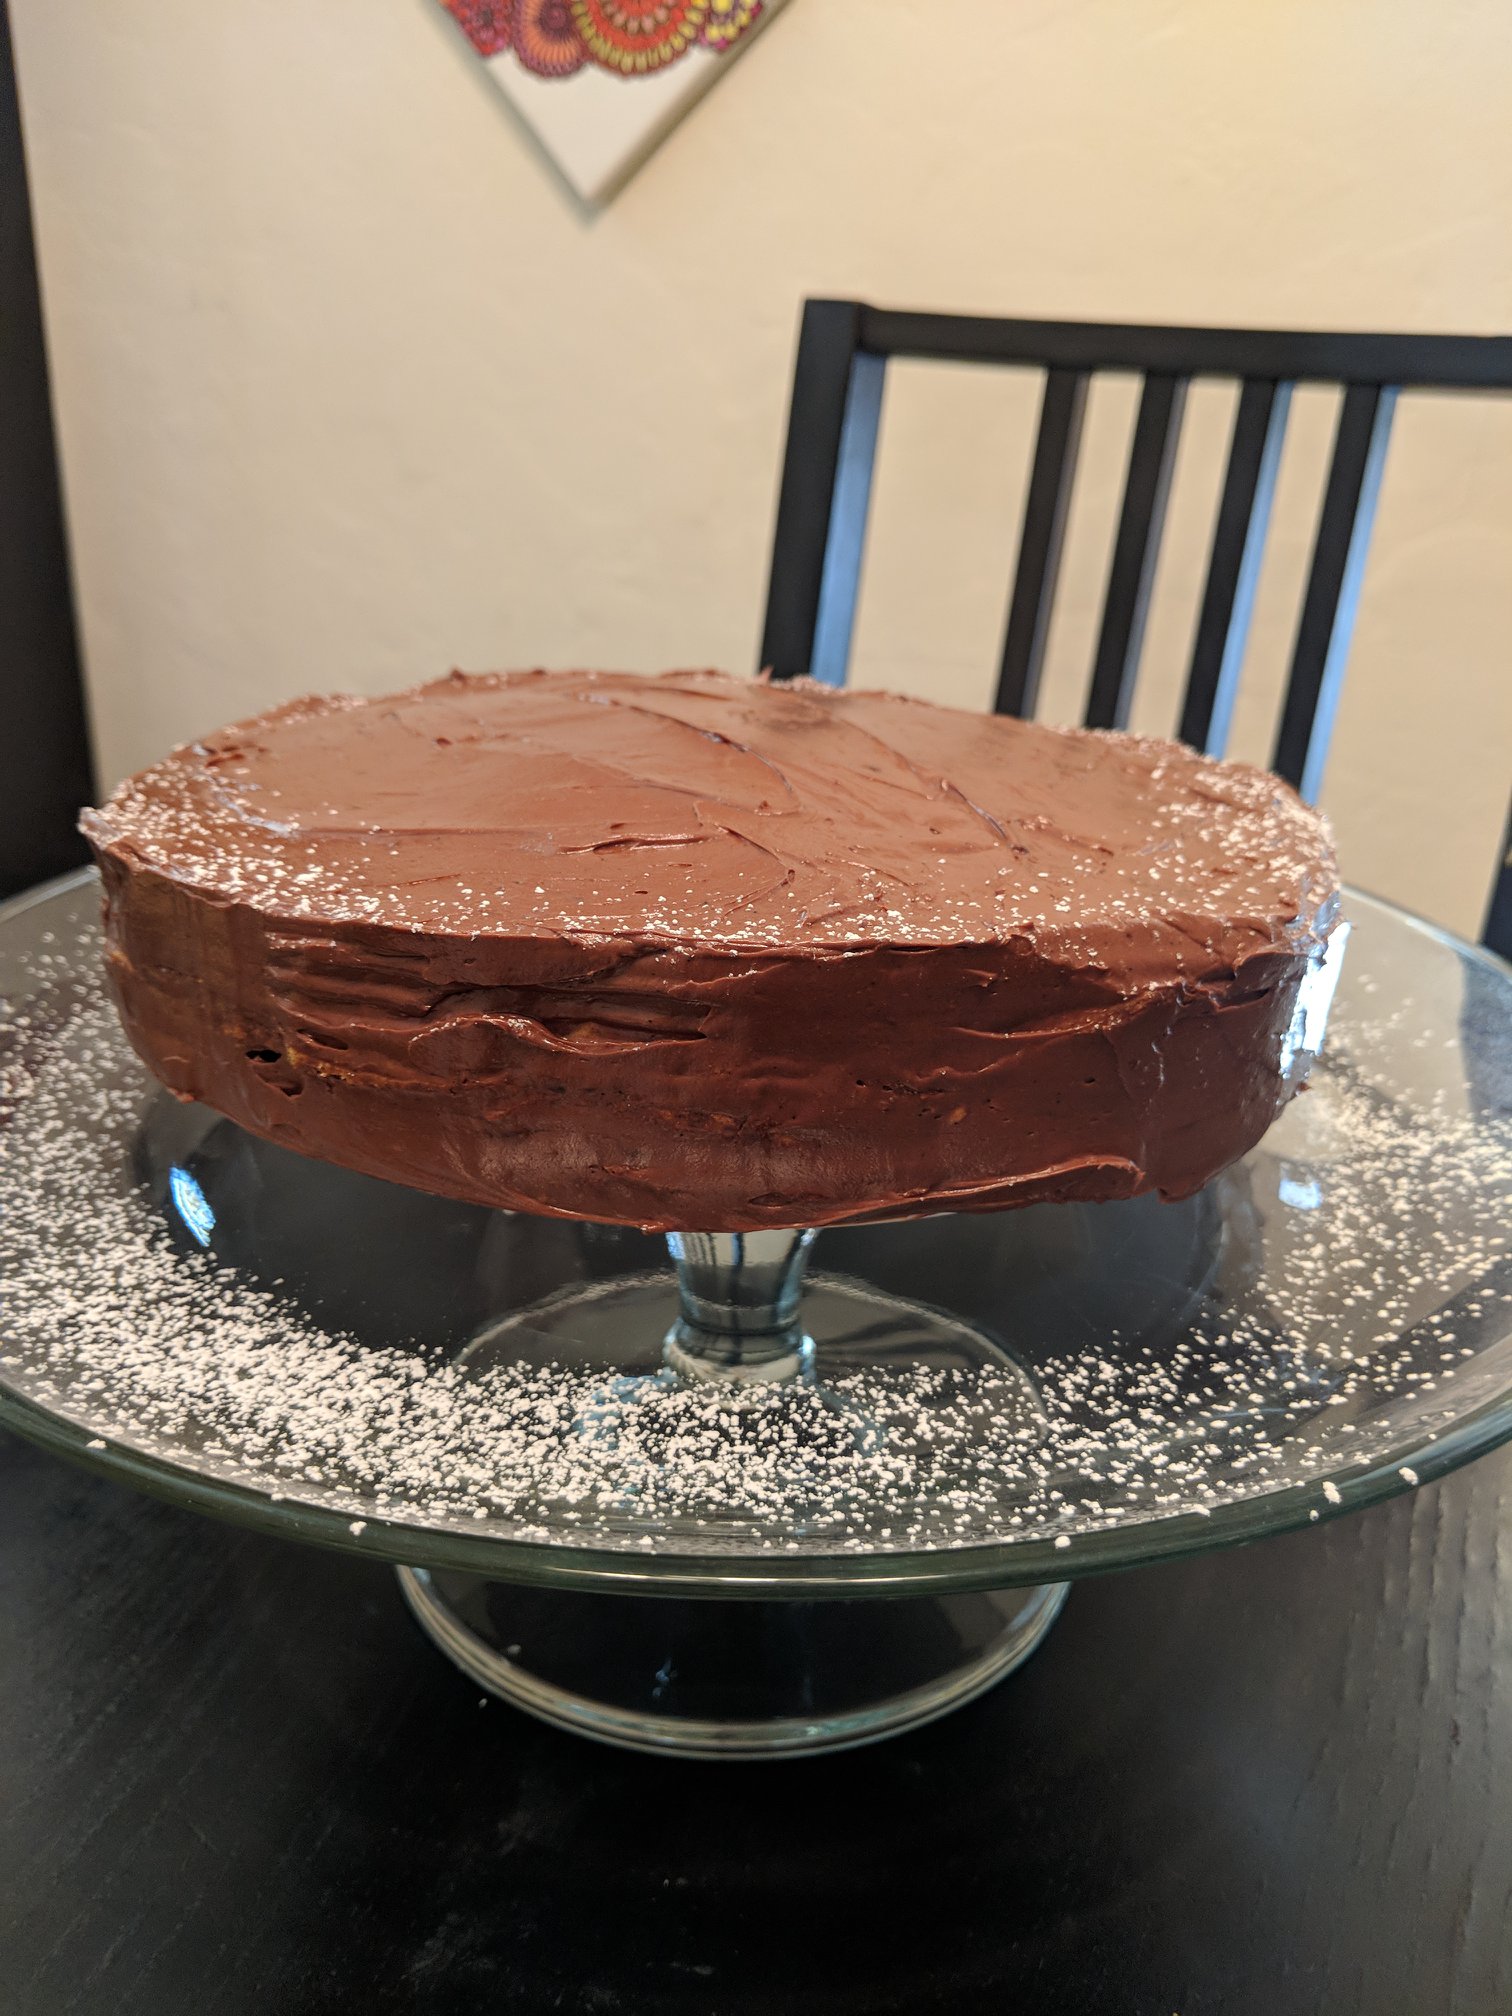
6 Chocolate-frosted layers
Finally, I let all of those little caramel-cake triangles cool until they were completely solid. Each piece with then placed on top of the chocolate cake, sort of decoratively.
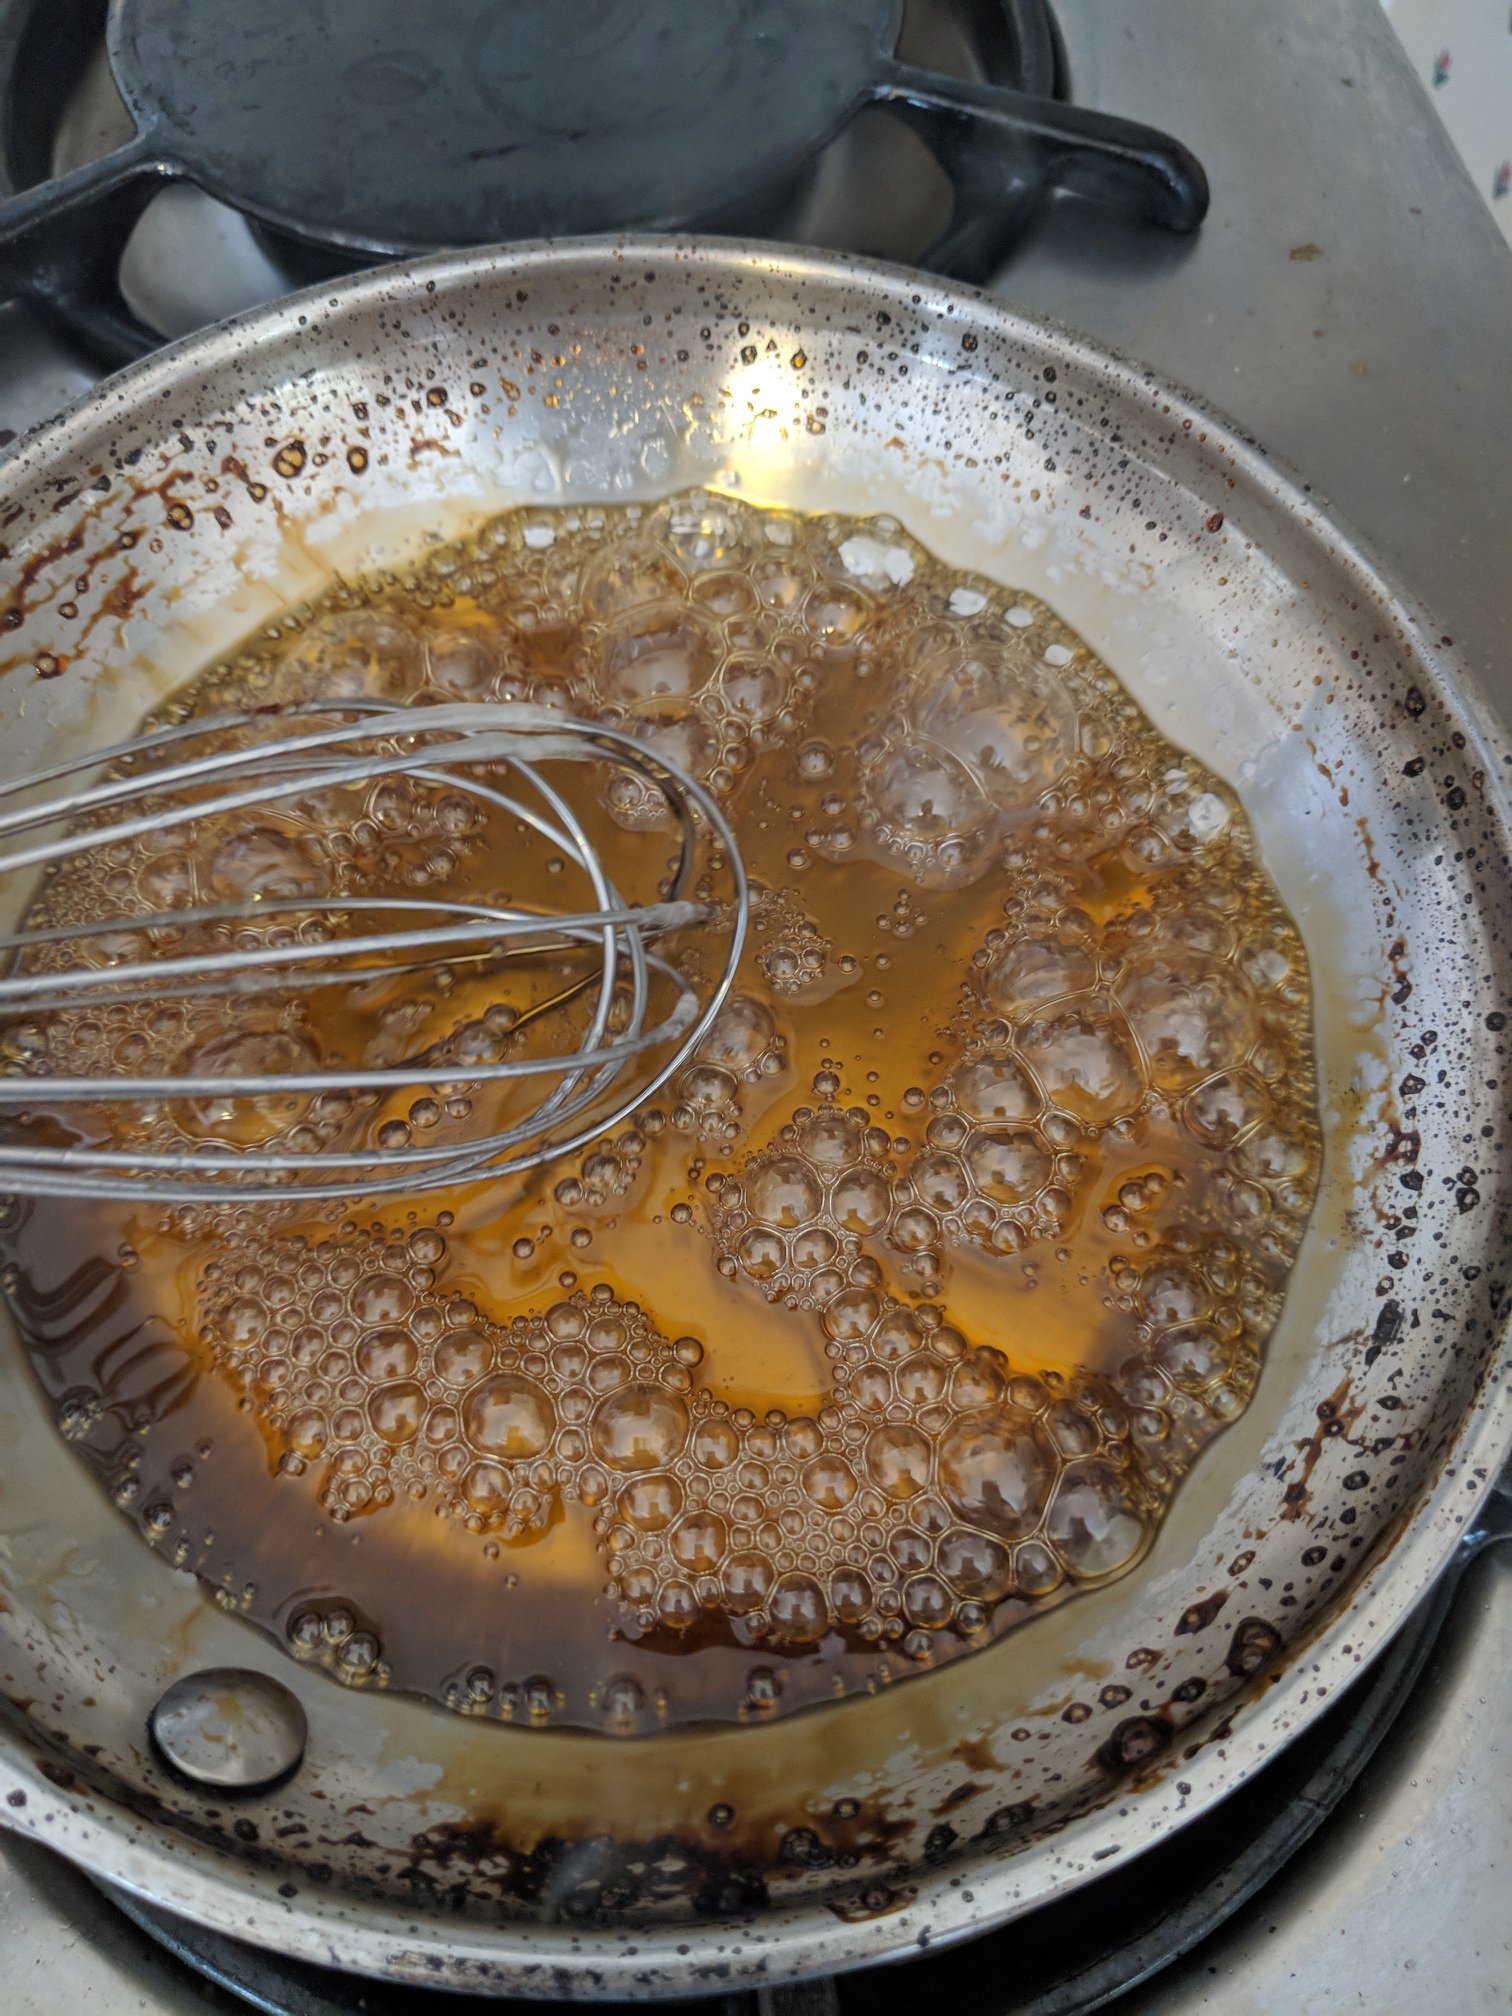
Sugar beginning to brown 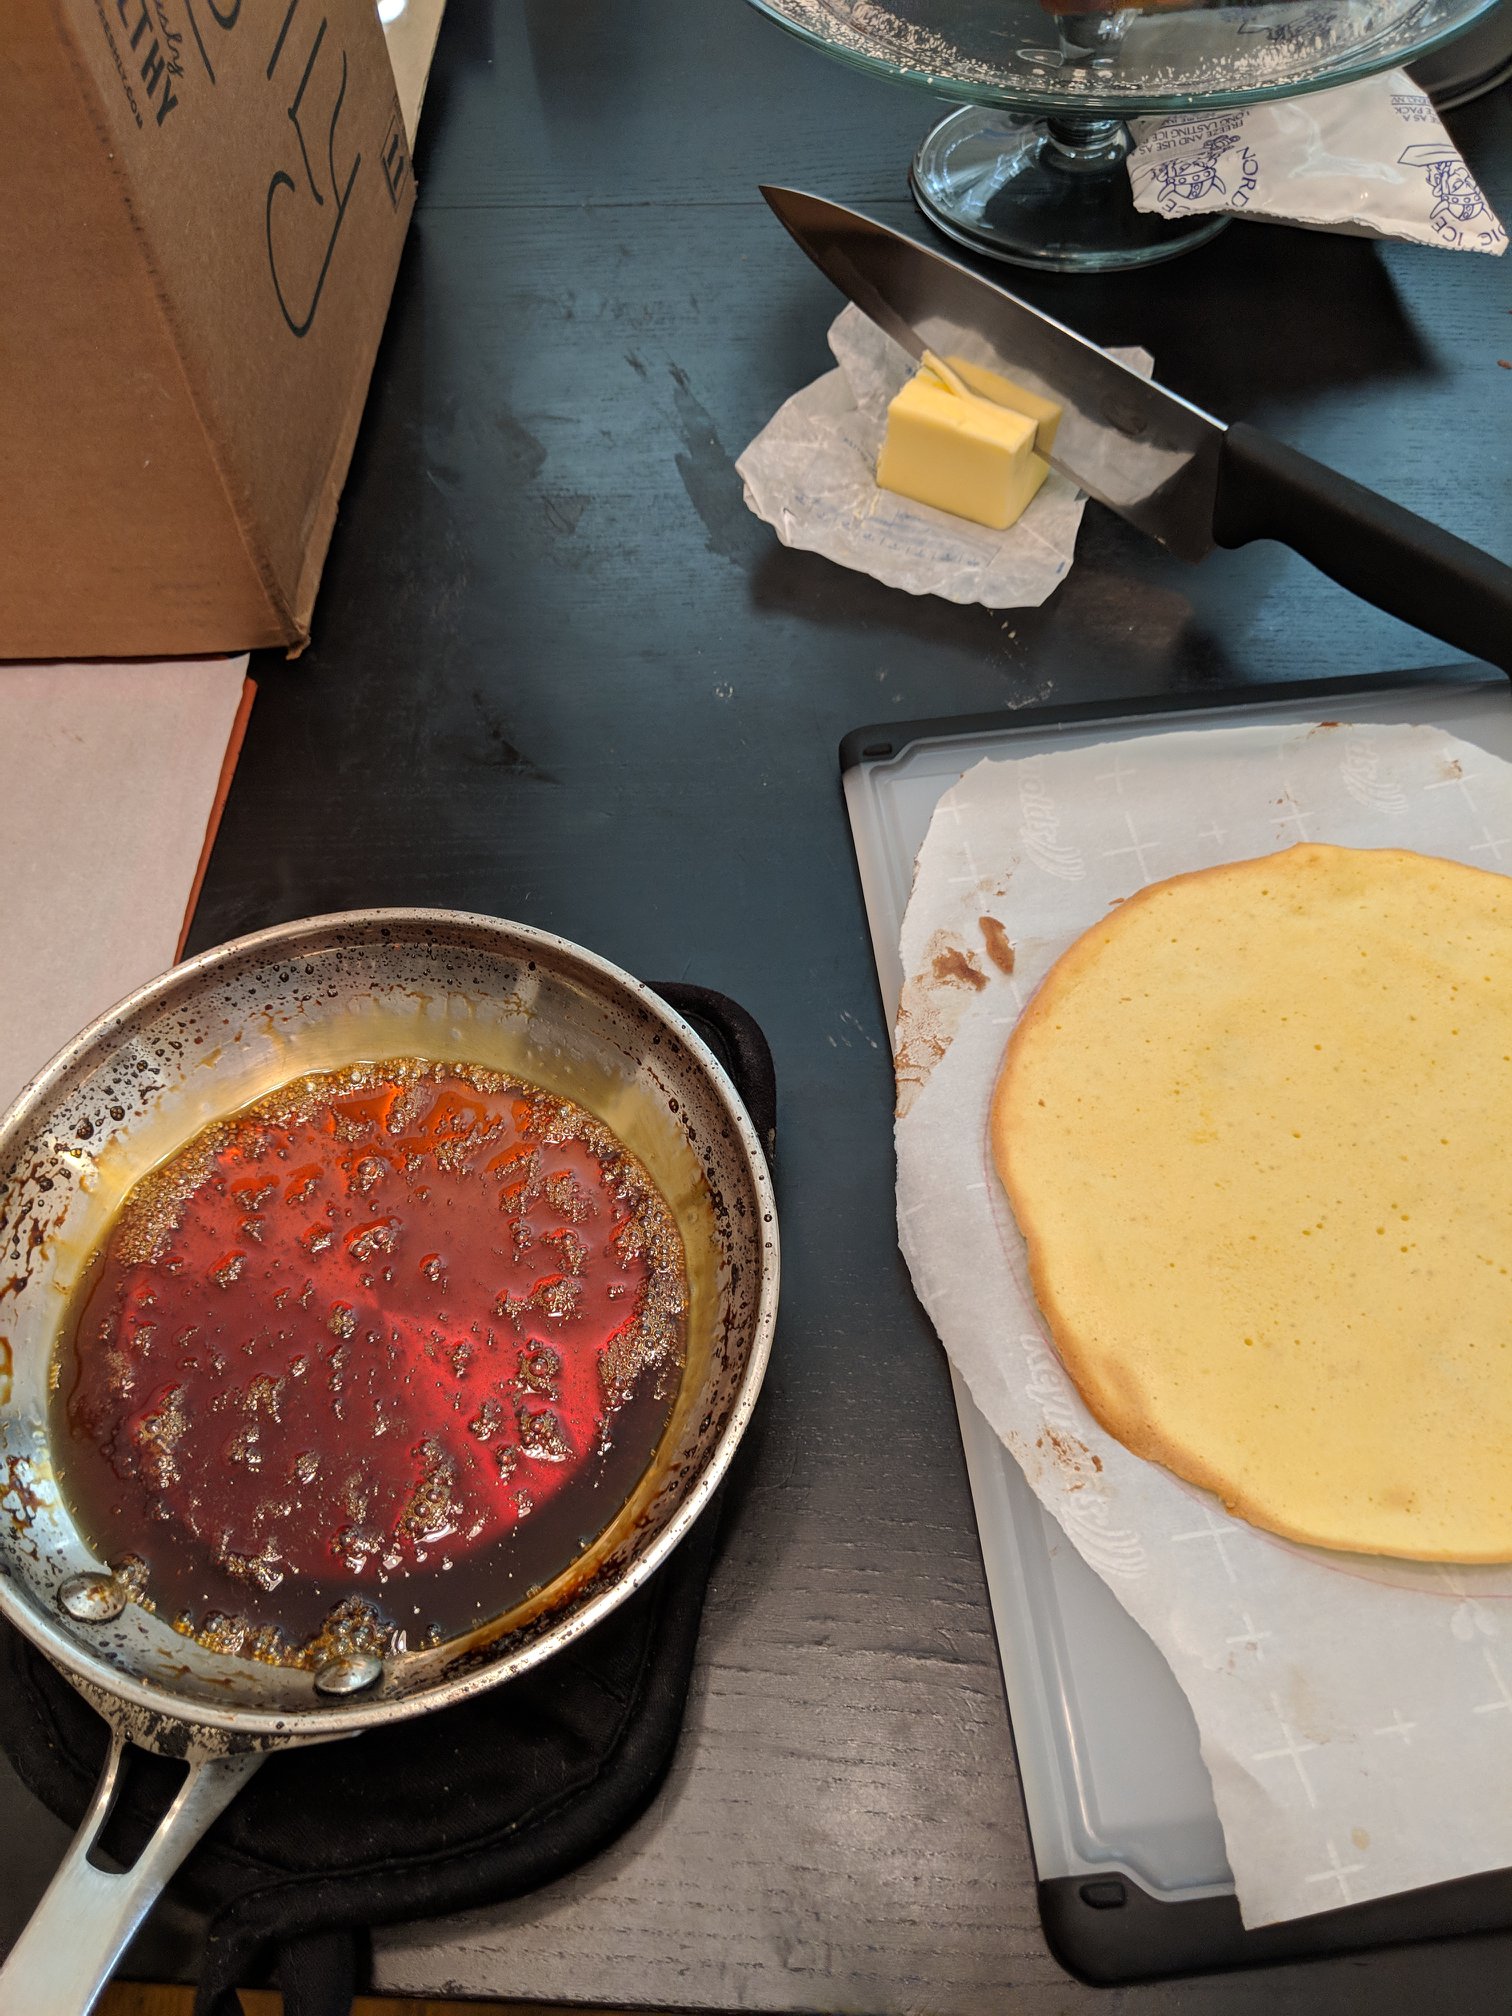
Top cake layer 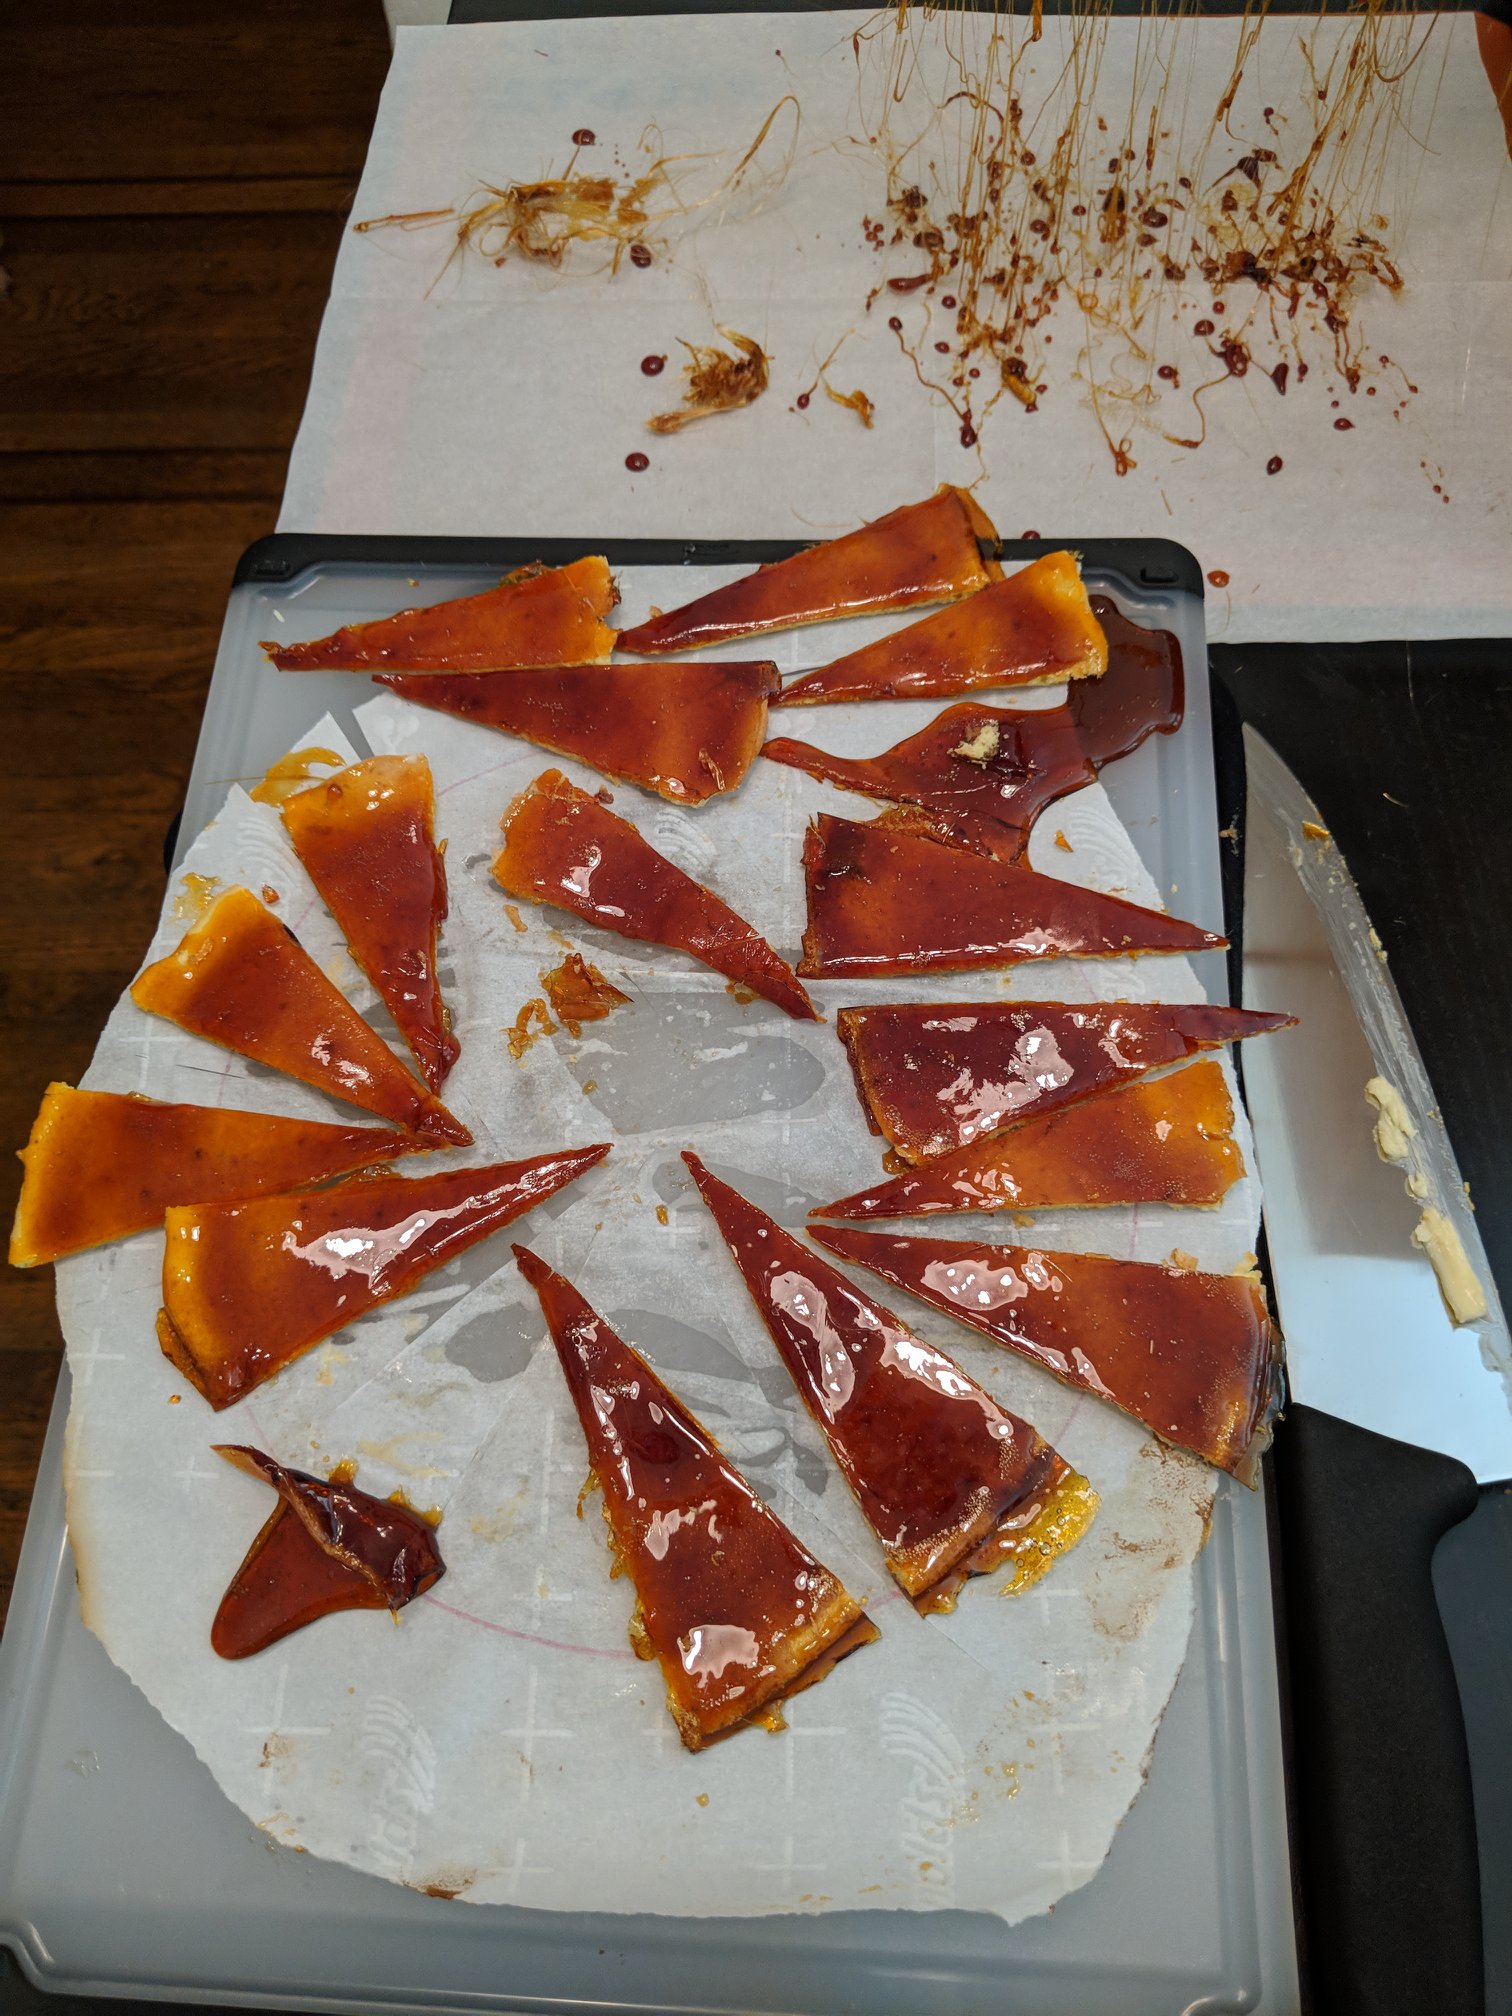
Sliced and cooling 
Adding the slices to the top of the cake 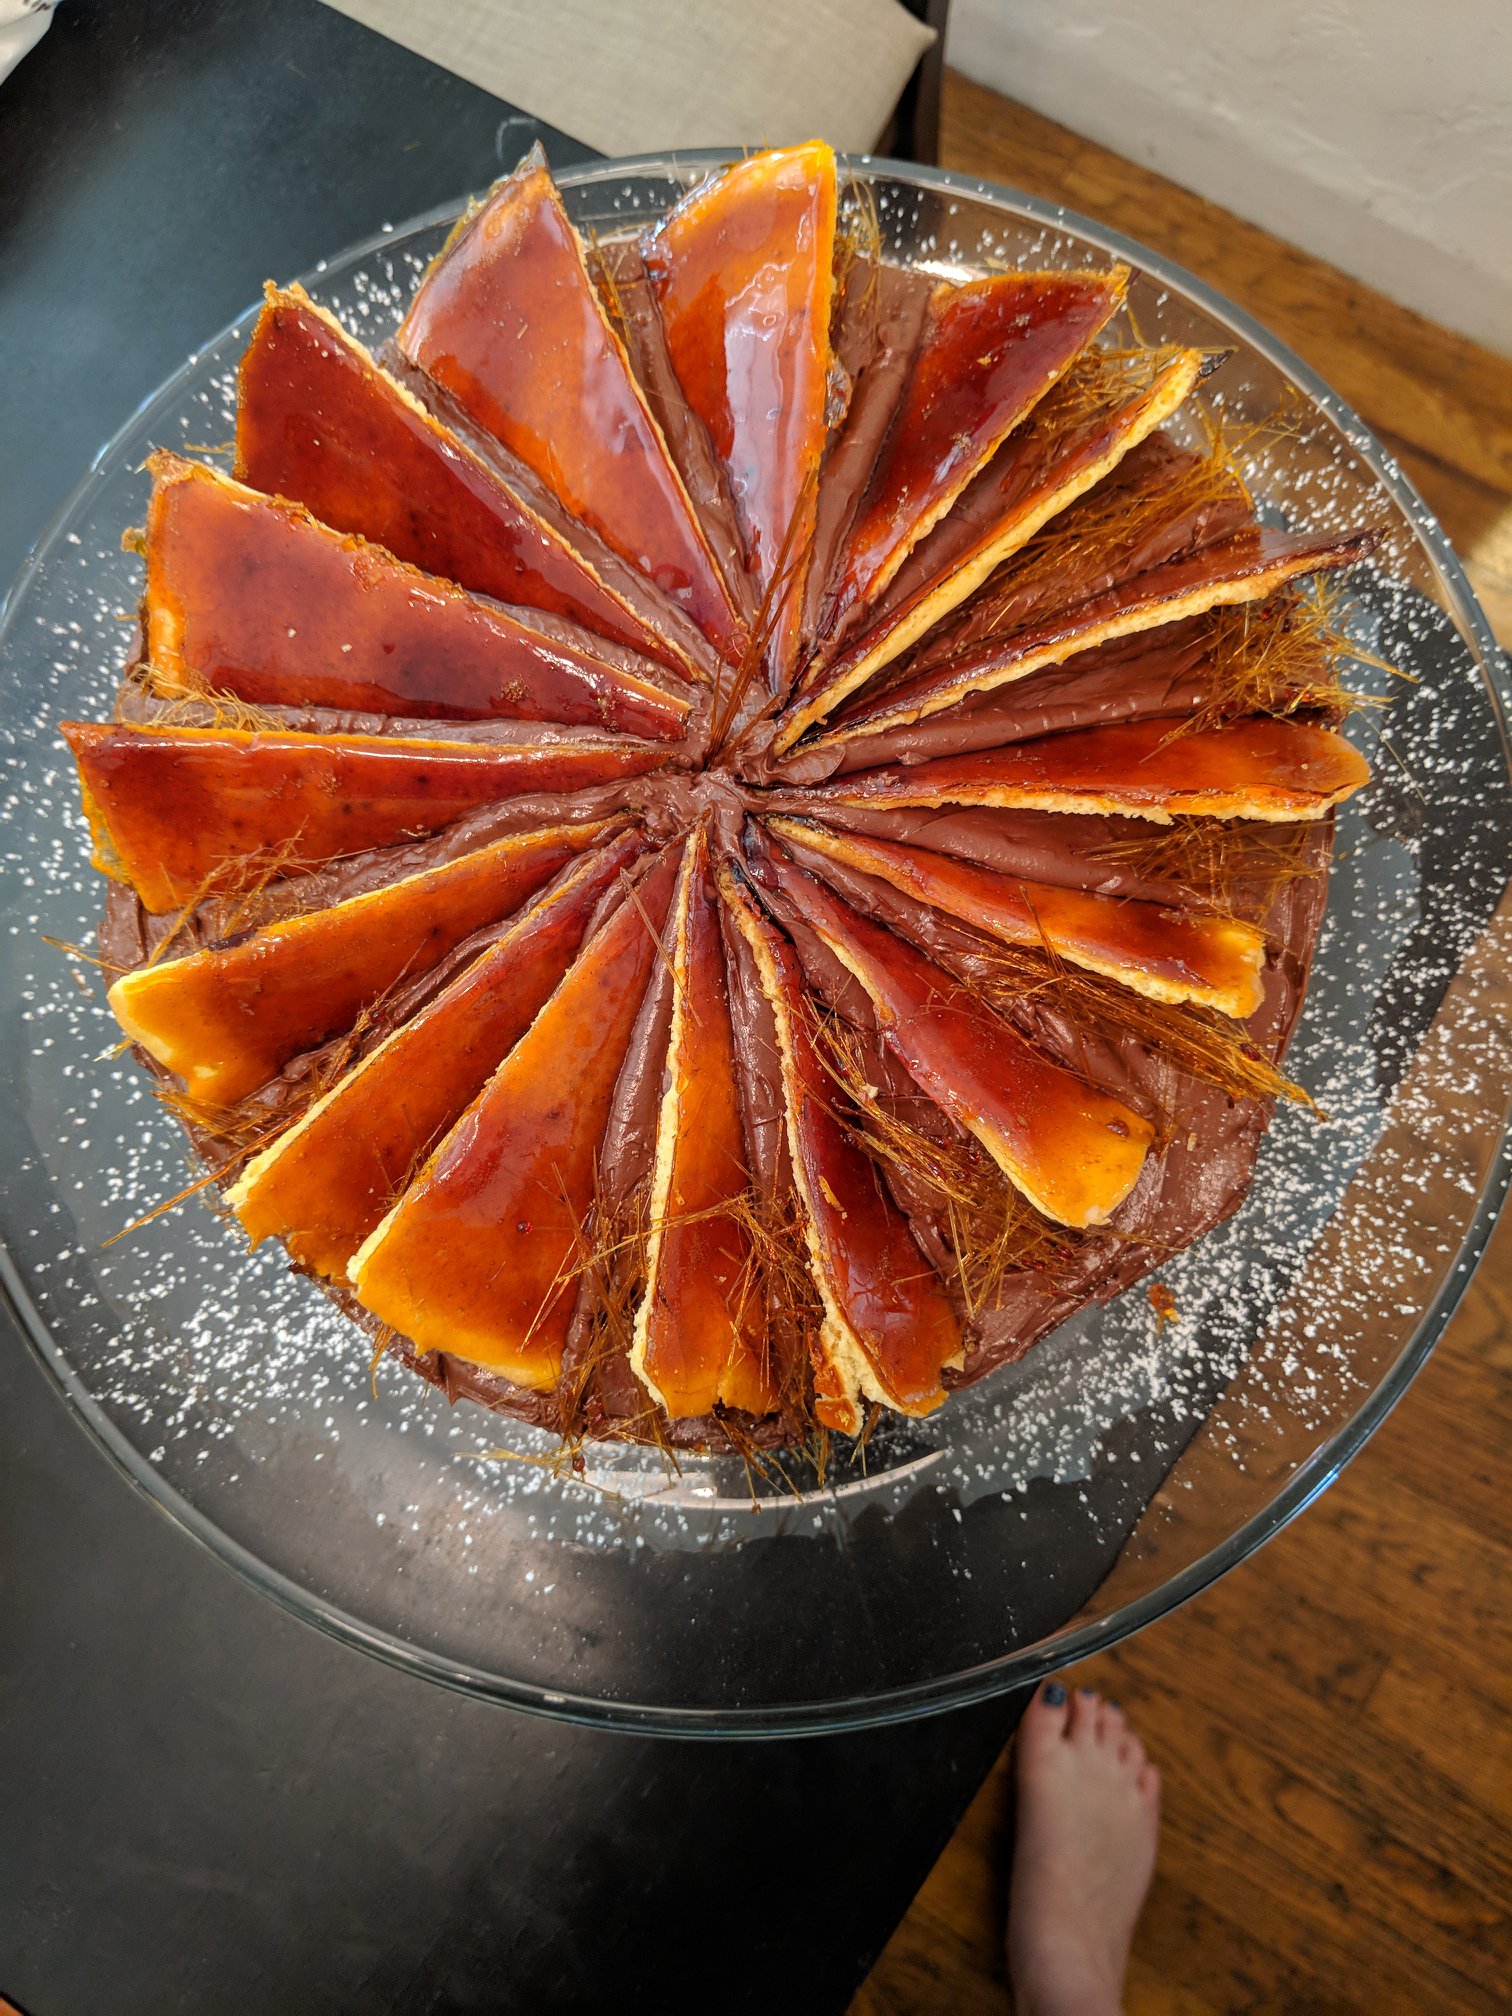
Finished cake!
Mistakes/things I’d do differently:
- Use the immersion blender with whisk attachment to make the egg yolk foam. Yolks take way more energy and time than making meringue, so better tools are needed.
- Either increase the cake batter recipe or decrease the diameter of my cake pan. The ratio of the thickness of the cake layers to the amount of chocolate in between was too small.
- Add the powdered sugar to the egg whites. The cornstarch is good for the meringue, and will help it hold its structure. It is bad for butter, which it will also help hold its structure, and you don’t want butter-structured frosting.
- Don’t bother with the sugar floss. The moisture of the chocolate frosting dissolves it pretty quickly. Really, if you aren’t going to eat it the same day, it’s better to keep the top layer separate, maybe in a zip-loc bag, until time to serve. Or add the top pieces to individual slices of cake. After a couple of days, the caramel did soften quite a bit. It was still delicious, because caramel. But it wasn’t as satisfyingly brittle.
- I have really heavy Calphalon pans. As such, they retain heat really well. So when I made the final layer of caramel, it did continue cooking after I removed it from the heat. I would cook the caramel sugar a little less in the next iteration.

A sprinkling of powdered sugar makes this look even fancier 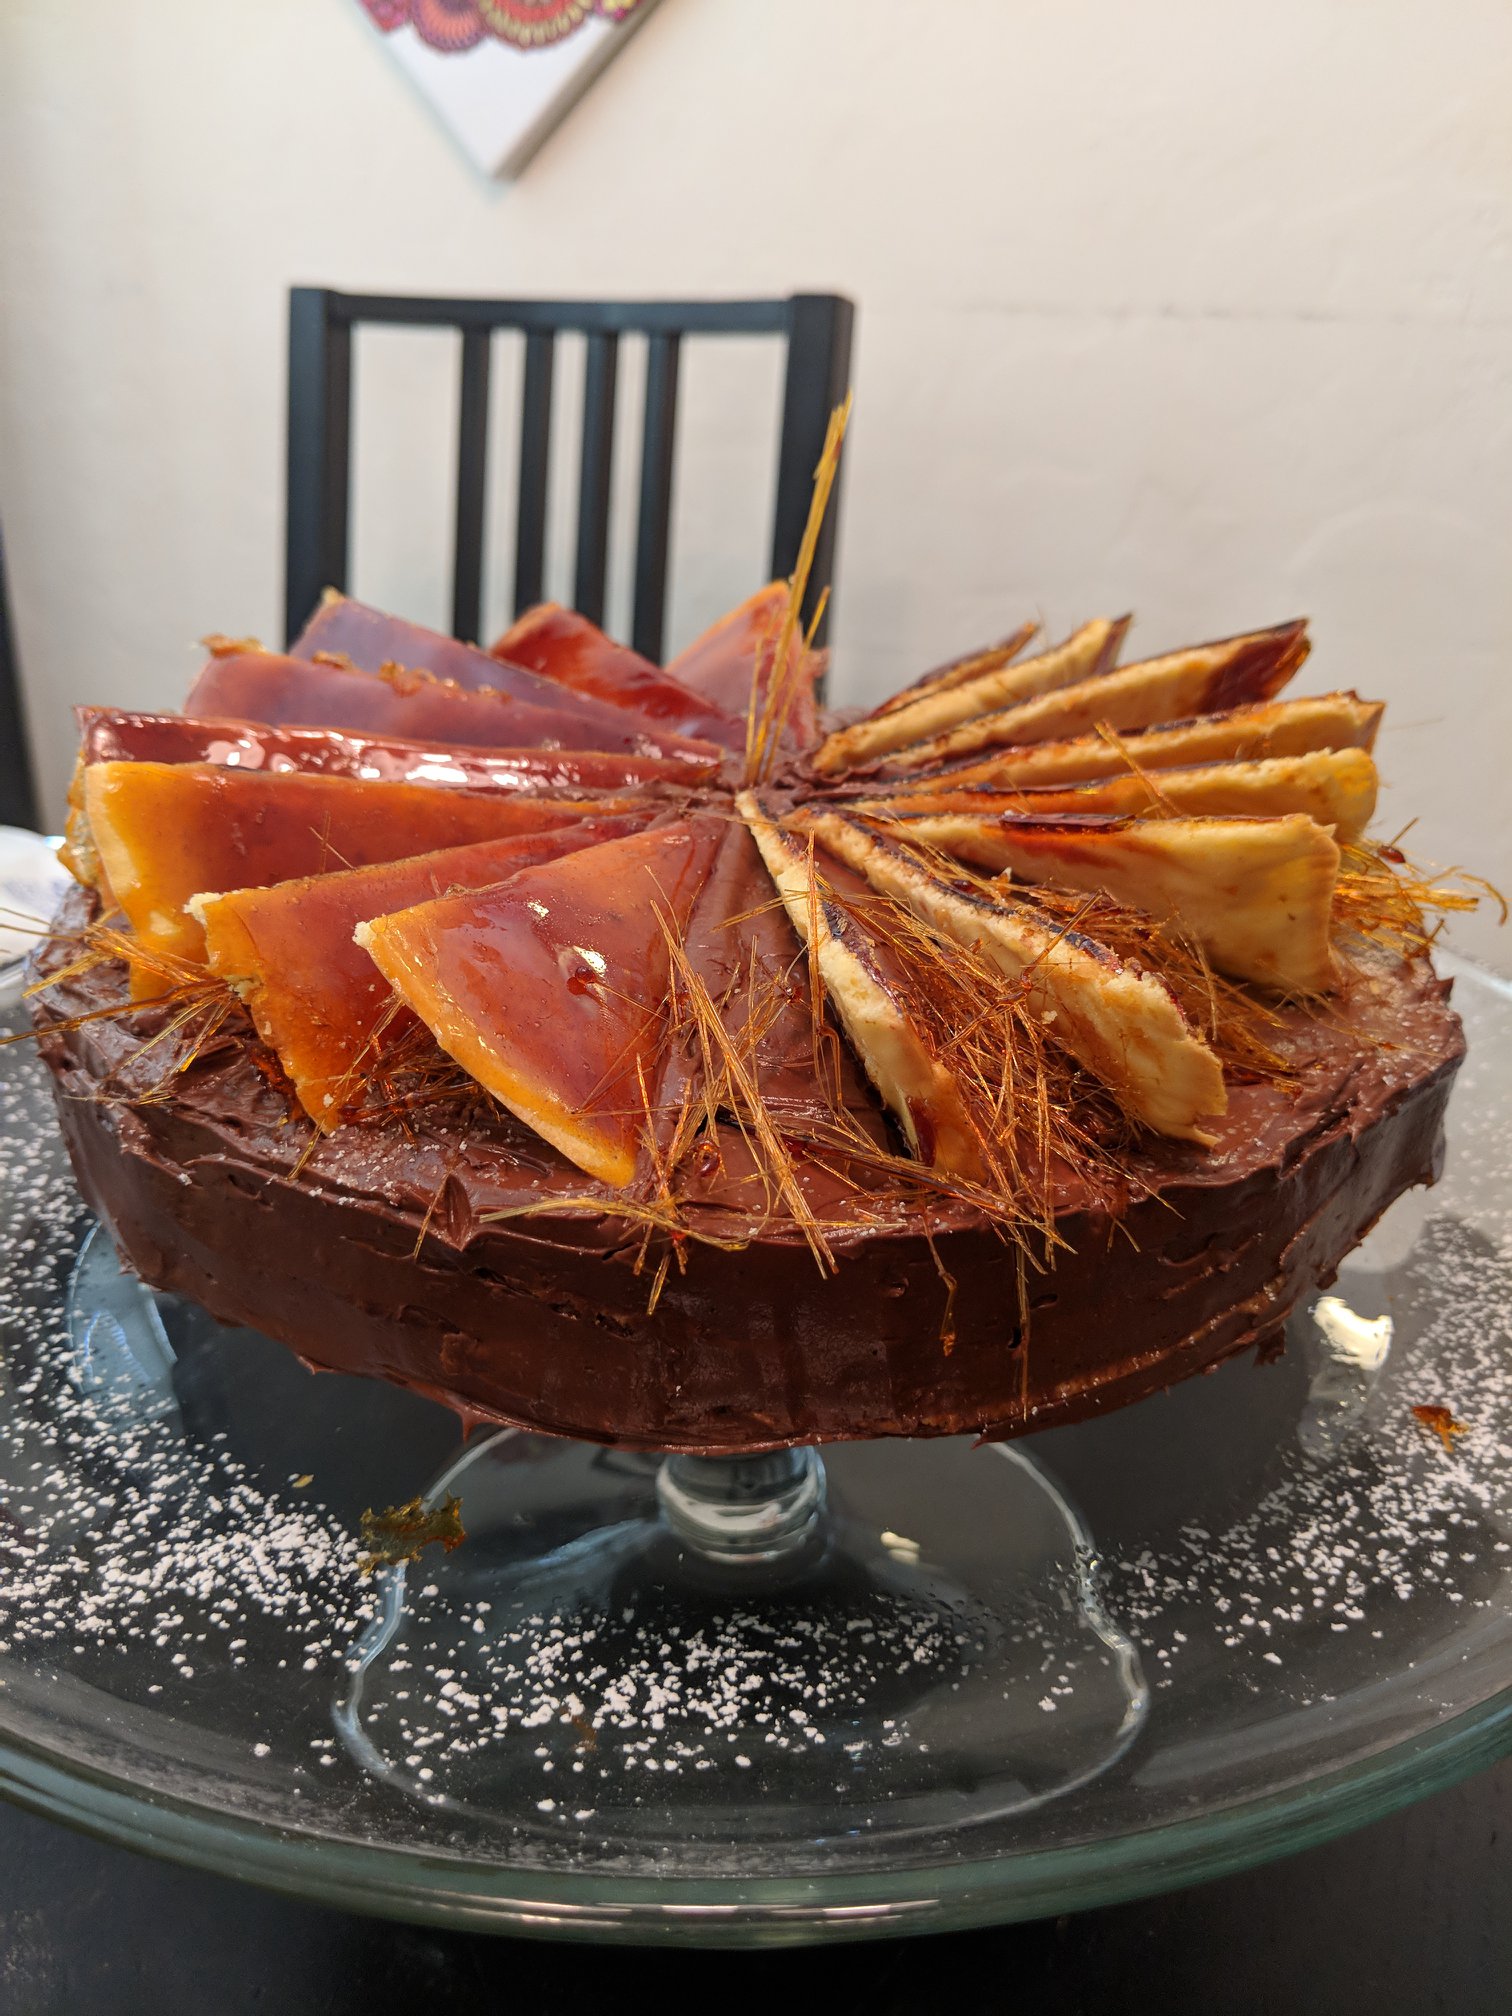
My sugar floss dissolved 5 minutes later
Full Recipe:
Cake layers — This is the actual recipe I used, not a doubled recipe
- 6 eggs
- 100 g powdered sugar, separated in two 50 gram portions
- 100 g flour
- 35 g melted butter
Separate the eggs. Whip the egg whites plus half of the powdered sugar into a stiff meringue. Put aside. Whip the egg yolks plus the other half of the powdered sugar into a foam, until they have at least tripled in size (this will take time). Fold the egg whites and yolks together with the melted butter. Using a sieve, sprinkle the flour over the egg mixture while slowly folding it in. You want it completely mixed, but to keep as much foam/air in the batter as possible.
Take 7 pieces of parchment paper and draw a circle on one side with a marker. Use a 7 or 8 inch baking pan (I used 9 inch pan) to outline the circle. Flip the parchment paper over and use a spatula to spread the batter onto the 7 circles. Bake each one approximately 10 minutes in a 410 degree Fahrenheit oven. Remove from oven and allow layers to cool.
Frosting — I have written the ingredients I used, not the ones from the online recipe
- 4 eggs
- 200 g powdered sugar
- 235 g sweet unsalted butter, room temperature
- 17 g granulated sugar- mix with butter in the frosting
- insides of 1 whole vanilla bean
- 0.5 pounds dark chocolate (I used Valrhona 66% cacao)
- 3/4 cup of granulated sugar – reserve for top layer
Melt the chocolate. I left mine sitting on the stove while all the cakes were baking.
Mix the butter, granulated sugar, and vanilla bean
Separate the eggs. Whip the egg whites into a meringue.
Heat the egg yolks. This frosting will not be cooked, so you want to heat them for safety. Otherwise, you can buy the pasteurized eggs and skip heating the yolks. Whip the egg yolks and the powdered sugar into a foam. The foam should be 3-5 times the volume of the yolks before whipping.
Fold together the egg whites and egg yolks. Fold in the butter. When the chocolate is melted, but not hot, fold it into the rest of the frosting. If the chocolate is too hot, it can fully melt the butter, which will cause the frosting to become liquid and possibly separate the butter fats from the water in the butter. So melt the chocolate, and then let it cool before adding to the egg mixture.
Frosting the cake
Reserve the flattest/nicest layer of sponge cake for the top layer
Place 1 layer on a cake plate, and frost with chocolate frosting. (If you feel like you might run out of chocolate frosting, you can weigh/measure the frosting before you begin frosting the cake and divide it into 6 even portions. I just eyeballed it). Continue stacking a layer of cake, then a layer of frosting until 6 layers are stacked and frosted.
Take the final layer of cake and place it on parchment paper on a heat-proof /heat resistant surface. I don’t have granite counters or metal counters, so I used a cutting board, placed some kitchen towels over it for insulation, and then placed the parchment paper over that. Next to that, place a stick of butter for buttering the knife, and have a sharp knife ready. Take the final 3/4 a cup of sugar and heat in a pan to boiling. Stir continuously while watching the color of the sugar. Once it is a medium amber-brown, remove it from the heat. Let it cool until it stops bubbling, while still stirring to keep crystals from forming. Once it has stopped boiling, spoon it over the final layer of sponge cake, from the center outwards. If any of the hot sugar starts to drip off of the cake, you’ll be glad you put it on a heat-resistant surface.
Let it cook for just a minute, so that the sugar isn’t liquid anymore but is still hot, almost a taffy consistency. Take the knife and run the blade through the butter and slice the caramel layer into small slices. It’s a very rich cake in the end, so small slices are best. As you slice through them, move the layers apart so they don’t re-connect. Continue buttering the knife and cutting the cake until the entire layer is sliced. Let the wedges cool before placing them on top of the chocolate-frosted cake.
Enjoy!
And if anyone I know ever needs to have a fancy party where they just need to serve a croquembouche, I’ve been looking for an excuse.