A dear friend is having a baby shower, and I have been given the honor of supplying a cake. This is one of my favorite things to do, as it lets me contribute and take care of my friends and also experiment and enjoy my own creativity. The theme for the shower is ‘Dinosaurs’, so I immediately set to work image searching different dinosaur themed cakes and decorations.
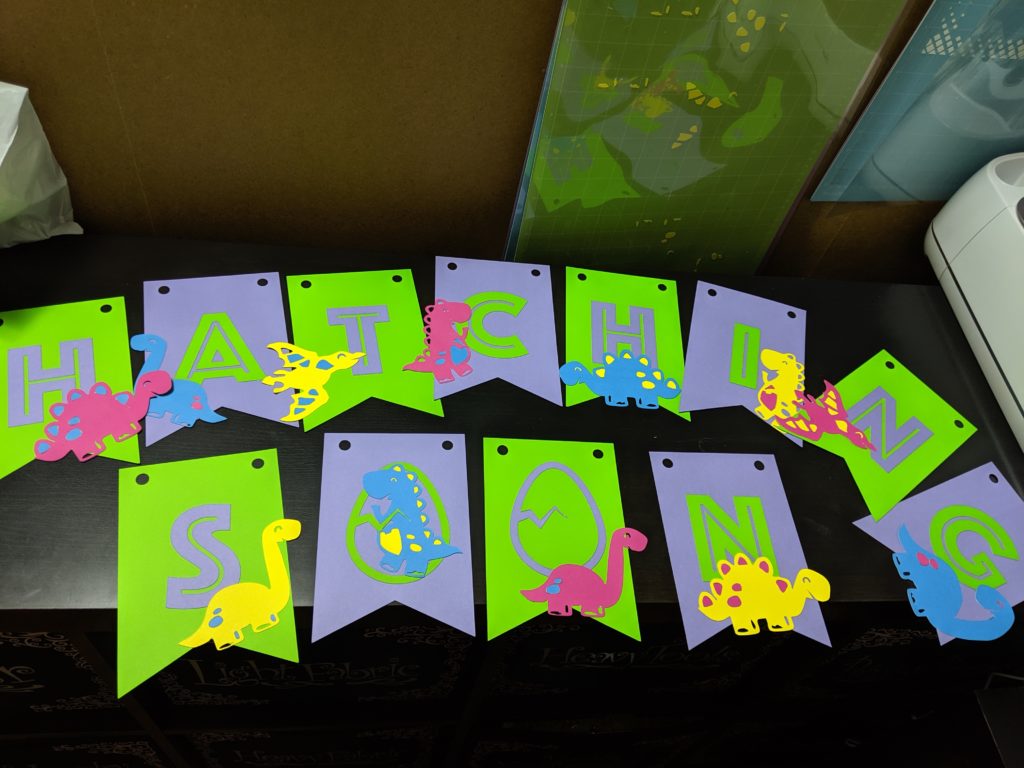
Hatching Soon!
The first thing to decide, when baking a cake, is how many people will be there, and how large it should be. For this event, there will be around 40 people, so I went with a 3-layer 12-inch round cake instead of a smaller tiered cake. The next decision, perhaps the most important one, is flavors and fillings. When it comes to baking cake, I am absolutely of the mind that it should taste delicious, no matter how pretty (or not) it turns out. So I never sacrifice having a moist, delicious cake for having a dry one with more structural integrity for holding up fondant. If the fondant cracks, whatever. Nobody is eating that stuff anyway.
For this cake, the only flavor request was chocolate. So I decided to go with two variations on chocolate. All 3 layers will be chocolate cake, and I will frost the whole cake with the same chocolate frosting before covering it with fondant. But I made 2 fillings, and filled each half of the cake with a different flavor. One side had dark chocolate mousse, so chocolate-chocolate-chocolate cake. The other side, I made a coconut-caramel filling with caramel made from condensed milk, toasted coconut flakes, and coconut milk to thin it out a bit to be spreadable. This, I suppose, is kind of like a German chocolate cake, but the cake is much darker chocolate and there are no nuts in the coconut-caramel filling. Which is to say, I though I was a genius making up my own caramel and coconut filling and Joe says ‘Oh, it’s a German chocolate cake?’. Ahhh, right. This already exists.
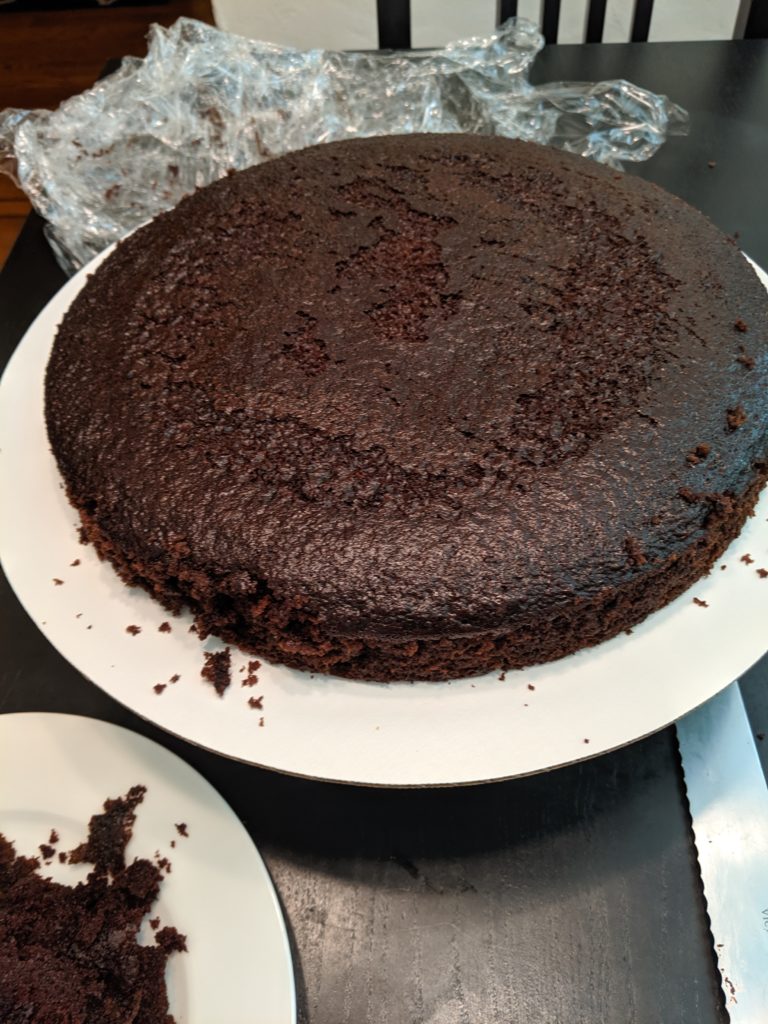
Chocolate cake layer 1
Anyway, I spent Friday night baking all the cakes so that they could cool overnight and be ready to stack, fill, and frost on Saturday. Saturday morning was spend actually making all of the fillings and frostings. I made the chocolate mousse first. I really like Bobby Flay’s chocolate mousse recipe, though I like to keep the whipped cream part of the mousse cold until after I add the chocolate. If the whipped cream part is room temperature and the chocolate is added slowly, you get a smooth, fluffy mousse. If you keep the whipped cream cold and add the chocolate ‘too quickly’, some of the chocolate solidifies and you get little tiny chocolate bits, like a stracciatella. I really prefer the texture of these tiny bits of chocolate, so I do it wrong on purpose.
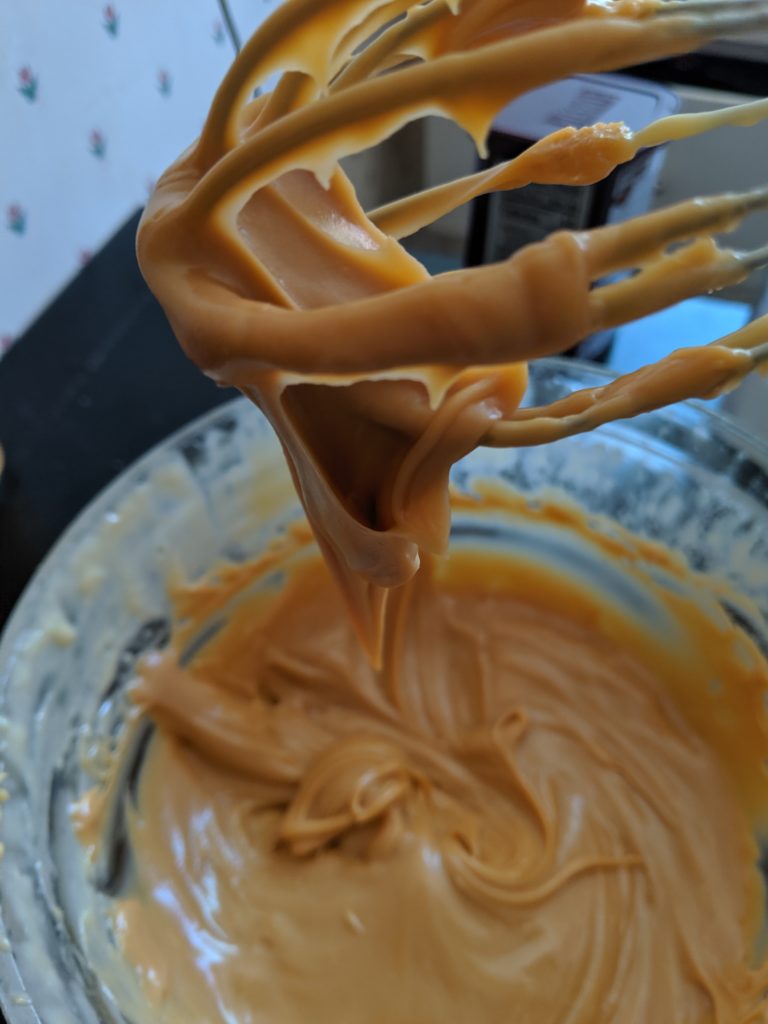
Caramel made from cooking condensed milk 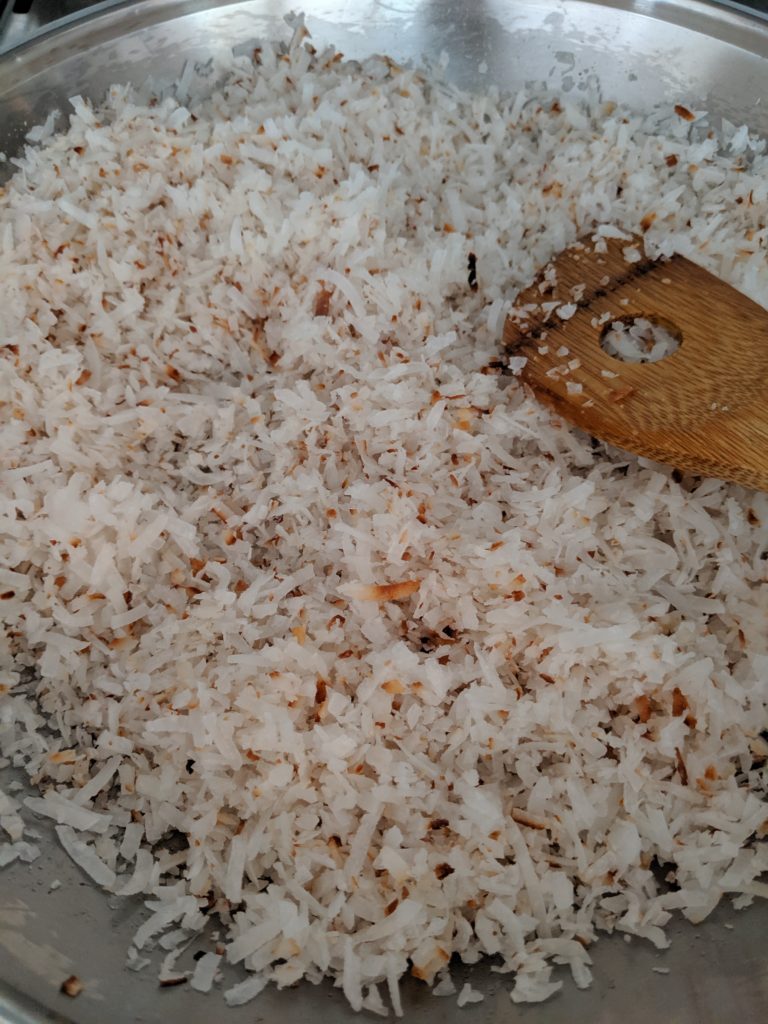
Toasting the coconut 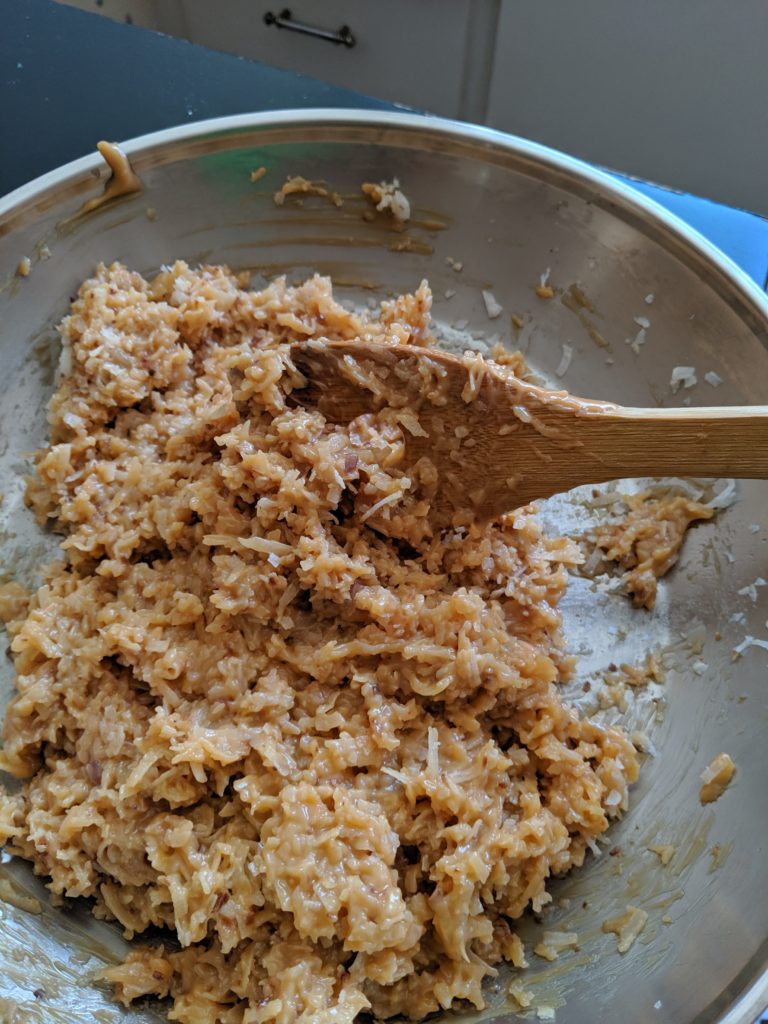
Caramel-coconut filling
For the caramel coconut layer, I made caramel from condensed milk. Normally, I do this by boiling the condensed milk in the can for 3-4 hours. This is dangerous and no one should ever do it, but people do it all the time. Which is why the condensed milk people have now made the cans ring-pull top cans. So now it’s even more dangerous to boil them? Sound logic. Rather than risking having caramel and third degree burns all over my kitchen, I tried a new method that worked pretty well. I emptied 2 cans of condensed milk into a glass bowl and microwaved for 1 minute increments for 25-30 minutes, stirring in between. Watching the color go from creamy white to ever-darker shades of amber was immensely satisfying, if not torturously slow. I know 25 minutes is way less than 3 hours, but I don’t have to actually do anything for 3 hours. Set it and forget it, you know. Stirring every minute for half an hour was a bit tedious. But terribly worth it, as I ended up with a perfectly smooth delicious caramel. While this was going on, I had an extra-large frying pan on the stove heated to medium-low heat, toasting the coconut flakes. This is also a delicate process in which things go from white and uncooked to golden brown to scorched and black before you know it. So I stirred the coconut, then stirred the caramel. Then, finally, when they were both golden brown, I stirred them together. This made a very thick paste, which was too dense to spread on my delicate cake layers, so I added coconut milk a bit at a time until it was thin enough to spread without shredding my cake.
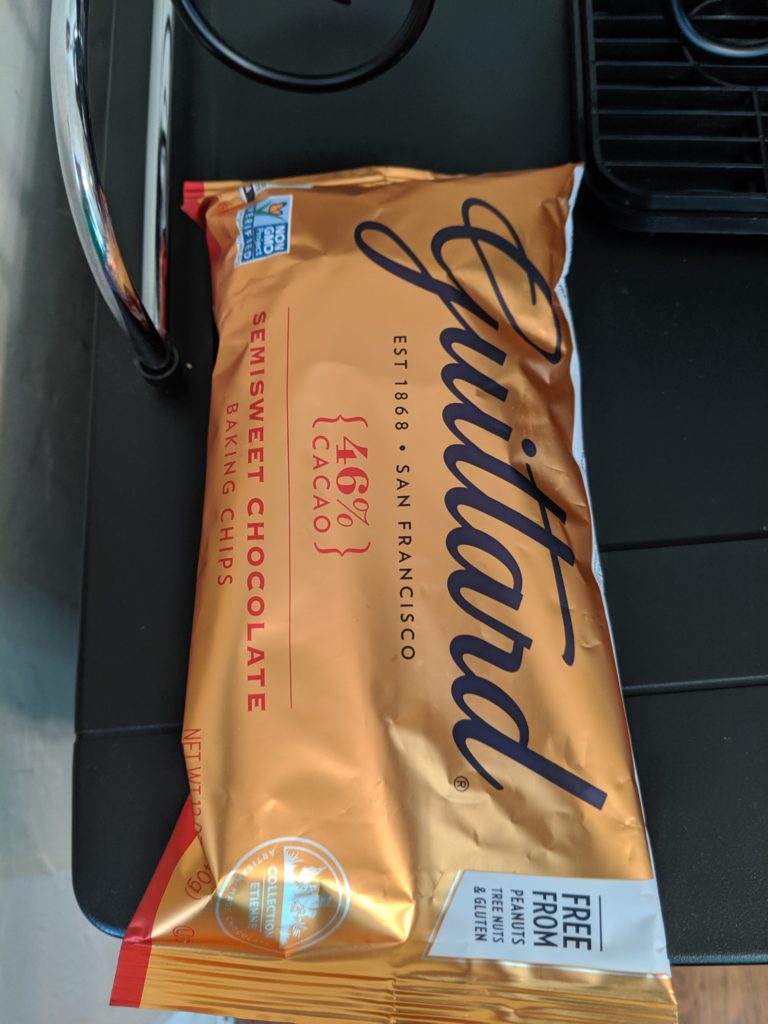
Starting with semisweet chocolate 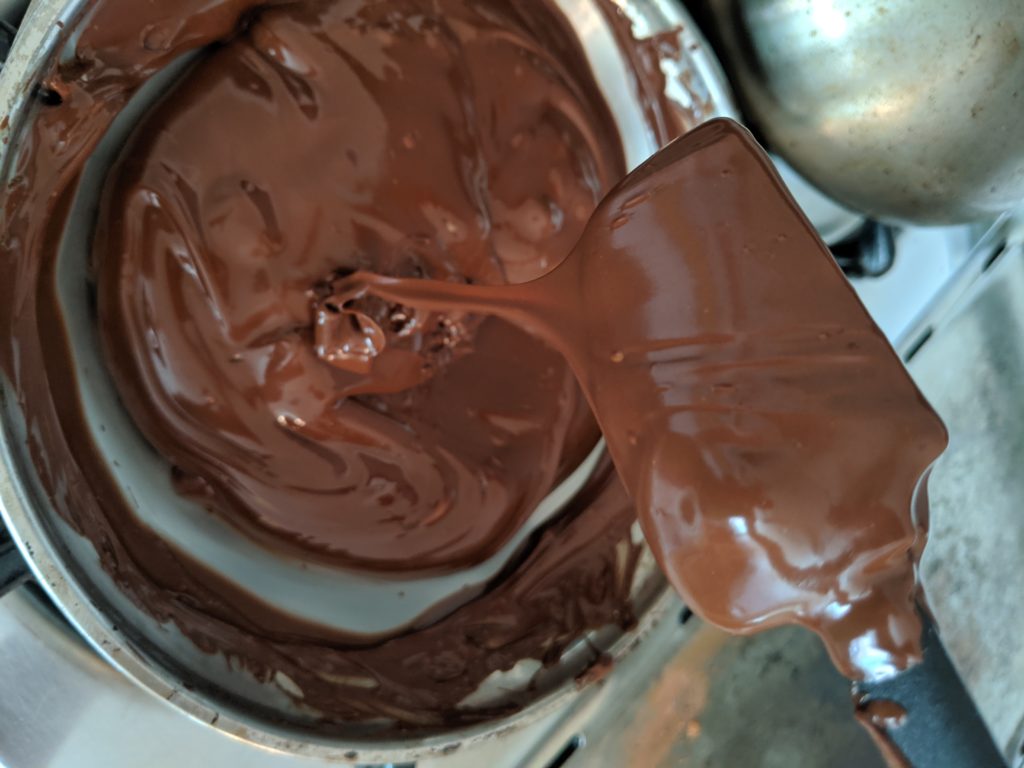
Melted chocolate 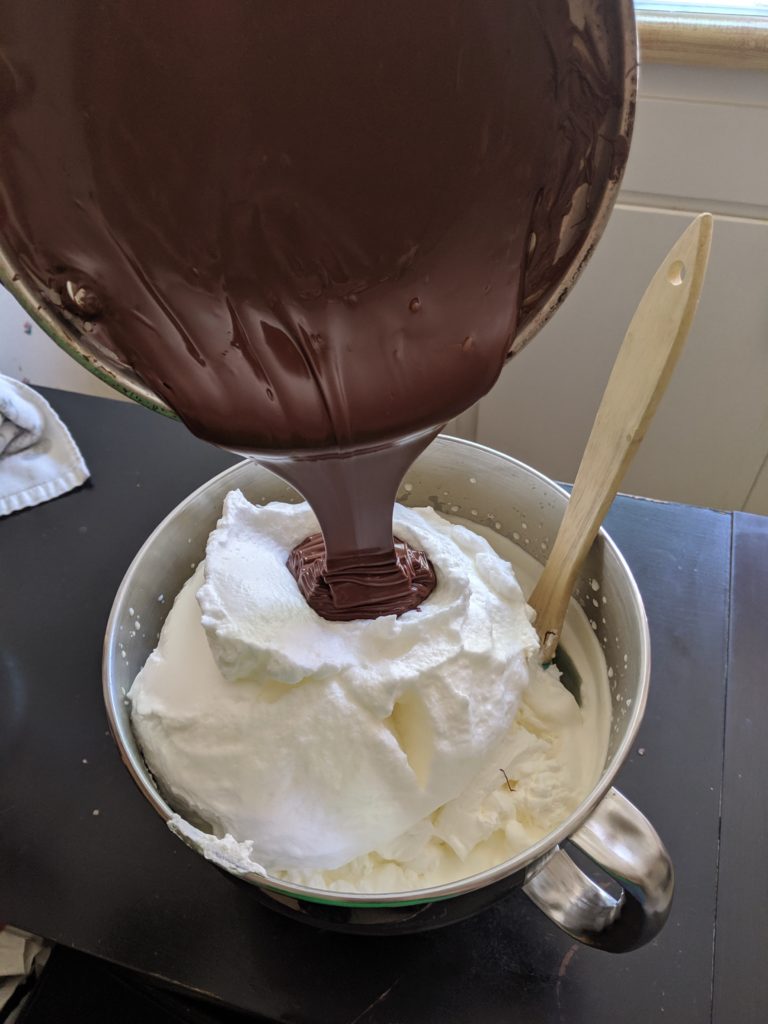
Pouring the melted chocolate over whipped cream and meringue 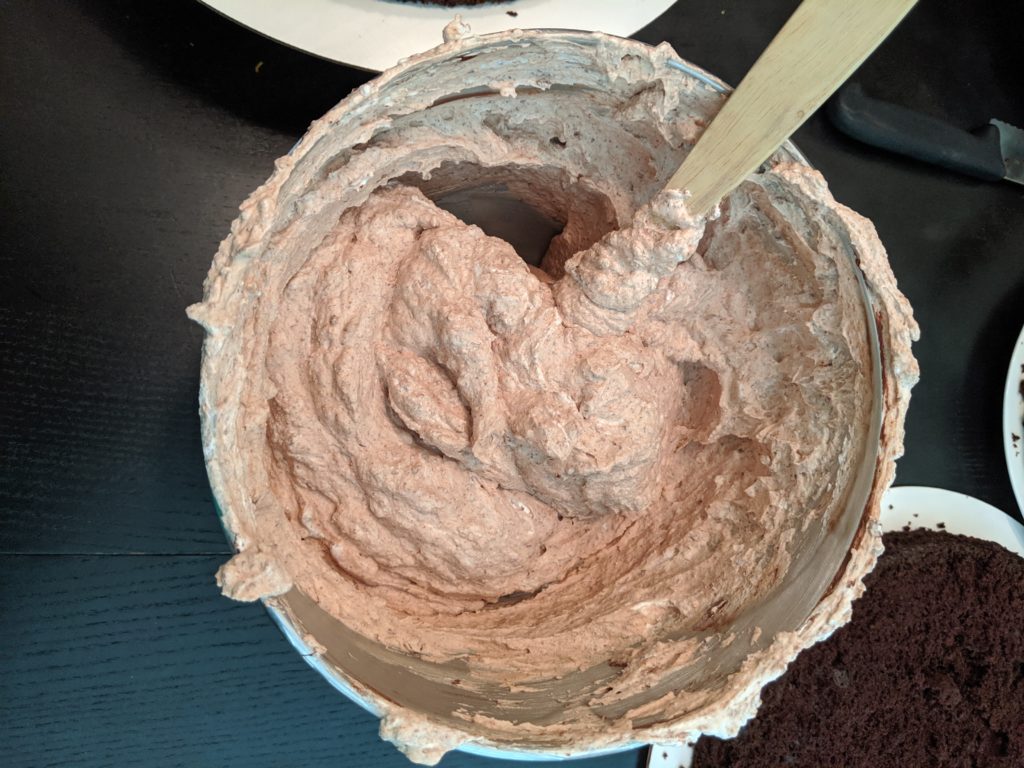
Chocolate mousse 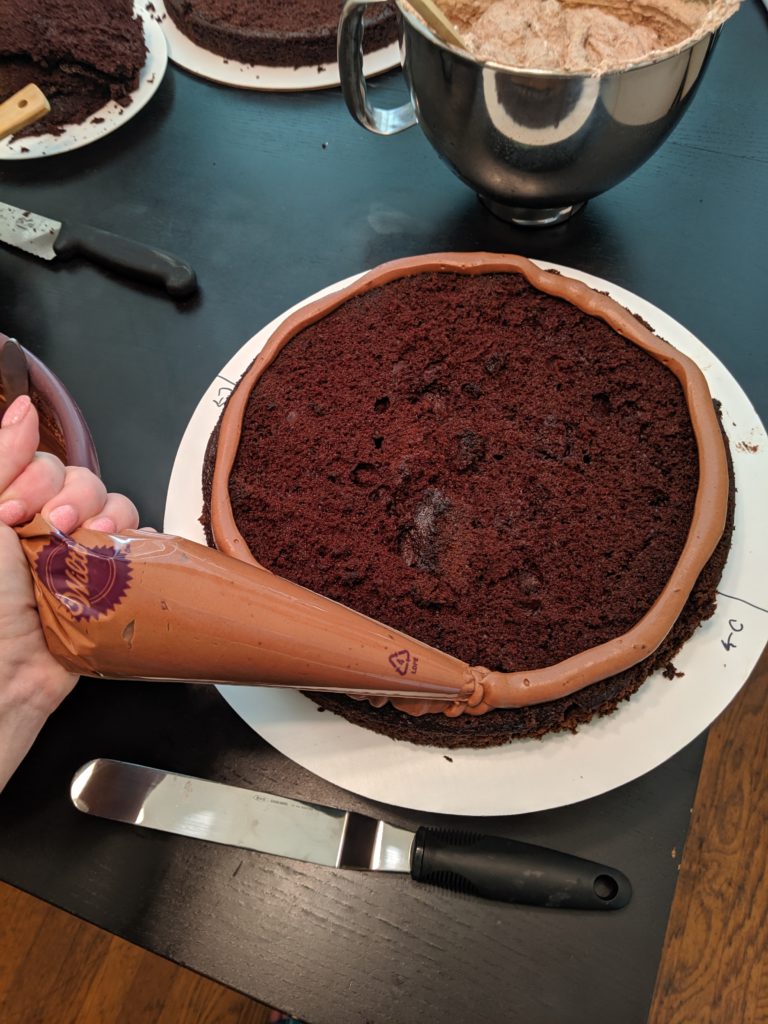
Using the chocolate frosting as a border 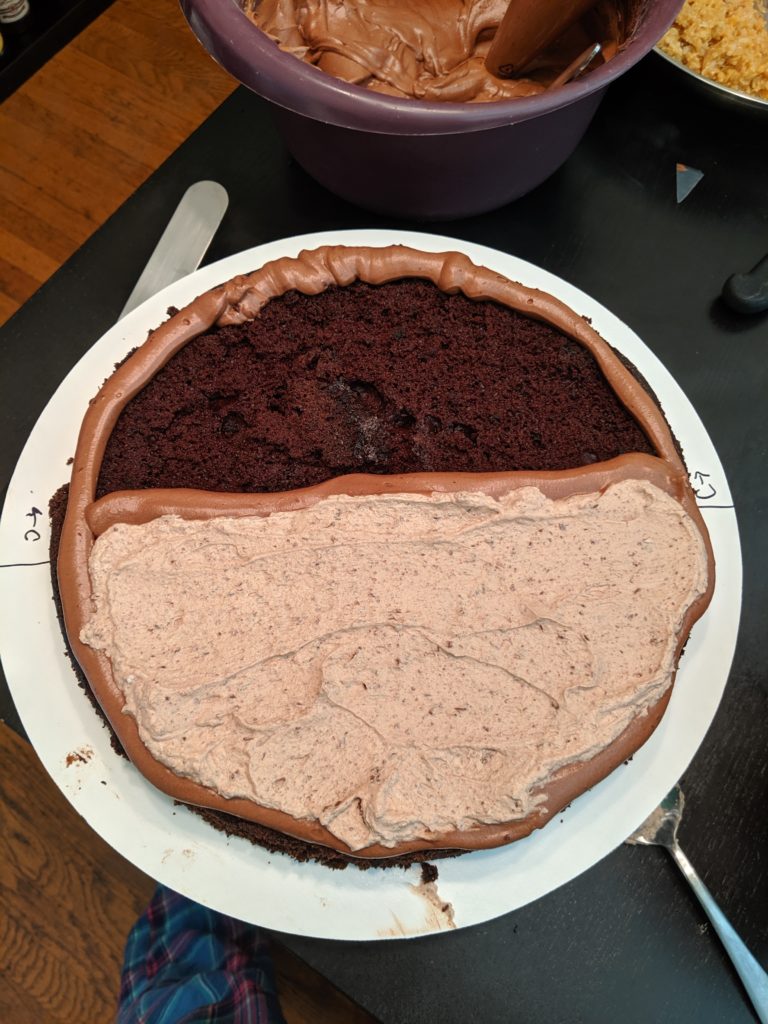
Chocolate mouse filling on one side of the cake, caramel coconut will go on the other
Next was the chocolate frosting. This is just a cocoa-and-confectioner’s sugar type frosting. I discovered that I only had enough confectioner’s sugar to make 1.5 batches of the frosting, which wouldn’t be enough to cover the cake, so I actually took the leftover chocolate mousse and stirred it into the frosting, making a lighter textured but still very chocolatey frosting. I had to be careful not to add too much, as the liquid in the mousse started thinning out the corn-starch-based confectioner’s sugar.
Once all of this was complete, it was time to finally assemble the cake. I leveled the layers and stacked them, adding a border of frosting and the 2 fillings between each layer. I then used the frosting to crumb coat the cake, then added enough frosting to support the fondant. And now… it’s time to decorate!
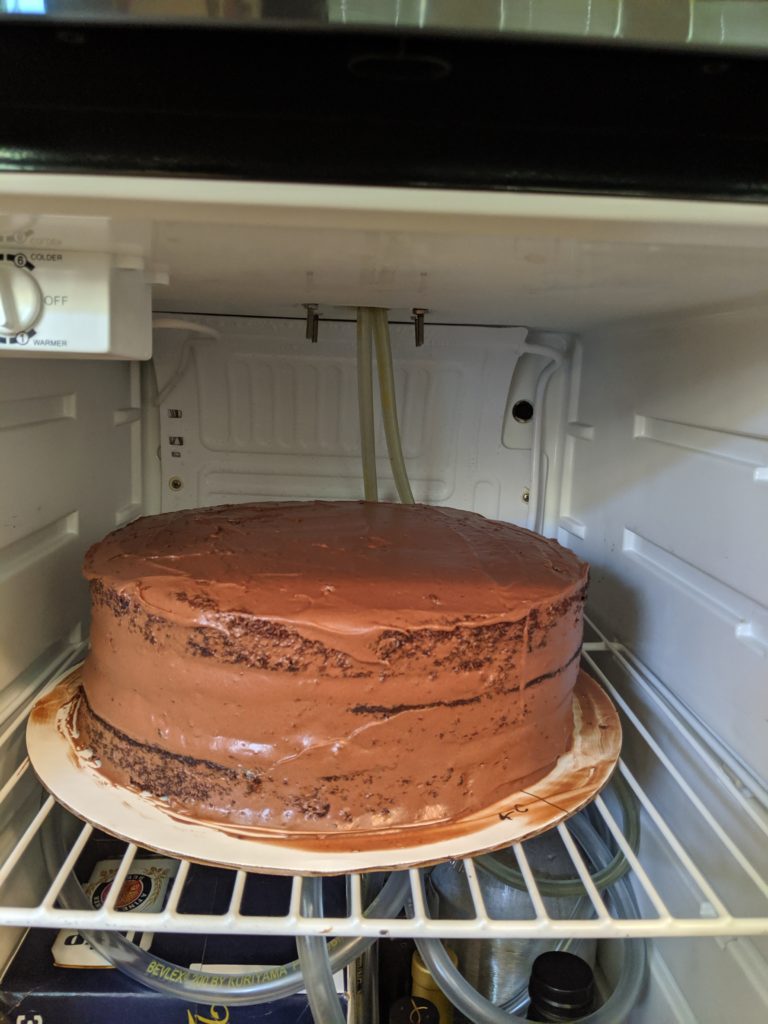
Frosted and refrigerated overnight
I decided to go with a pretty simple design around the sides of the cake. I found some cute dinosaur cookie cutters online, so I went with like a dinosaur parade around the cake. I started by taking a giant slab of white fondant and making it sky blue. This is the base layer on the cake, so I rolled it out and then rolled it up on a wooden rod, before gently laying it over the cake. I picked up some new tools for this cake, ones I probably should have gotten years ago… but, I finally invested in a spinning cake decorating turntable, and I got some fondant sculpting tools, including a tool to smooth it out over the cake. This was actually more helpful than I expected.
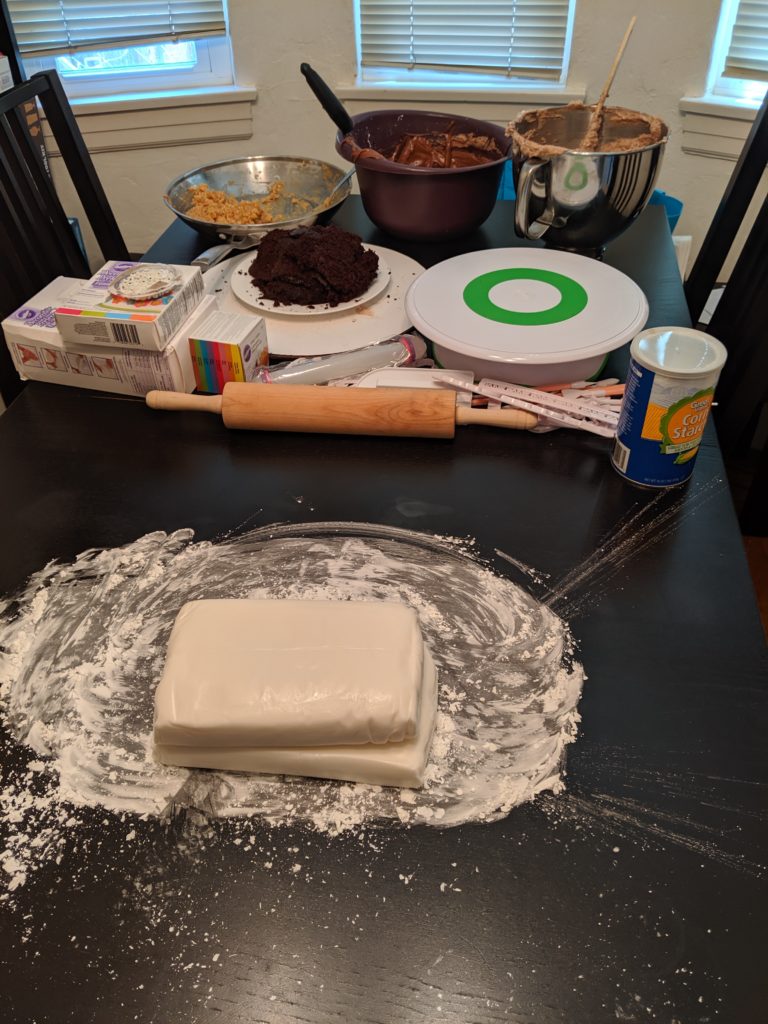
I dyed some white fondant sky blue 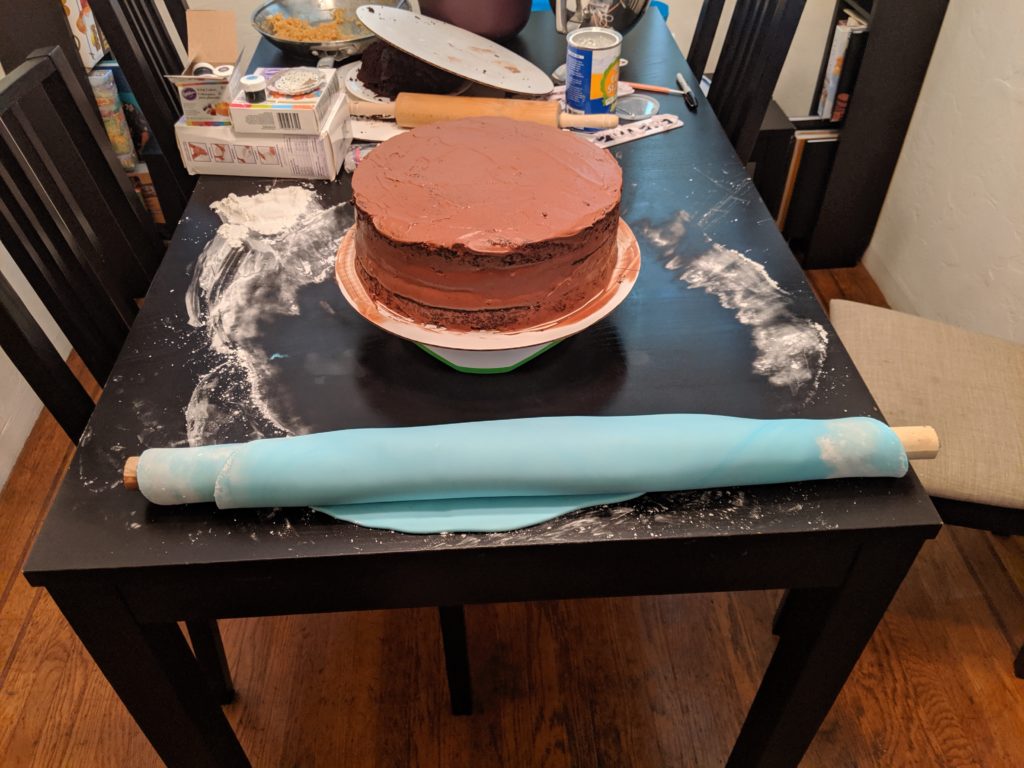
Rolled out the fondant and rolled it onto a dowel 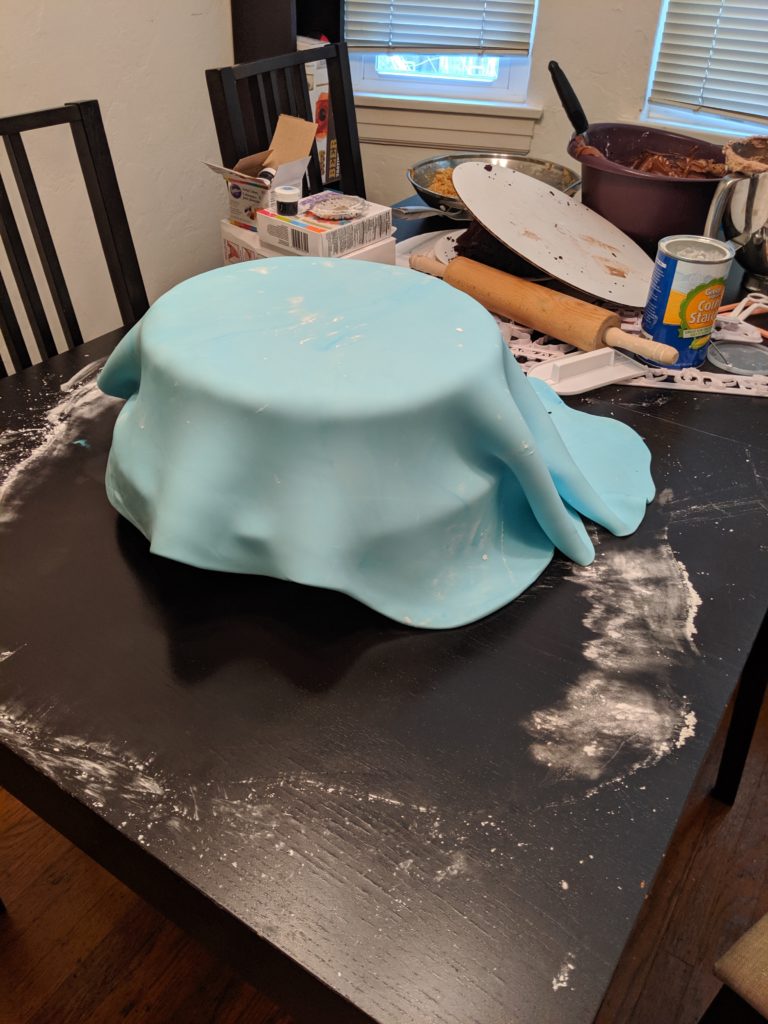
Draping the fondant over the cake 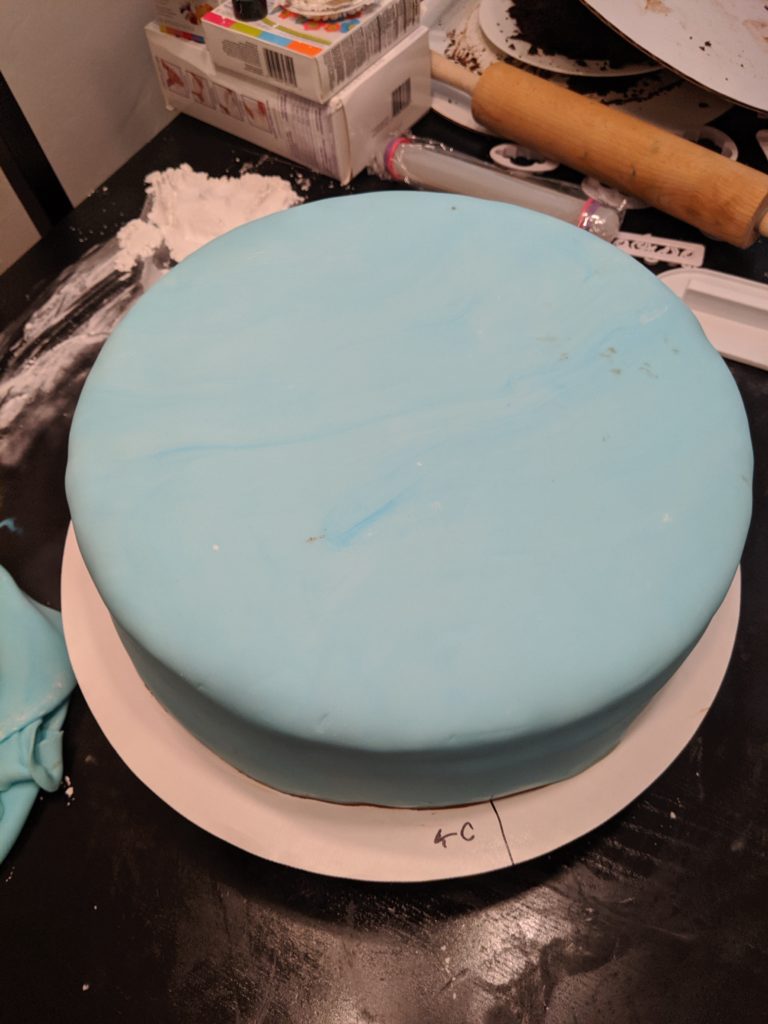
Smoothing it out as much as possible
Once the sky was complete, I went through the unexpectedly tedious process of adding a layer of grass around the bottom. The ‘grass’ cookie cutter that came in the dinosaur set has some pretty fine detail to it, so it took some effort to get the fondant out of it after cutting. And then you have this frilly finicky fondant grass that doesn’t like staying in a single piece, so I’m adding like individual tufts and blades of grass instead of strips. This is a fun, messy start to the day.
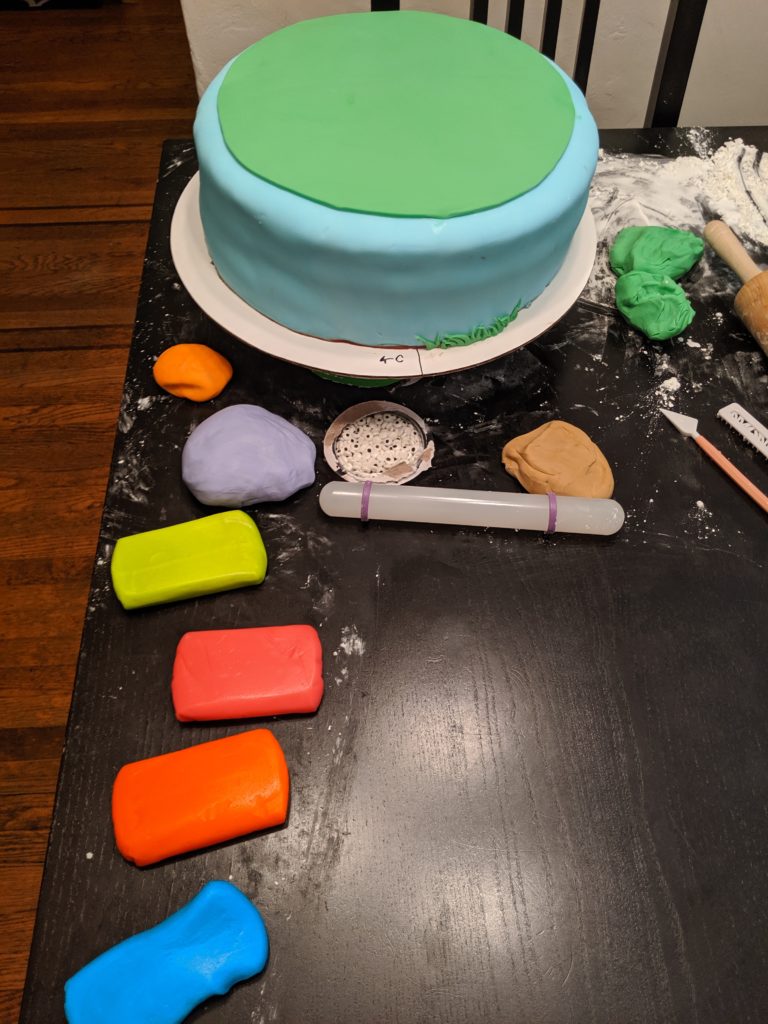
Starting with neon colors 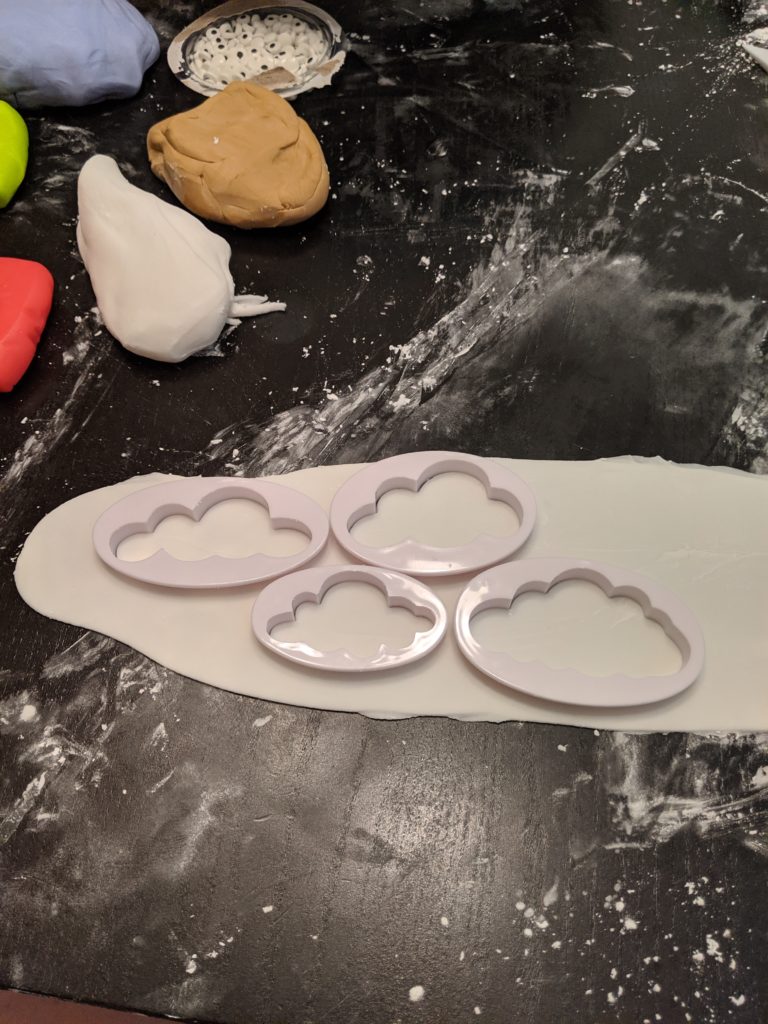
And some white clouds 
I created the background of volcanoes
Next in the dinosaur diorama background scenery, I added some white clouds, which look adorably like the clouds in Super Mario Bros. 3. Then I hand-cut out some mountains (they are just triangles, so I don’t get too much credit for my handiwork here). And then added some orange lava to make those mountains into volcanos. Were there lots of volcanos for the dinosaurs to gaze off at majestically in the distance? Who knows. Someone knows, but not me. It’s not a historically accurate dinosaur cake, is all I’m saying.
Finally, once the environment was finished, I was able to add some adorable neon-colored featherless dinosaurs. The cookie cutters I purchased have great detail, but they are only one-way, and all of the dinosaurs are facing the same direction. So it now looks like an adorable parade of T-rexes and Pterodactyls (hells yeah, I spelled that without setting off the spell-check).
To complete this monstrosity, I added the dinosaur egg to the top of the cake. Here, again, I am not at all sure if dinosaurs made nests for their eggs, but whatever puff-the-magic-dragon type dinosaur baby this is has a nest. I made ‘haystack’ cookies earlier in the day. These are chow-mein noodles, the dry crunchy ones you find at the grocery store, stirred into bowl full of melted butterscotch morsels. These were a no-bake favorite cookie from my childhood, and also apparently Joe’s, as the smell of the butterscotch morsels hit us right in the feels. I assembled the cookies into a nest, then to the dinosaur egg.
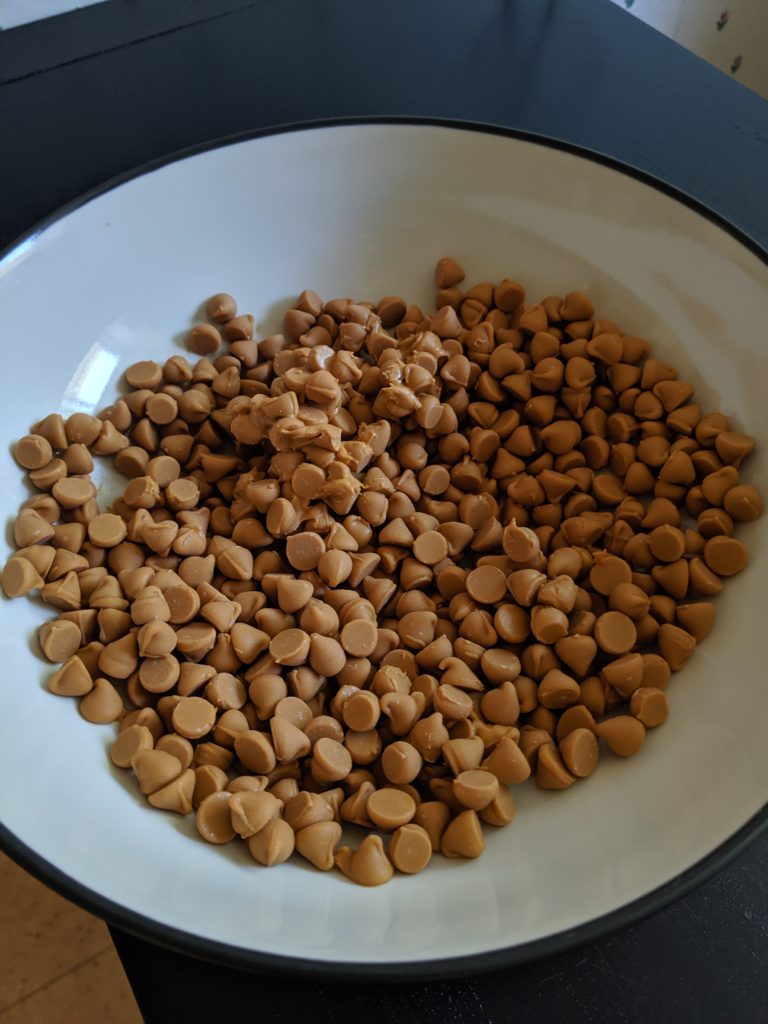
Butterscotch morsels 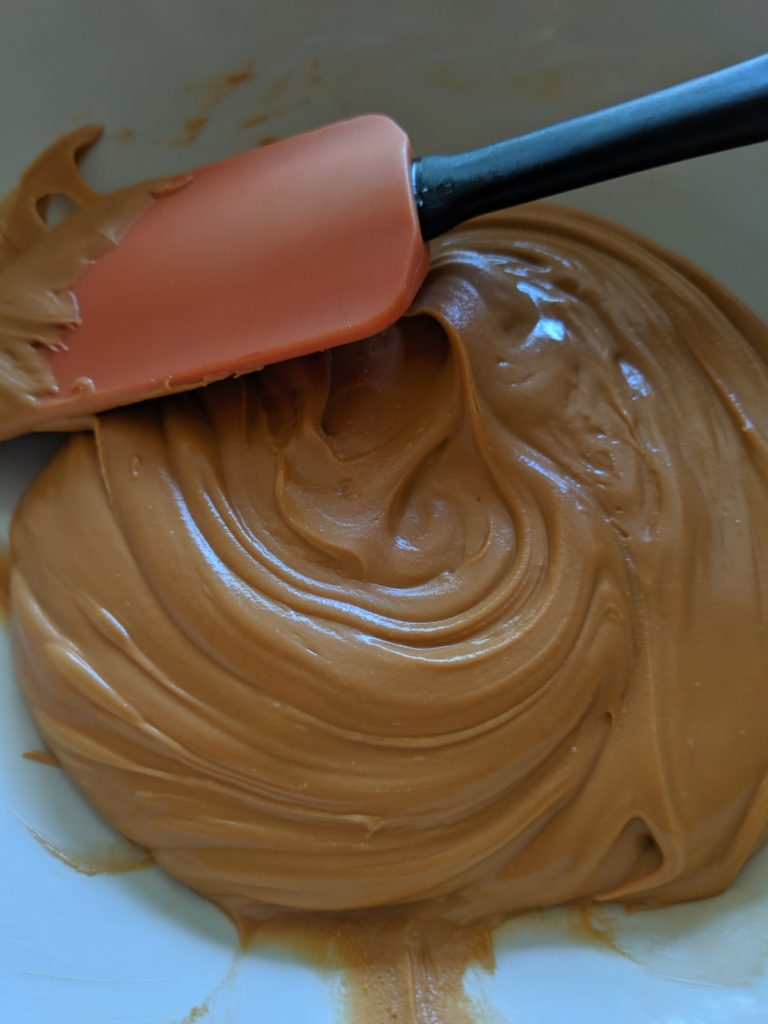
When melted, they look like caramel 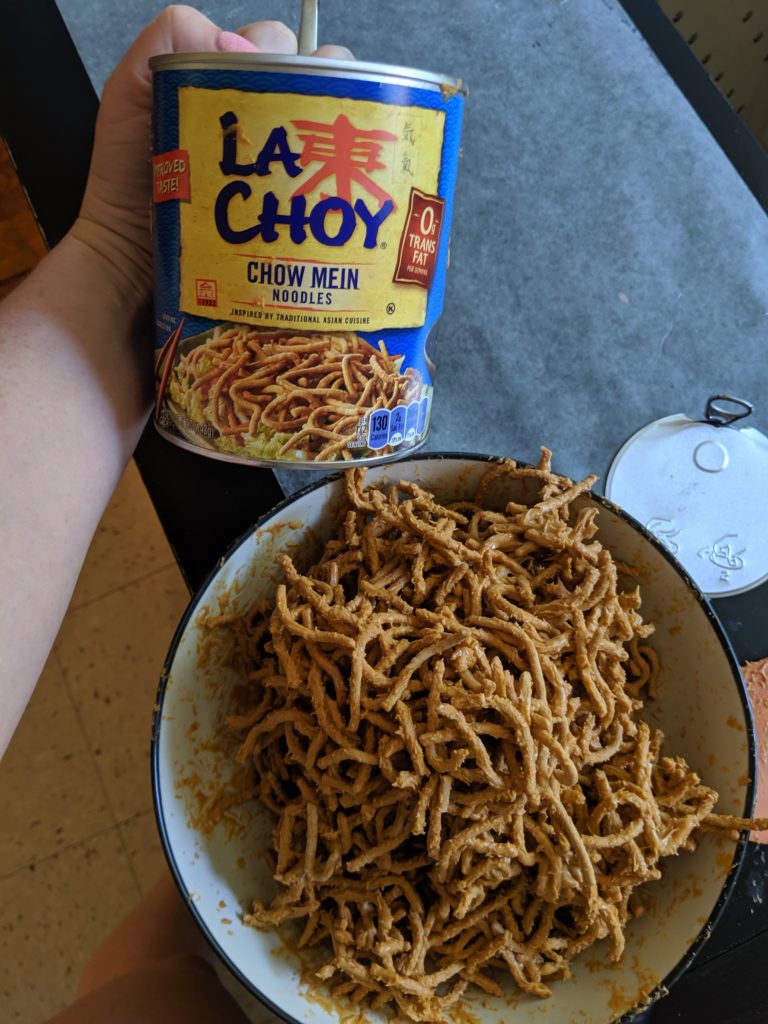
Mix in some chow mein noodles 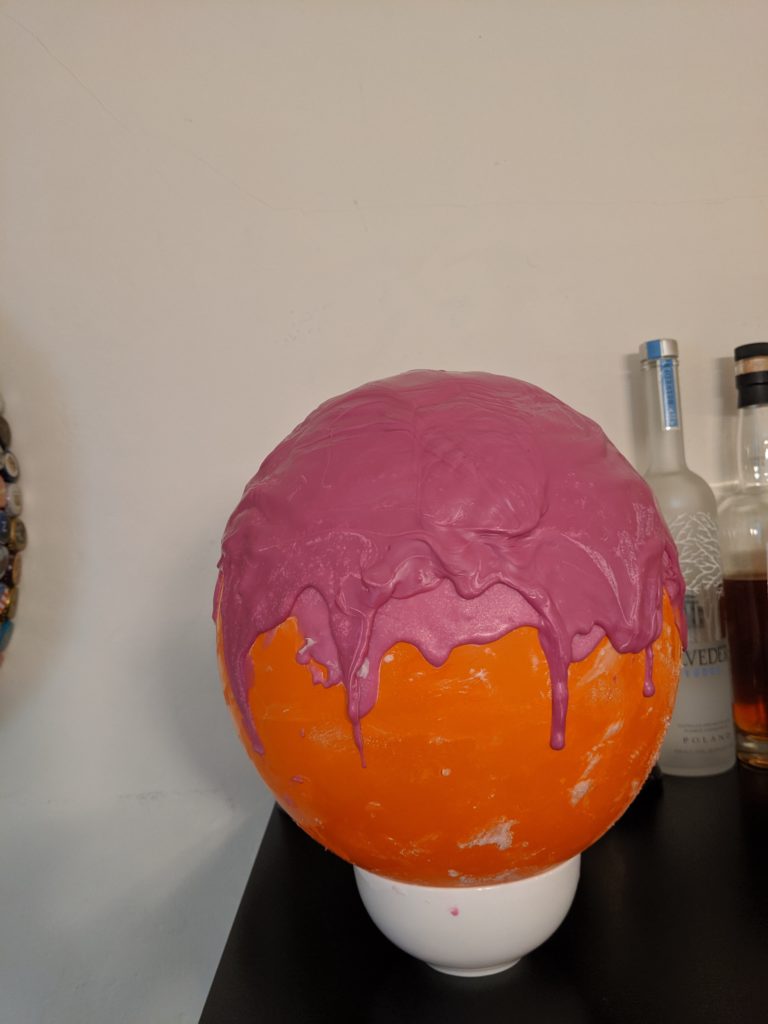
Candy melts, using a balloon to make an egg shape 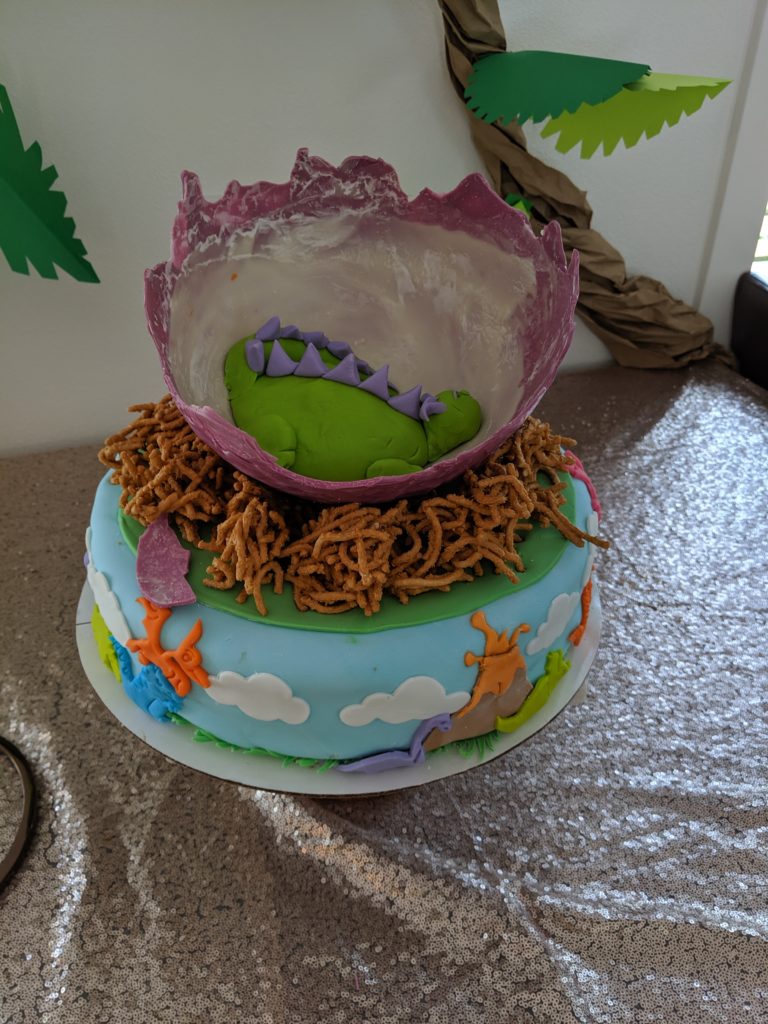
Baby dino inside its egg
My plan for the dinosaur egg was to dip a latex balloon into melted candy melts and let it cool. After a couple of coats, I’d crack the edges to make it look like the egg is hatching, and add some splashes of purple and green speckles to the white egg. I had ordered a single balloon from Safeway, but after blowing it up, I decided it was larger than I wanted the egg to be. So I found a balloon in my craft supplies… that I had originally purchased for Mai’s baby shower a few years ago. It was the appropriate size. So I melted the candy melts and let it cool because I didn’t want to apply too much heat to the balloon. I rigged up a nice system to hang the balloon via a string tied around it and a binder clip to the ceiling fan pull. It worked perfectly….until it didn’t. Turns out, latex does not age well. And this balloon was not a fresh one. And so, with a bunch of melted white chocolate on it, hanging from my ceiling fan in the kitchen, the balloon popped. And boy, did it pop. There was white chocolate everywhere, and it hardened as soon as it hit any cool surface. We’re still finding it in crevices and on the window screen. Now I don’t quite have enough white chocolate to start over. So the egg goes from a white egg with purple flecks to a purple egg. Please don’t pop, new balloon…. So I used the new balloon and it worked perfectly. I was able to half-dip it into the purple candy melts, and then make the edges jagged once I removed the balloon. It was just bigger than I had wanted.
I balanced the purple cracked dinosaur egg on top of the haystack cookies, and then crafted a little green baby dinosaur with purple back spikes and ears. I think it looks like Puff, but I’m open to some combination of Puff the Magic Dragon and Figment. Once I added the baby dinosaur(dragon), the cake was finished! I took a quick video of the dinosaur parade while still on the spinning decoration stand.
All-in-all, I am quite happy with how it turned out. And the lovely recipient seemed to enjoy it, both visually and taste-wise. We had an amazing time celebrating the upcoming baby, and decorating the space for the party. I can’t wait to meet the new little dinosaur. Rawr!